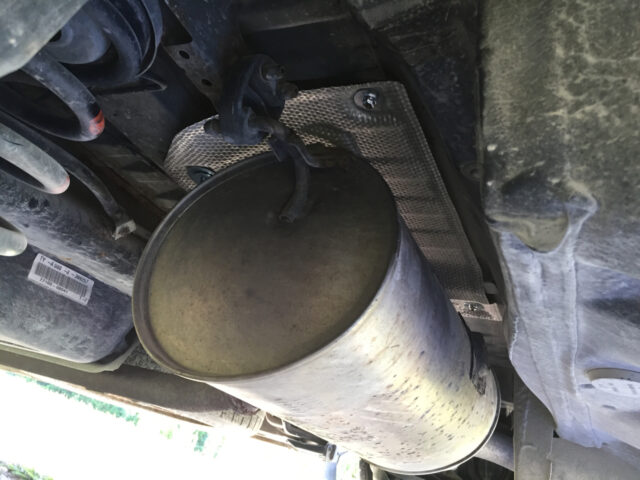
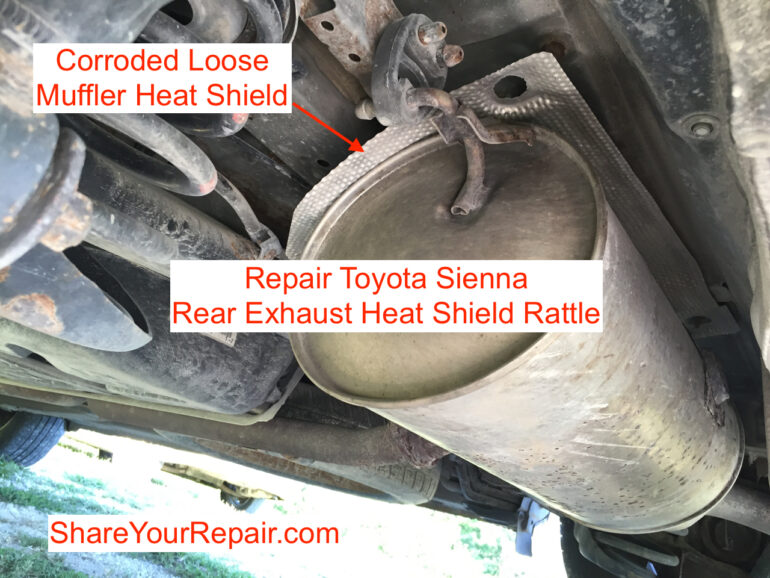
I was hearing a metallic rattle sound back by our Toyota Sienna’s muffler when idling. It turns out that a heat shield panel above the muffler has corroded, fallen down, and is laying on and vibrating on the muffler and causing the sound I was hearing. The bolts that stick out from the undercarriage of the van are rusted and the nuts won’t come off and I don’t even want to know what a dealer will charge me for repairing this. You can repair it yourself for not that much at all. Follow along and I’ll walk you through how to repair Toyota Sienna rear exhaust heat shield rattle step by step…
Vehicle:
Parts
- 1/4″ x 2″ Flat Washer
- 1/4″ x 1 1/4″ Flat Washer
- M6 Stainless Steel Serrated Flange Metric Hex Lock Nuts
- New heat shield: OEM Replacement Exhaust Heat Shield. Floor Pan Heat Shield, Rear Shield, Part Number: 5832708020
Tools Needed:
- M6 x 1.0 die (for cleaning the bolt threads)
- 10mm socket and ratchet (get this and much more in a 210-Piece Stanley Tool Set
)
- Dremel tool and cutting disk
- Pair of Vehicle Ramps
- Safety Glasses (if you use a Dremel tool)
- Gojo Hand Cleaner (this stuff is GREAT at removing grease and oil from your hands)
How to Repair Toyota Sienna Rear Exhaust Heat Shield Rattle
Step 1: Overview.
There are actually multiple heat shields under a Toyota Sienna. The one we are dealing with today is shown as #6 in the diagram below and is located directly above the muffler, shown as #3:
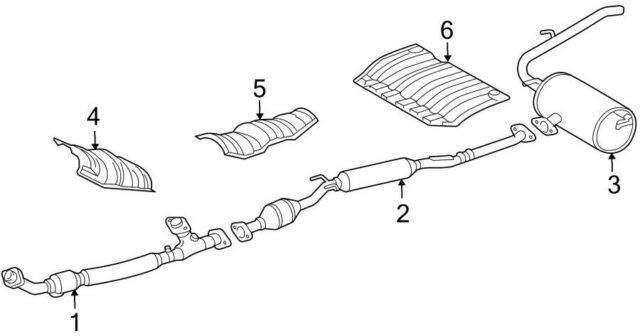
There are four bolts that are built into the bottom of the van’s body that the heat shield is attached with four 10mm head nuts. The problem is that these four nuts and bolts are exposed to the rain, salt, and heat of the exhaust system and by the time the aluminum heat shield has corroded through, well the nuts are rusted on the bolts. I tried loosening the nuts but the entire bolt started turning and I did not want to tear up the mounting bolts. When I read online I learned that most people just simply removed and discarded the heat shield. I didn’t want to do this if there was a chance I could fix it myself. One thing I noticed in the process was that there are plenty of threads on the bolt sticking out, enough I thought to re-mount the heat shield without removing the old nuts. Follow along to see how you too can re-attach your corroded muffler heat shield.
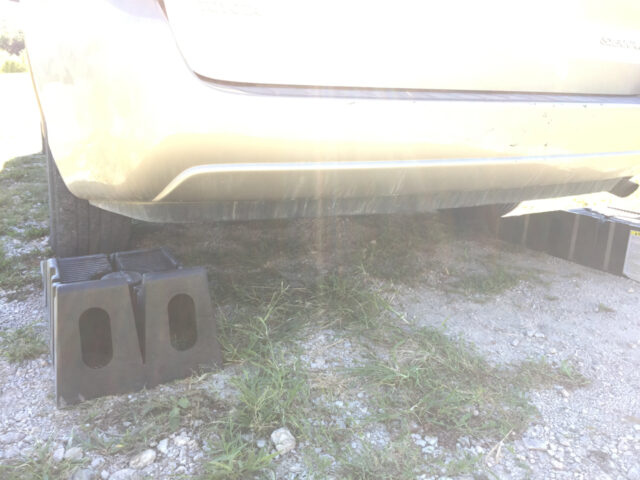
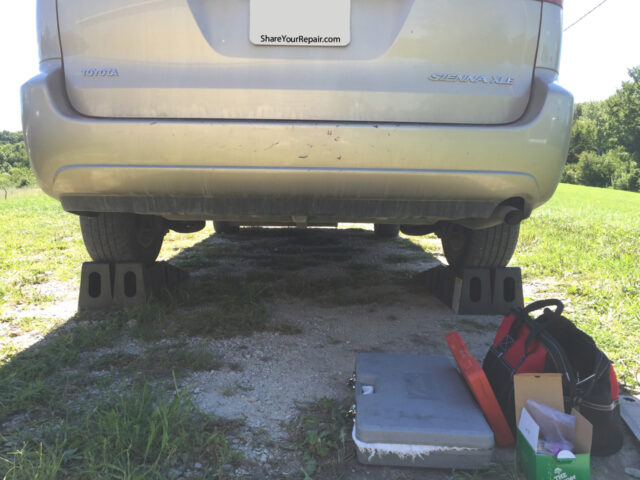
Step 2: Back your van up on ramps.
You want to be on a level surface. Please follow my instructions on how to pull your van up on ramps in my article Toyota Sienna Oil Change if you want detailed instructions on how to do it. This will be the same except you will be backing onto the ramps versus pulling forward onto them.
Step 3: Let your muffler cool down.
I don’t know how long it will take for your van but you do not want to work around a hot muffler. Wait until it is cool before starting, you do not want to get burned.
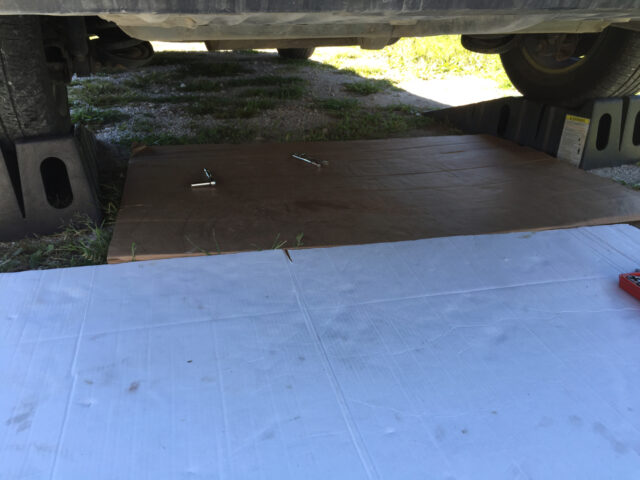
Step 4: Put down cardboard to lay on.
You are going to need to slide around in a wide area under your van and it is so much more comfortable to be laying on a piece of cardboard:
Step 5: Remove your old rattling heat shield.
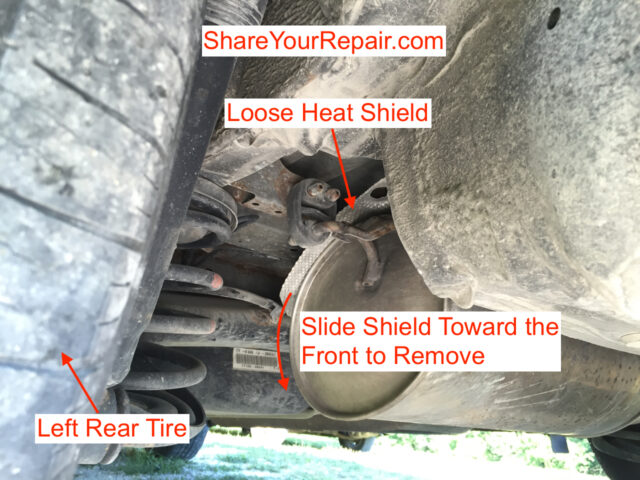
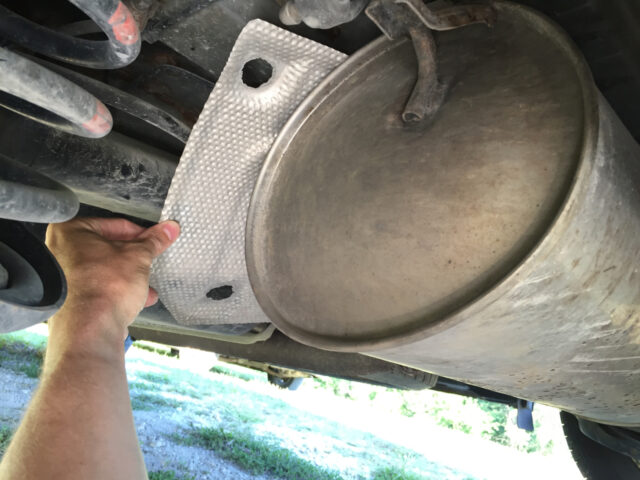
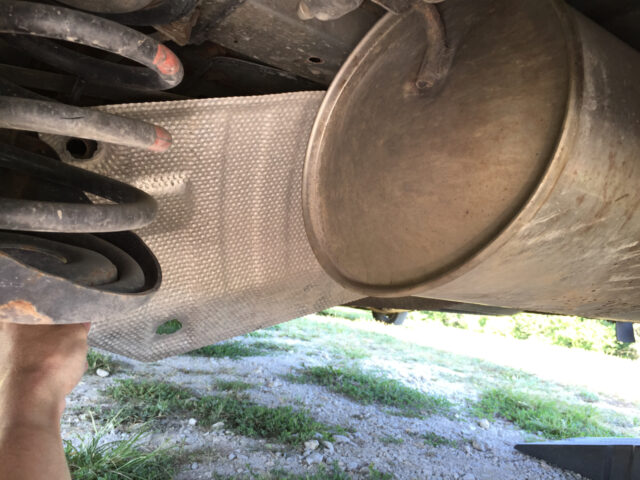
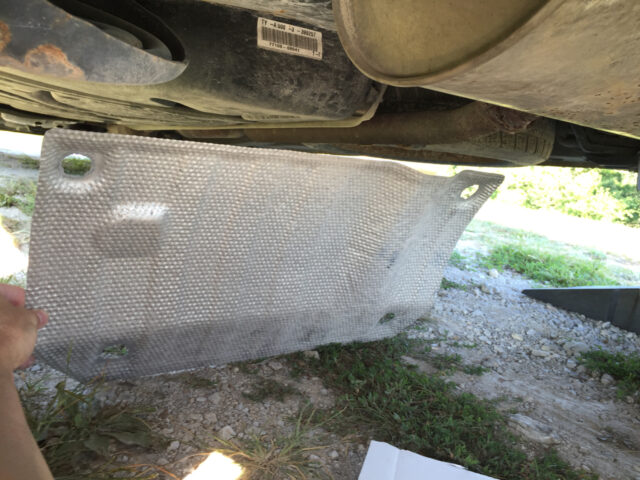
I am assuming your heat shield has come completely loose like ours, and if so, it will be laying loose up on top of your muffler. You can slide it towards the front of the van and towards the left side and it will come on out as seen in the series of images below:
Step 6: Clean the threads of the four mounting bolts.
This was the most difficult part for me–figuring out what the bolt and thread size was. I’m pretty new to tap and dies and I had to buy a set to do this. I bought a cheap metric set and they worked fine for this repair. The mounting bolts are M6x1.0. Take a M6x1.0 die and place it in the “stock,” but unscrew the two handles from the stock, because there is not room for them where we will be working:
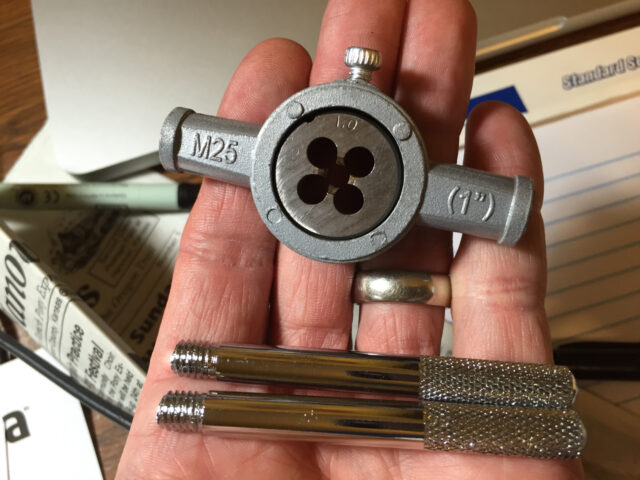
First I’ll start by going over some die basics. There are two different sides to a die–one side goes on first, the tapered side, which helps get the die started:
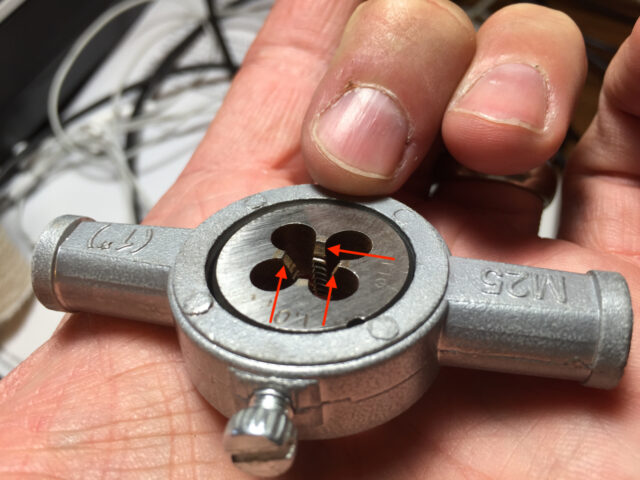
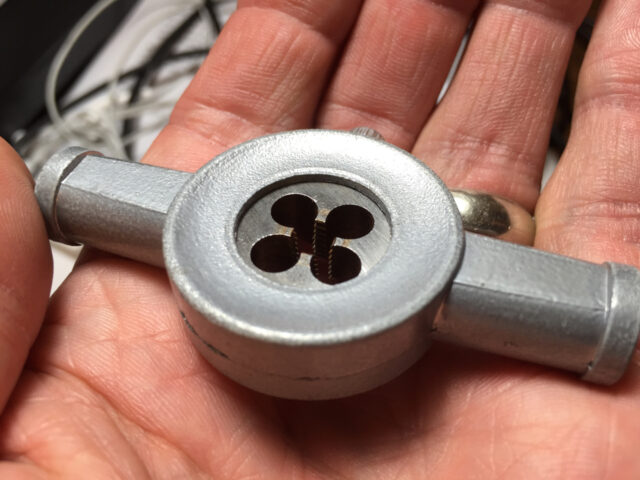
The other side of the die, the flush side, has threads that go all the way to the very surface of the die:
Carefully start the tapered side of the die on each of the four mounting bolts, turning clockwise, being careful to keep the die straight as you are starting it. I would press in the center of the die with my finger (carefully) while turning it. It may take some pressure to get it started, depending on how rusty your bolts are. Turn the die until it won’t turn any farther. You will see about as much bolt sticking out of the die as seen below:
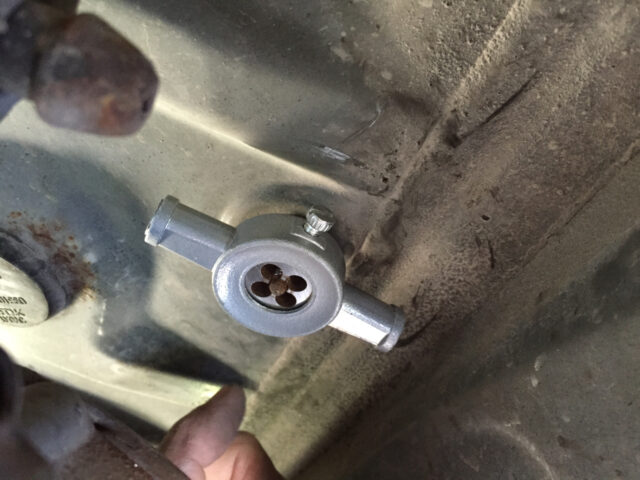
Once you have gone that far, flip the die over in the sock and use the flush side of the die to clean the threads all the way up to the bolt. When you are done, your threads will be a bit shiny:
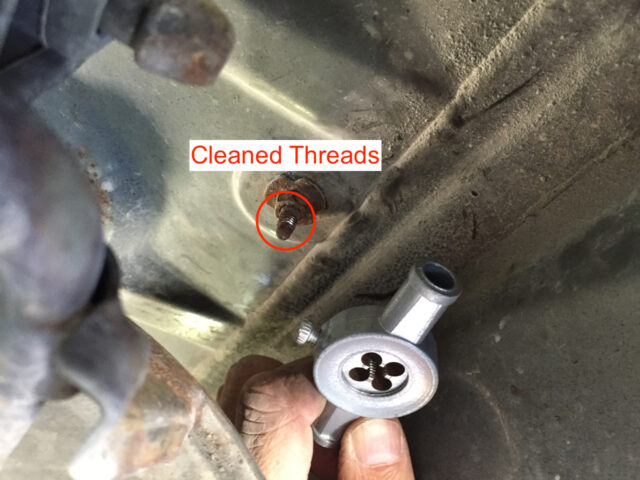
Clean each bolt thread with the tapered side on first and then flip the die over to clean the threads all the way up to the bolt.
Step 7: Put the heat shield back in place.
With the corner of the heat shield that has a notch on it at the lower left side, reinsert the heat shield as seen below:
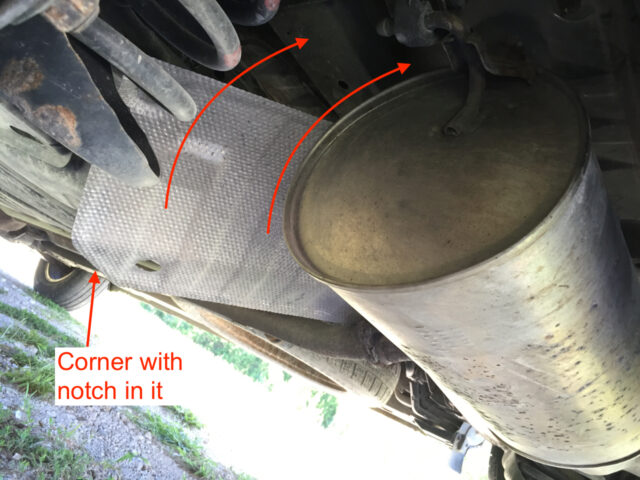
Align the corroded holes with the bolts to verify that you’ve installed the heat shield in the correct orientation:
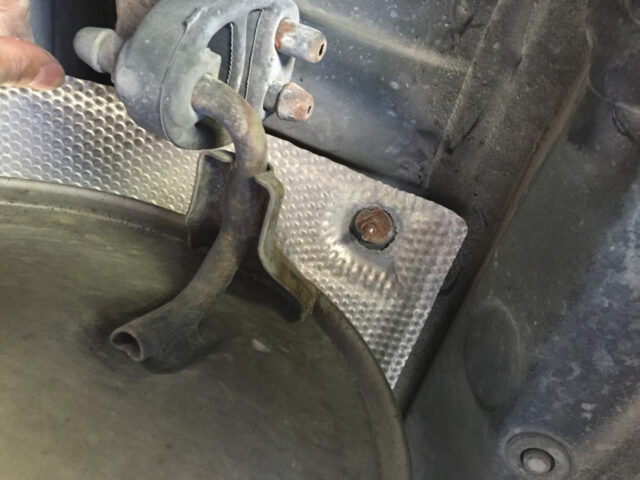
Step 8: Bolt the heat shield in place.
Because I did not want the heat shield to rattle, I put a 1/4″ x 2″ flat washer on first:

Then, I installed the heat shield on next:
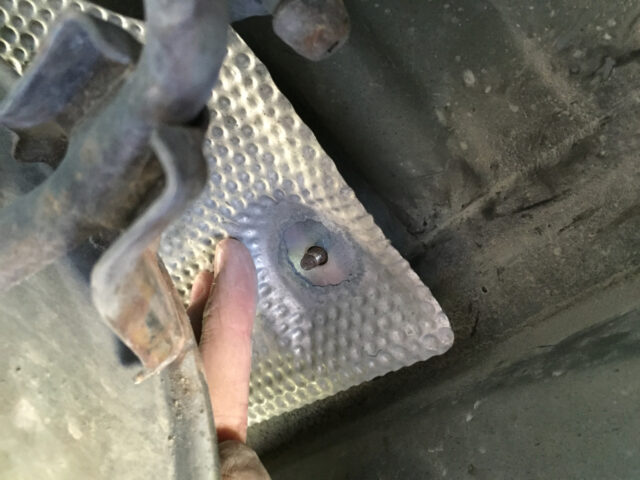
Then I installed a 1/4″ x 1 1/4″ washer over the heat shield:
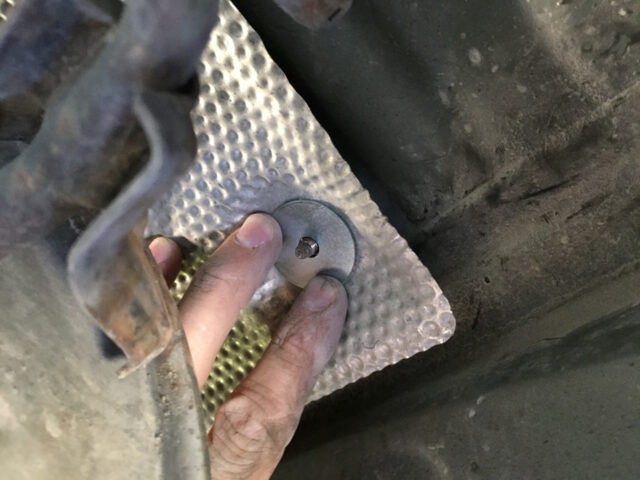
Then install the nut on top:
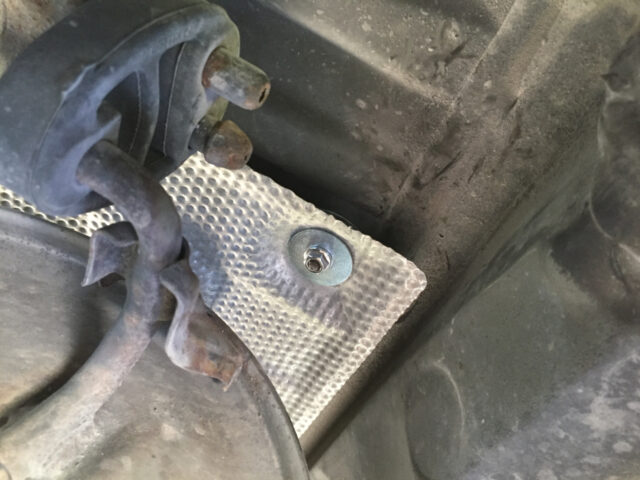
Tighten with a 10mm socket and ratchet:
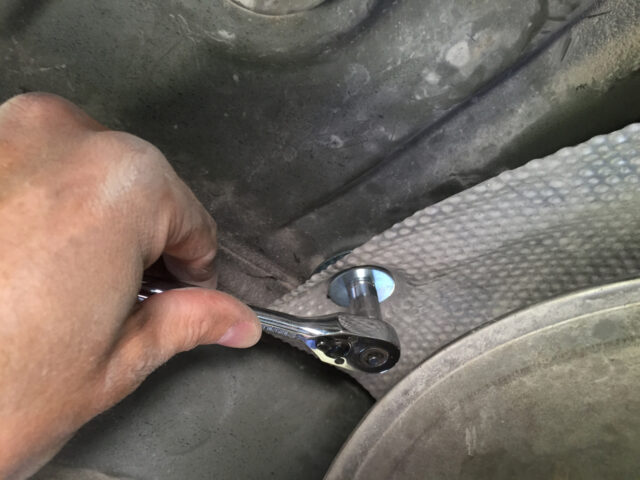
Repeat this for all four corners. If you have the problem of not having enough threads to tighten your nut down go to Step 9, otherwise you can skip to Step 10.
Step 9: Modify washers if necessary.
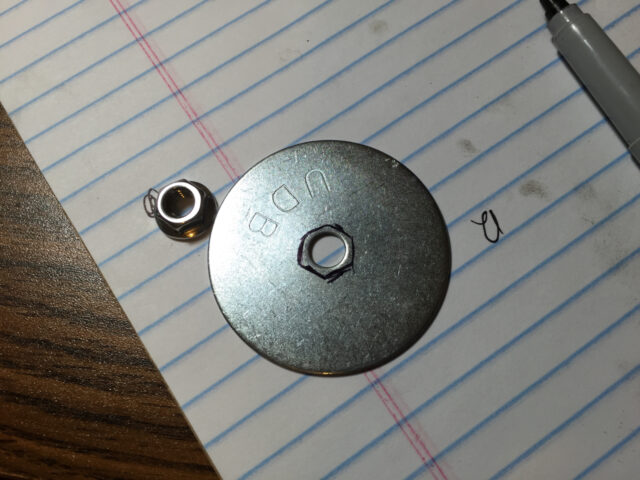
I ran into a problem on one corner because when I tightened down the nut I heard the nut pop off the threads–there were not enough good threads for the thickness of two washers and the heat shield. I ended up using a fine-point sharpie to trace the shape of the nut head which is rusted on, on the washer:
Safety Selfie: Always wear safety glasses when using a Dremel:
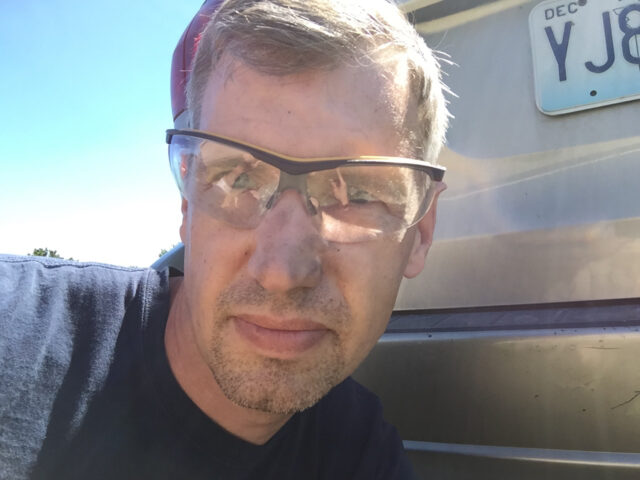
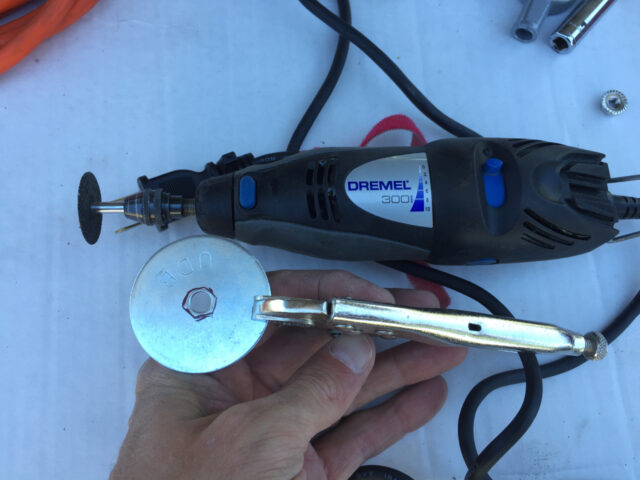
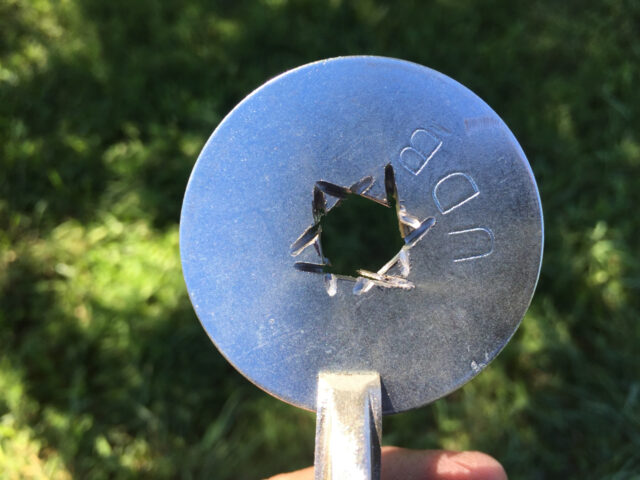
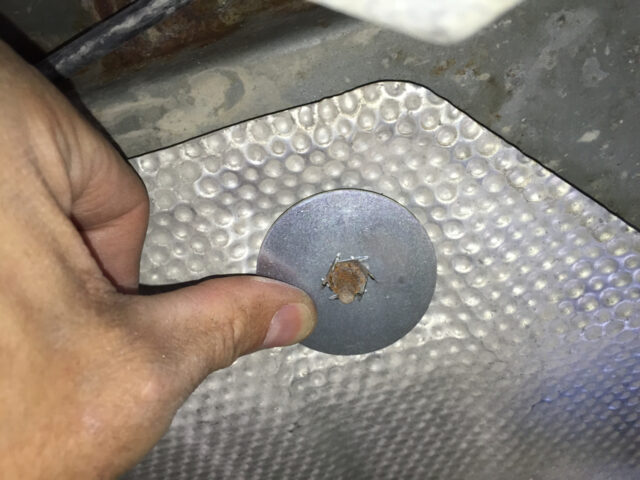
Step 10: Finished!
If you get a kick out of saving money by fixing your vehicle yourself instead of paying an arm and a leg to a dealer, you will feel really good when you are done doing it yourself:
Step 11: Update – Repair of Catalytic Converter Heat Shield
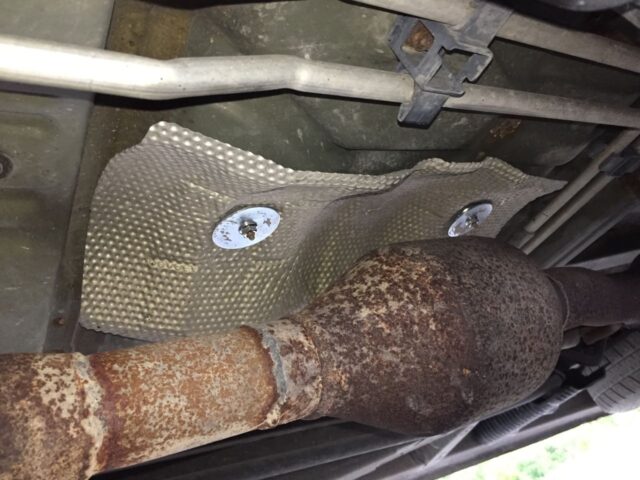
When replacing the steering intermediate link (article here: Toyota Sienna Steering Intermediate Shaft Replacement) I noticed that the heat shield above the catalytic converter was ready to fall off (this heat shield is #5 in the diagram shown in Step 1). Instead of risk losing it, I decided to follow this article and fix it while I was under my van. Here’s the repair:
Share Your Repair
Did this article help you re-attach your muffler heat shield? Do you have a tip to add? Please leave a comment!
I’m guessing that most people simply remove their muffler heat shields when they come free and are rattling on the muffler. I get a big kick out of breathing new life into something that would have been trash. If this article helped you revitalize your Sienna please leave a comment and encourage someone else to do so too. If you have a question please leave that in the comments too–I answer most questions in less than 24 hours.
Please note: if you do not have any approved comments on this site then your comment must be personally approved by me before it will appear. I do this to keep my site 100% free of spam comments. I read them all and almost always review and respond to all comments within a day. I look forward to hearing from you.
Amazon Associate Disclosure: As an Amazon Associate I earn from qualifying purchases. This means if you click on an affiliate link and purchase the item, I will receive an affiliate commission. The price of the item is the same whether it is an affiliate link or not. Regardless, I only recommend products or services I believe will add value to Share Your Repair readers. By using the affiliate links, you are helping support Share Your Repair, and I genuinely appreciate your support.

Great job thanks for tips. $1.51 for four fender washers and 1/2 hours worth of time and it was fixed. Awesome tips
Good job Paul, thanks for sharing about your successful repair.
Thanks for the detailed post about the Sienna muffler heat shield repair! It took me about 30 minutes to get the old rusted nuts off using WD40 and small wire brush to clean the posts. I slid the old heat shield fore and aft (without removing) to gain access to the posts and nuts. I spent about $3.49 on oversized washers at Lowes. It took me 15 minutes to reattach the heat shield with the new washers…..thanks again!!!
Good job at fixing your heat shield rattle—Thanks for sharing!
I didn’t have enough metal left on my studs to thread but used washers and some JB weld and its been quite for over a year.
I followed your instructions for the same issue on 2009 Toyota Venza where the heat shield above the muffler gave away at three of the four points of attachment. Although there was not enough room to get any tools between the muffler and the heat shield, I was able to secure those loose areas all by hand following your instructions. Thanks for the great idea and all the pictures you posted. Very, very helpfull.
Good work Randall, it feels good to fix your vehicle and salvage the old parts!
Thank you for your excellent write-up. I was eventually able to repair my Toyota Yaris heat place using a piece of wire to hold it in place but your article gave me the confidence to at least dig around and look what needed to be done.
Hi John,
I really appreciate you putting this tutorial up. Help a great deal. I made a small variation. For the “bottom” large washer, I used a 1/2″x2″ washer so that the hole in the washer fit right over the nut. this way I didn’t have to cut the washer. On top of this large washer, I fit the corroded heat shield. Immediately over the “top” of the the heat shield, I placed a thin 2-1/2″ x 2-1/2″ thin aluminum sheet metal before I place a 1/4″x1-1/4″ washer. I then screw that in with a lock nut. The thin sheet metal gives a more compliant support over a larger area of the heat shield, thereby reducing stress concentration at the edge of the top washer.
Once again, thanks for your posting. It gave me courage to pursue fixing it on my own.
Good work on fixing your van, it sounds like you improved the repair with the larger washer!
Worked beautifully – thanks. I was a little nervous using the die … but it worked out just fine. I had to buy the set online – the only die sets available in nearby hardware stores didn’t have unscrewable handles – and I really would NOT have been able to do the job with the handles still attached.
Oh good, glad you could fix your van. Dies are handy things once you learn how to use them!
John
have you tried replacing the front wheel bearings of a 2008 toyota Sienna. what special tools
do we need? thanks.
Thank you, so much! Just fixed mine, took me about an hour 🙂 used one self tapping screw as one bolt completely rusted out. Painted all with rustproofing coating.
Bless you for posting your how to. With the help of some gel rust remover and penetrating oil I was able to get the old nuts off. Otherwise I followed your instructions to the letter. I figure I saved $400 – $500C.
Thanks
Gerry
This is just a THANK YOU for taking the time and effort to publish such a superb write up. It is very clear and exceptionally well illustrated. This is what’s great about the Internet: the free sharing of useful information. Your effort has probably saved lots of person-hours and money.
Although I was lucky enough to get the original nuts loose, your article gave me an excellent fall-back plan with valuable thread size information. I installed washers as you suggest and now my 2006 Sienna is rattle-free once again; I (and my spouse) thank you!
Thanks for the feedback Brian and good job on getting the old nuts free–that’s even better!
Worked like a charm. Thank You John. Great fix. Very solid. Cost under $4. Awesome.
Thanks for the feedback Scott, glad to be able to help. Once you know the thread sizes it’s a pretty easy fix and it makes sense to me to re-use what you have already mounted to the vehicle.
Very nice repair. I took a cheaper (and faster) approach. I used 1/4-inch tinnerman nuts instead of cleaning up the studs and threading new M6 metric nuts. I was concerned that flat washers large enough to cover the rusted holes would be too thick and rigid to allow good grip, so I cut four 2-inch squares of thin stainless steel. Galvanized is easier to find and would work just as well. I drilled 1/4-inch holes in each square and held them in place by a tinnerman pushed on the dirty stud. Whole job took 30 minutes.
Thanks for sharing your repair Dan–maybe that will be a better option for future readers.
Thanks for the instructions John, very clear with the pictures, good job. My 2005 sienna ,shield fell off so i have to replace it. I will try doing it myself.
Cheers
VS
Thanks for the message. Check back in after you are finished and let us know if you learn any tips you can share with future shield repairers.
Thank you so much for sharing your repair. My 2008 Sienna’s heat shield just fell off and I plan on performing the same repair. Unfortunately it’s freezing cold outside and I don’t have access to a garage at the moment. Do you know if I can drive without the shield for a little while…in other words are there safety issues etc.?
Chris, thanks for the question. I cannot certify that you won’t have a problem but we did drive with ours off for a while without issue. I’m sure there are a lot of people out there driving around without theirs on as well. It was a dirty job when I was laying in our driveway during the summer when performing this repair, I cannot imagine doing it when it is cold. Sorry for not being more help but that’s about all I can say. I did find this article/conversation over the topic in general: Car Talk: Don’t exhaust yourself replacing heat shields