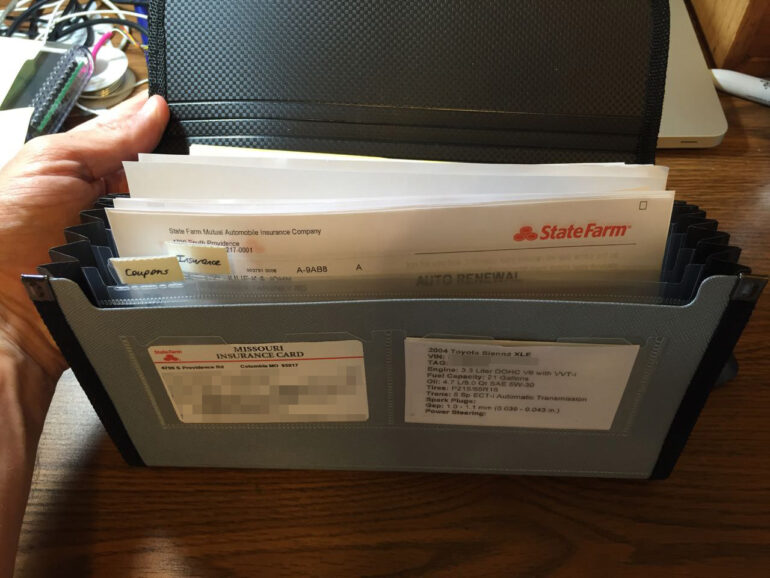
Here’s how I took my auto paperwork organization to another level. I keep very good repair records on my vehicles and keep all my receipts, but my old method of organizing was a pain so I started brainstorming how I might make it better. Glove compartments have receipts, insurance information, warranty extension paperwork, coupons for oil changes, and lots of other stuff too–how do you keep it highly organized so you have what you want when you want it? Read along as I show you how…
Parts Needed:
Tools Needed:
How to Organize Glove Box Paperwork
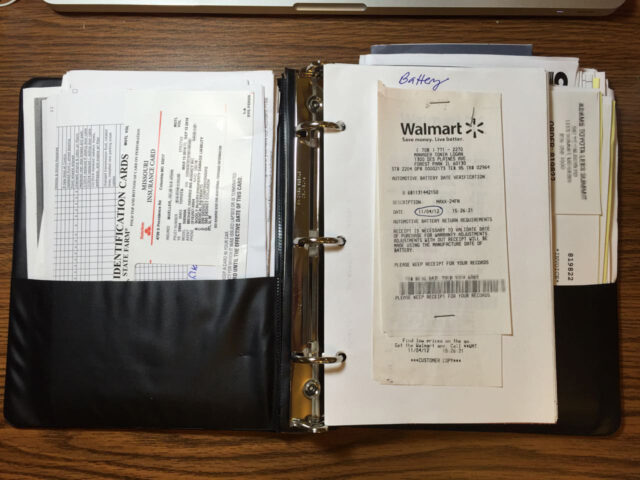
For the longest time I kept a half-sheet 3-ring notebook in my Honda Accord’s glove compartment. That same notebook migrated to my Sienna when I started a family. I always put my receipts in there, after punching holes in the receipts. I kept a single hole punch in my car and a cardboard template I used to line up the punch on the paperwork. I would put information I needed to access often in the front pocket and the back pocket I used for paperwork that needed to be hole punched and filed. It had pockets in the front and back and it worked ok for about 16 years:
I’m always looking to improve so I decided to find a new method and I’m excited to share the new highly organized way I organize my glove box paperwork. This new method doesn’t require a hole punch, has separate pockets for all the different categories of your auto documents, and has clear pockets in front for the most important information too…
Step 1: Purchase a Globe-Weis 13 Pocket Check File, 3.5 Inch Expansion, Legal Size.
You can order one for only $5.99 (as of 7/16/16) from Amazon.com here.
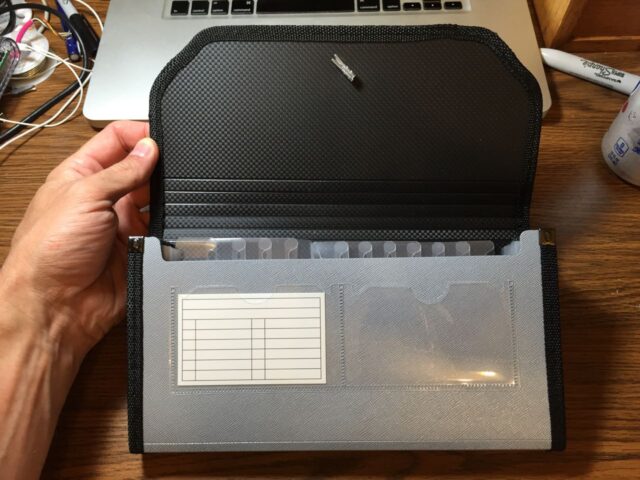
Step 2: Find the tab inserts.
If you look down into the organizer you will see alphabetical organizer tab inserts that can be turned around and customized, yes, we are going to customize them for organizing our auto paperwork.
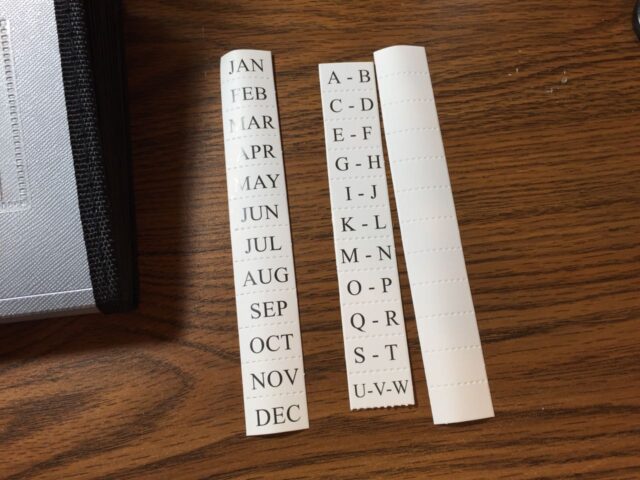
The month and alphabet inserts can be flipped over and customized as well.
Step 3: Pick your categories.
As I brainstormed and tried out the categories I wanted, I came up with the following:
- Coupons – for the oil change and service discount coupons you get in the mail–put them first so you make sure to see them
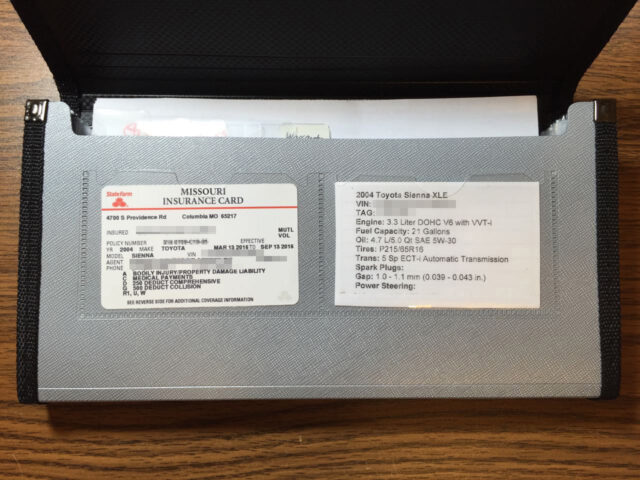
- Insurance – hopefully you don’t need to get this out but it is easily accessible now. If you get an insurance card, I’ll later show you how I put that in the little clear business card holder on the front of the organizer.
- Maintenance – This is where I put the sheet of when maintenance is due (and has the dates filled in from when I did the service)
- Registration – your state registration information
- Warranty – if you have recalls or warranty extension paperwork you received in the mail–put it here
- Receipts – This is the meat of the folder–I put all my maintenance receipts here, in chronological order.
- Owner’s Manual – There’s room for this book in here too!
Step 4: Write the categories on the tab inserts.
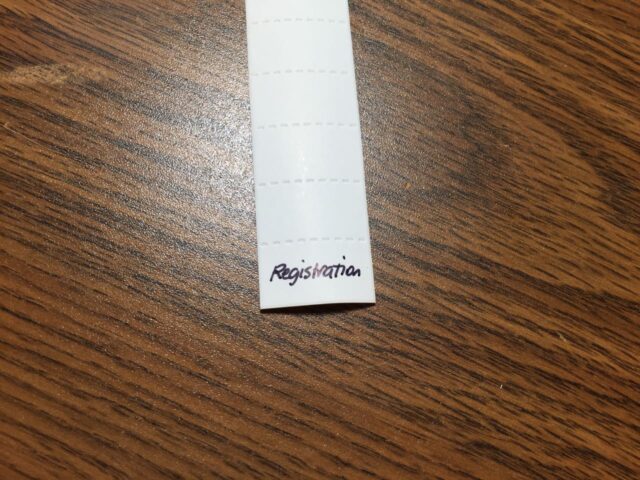
Step 5: Organize your paperwork.

Step 6: Use the clear pockets in front for even quicker access.
The two clear pockets on the front face of the organizer are perfect for your insurance card and I made a custom card with a bunch of useful information on it, including:
- Year and model of vehicle
- VIN
- License Plate Number
- Engine size and model
- Fuel Capacity (so you know how close you got to empty when you fill it up on E)
- Oil type and capacity
- Tire Size
- Transmission type
- Spark Plug Information
- Power Steering fluid type
- Let me know in the comments what other information should be on this list!
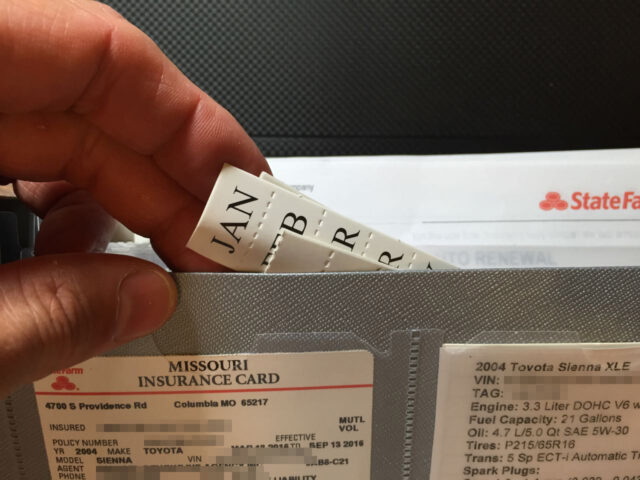
Step 7: Keep the extra tab inserts in the organizer for future use.
You will think of another category you want, so keep the extra tabs stored in the organizer:
Step 8: Feel empowered to organize some other area of your life.
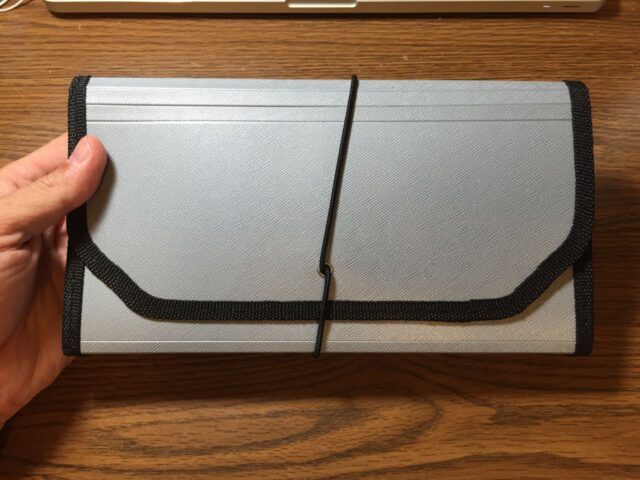
Close the flap and use the elastic band to hold it all together:
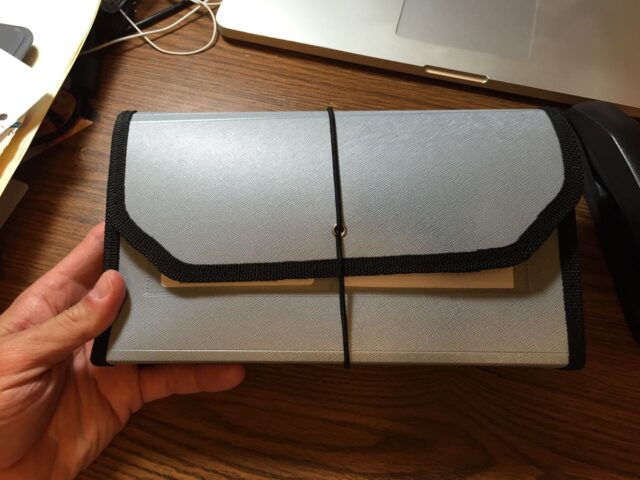
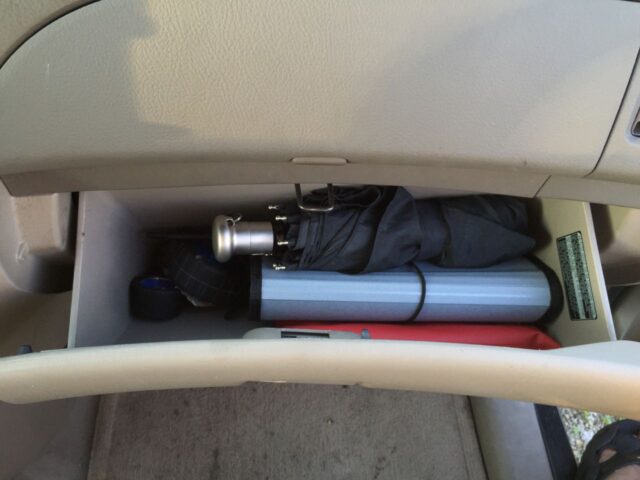
Put it in your glove compartment:
Did this help you? Do you have a tip to add? Please leave a comment!
I recommend also having a tire gauge and umbrella in your glove compartment and if you use my system you will have plenty room for more stuff. When I find a better way to organize something it always makes me feel good and motivated to organize more! If you have a tip to share on how you make your glove box organized please share it in the comments.
Please note: if you do not have any approved comments on this site then your comment must be personally approved by me before it will appear. I do this to keep my site 100% free of spam comments. I read them all and almost always review and respond to all comments within a day. I look forward to hearing from you.
Amazon Associate Disclosure: As an Amazon Associate I earn from qualifying purchases. This means if you click on an affiliate link and purchase the item, I will receive an affiliate commission. The price of the item is the same whether it is an affiliate link or not. Regardless, I only recommend products or services I believe will add value to Share Your Repair readers. By using the affiliate links, you are helping support Share Your Repair, and I genuinely appreciate your support.

