Changing the oil and filter on your Hyundai Accent is really easy so if you have never done it before I can help you learn. Follow along to learn how to change the oil and filter on your Hyundai Accent…
How to Change Oil on Hyundai Accent
Vehicle:
Parts Needed:
- Bosch 3312 Premium FILTECH Oil Filter
- 5-Quart Jug of 5W-20 Motor Oil
(the car takes 3.5 Quarts but you cannot buy a half quart and a 5-quart jug is less expensive than buying 4 individual quarts)
Tools Needed:
- Oil Filter Wrench
- 17mm socket and ratchet (get this and much more in a 210-Piece Stanley Tool Set
)
- Oil Drain and Storage Pan
- Pair of Vehicle Ramps
Step 1: Drive your Hyundai up on the ramps.
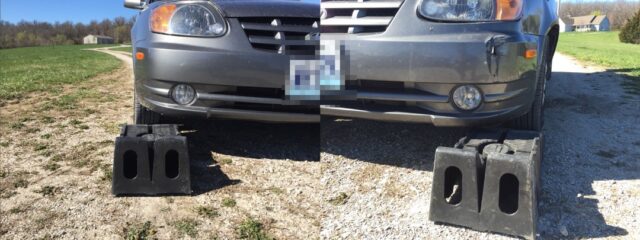
I first should say that although it pretty easy to put your vehicle up on ramps, you could damage your car if you are not careful. Take your time and be careful. First slide the ramps right up to the tires and align them up with the direction the tires are pointing (hopefully pointed straight forward):
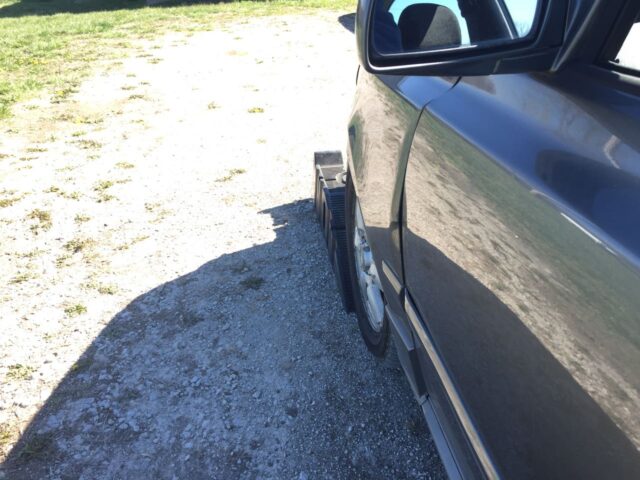
Then drive your Accent up onto the ramps. If you stick your head out your driver’s side window you can see where you are at and so you don’t drive off the end of the ramp:
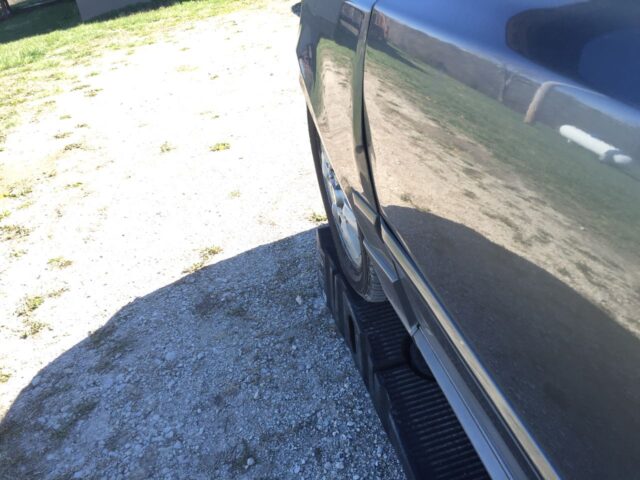
If you try to turn your wheels while you are in contact with the ramp the ramp will turn with you wheels so if you need to start over just start over (don’t try turning your wheels).
Step 2: Position the oil catch pan under the oil plug.
The oil pan is on the passenger’s side of the vehicle to the right of the exhaust pipe as seen below:

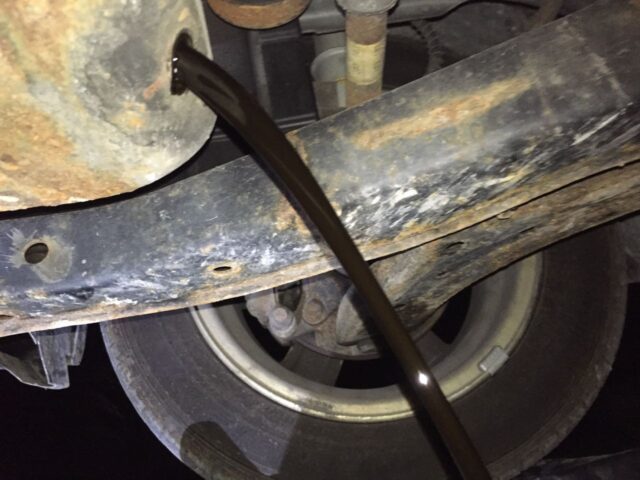
One thing to note is that the oil will shoot out the back of the oil drain hole and will land 5-6 inches towards the back of the vehicle.
Step 3: Remove the oil plug.
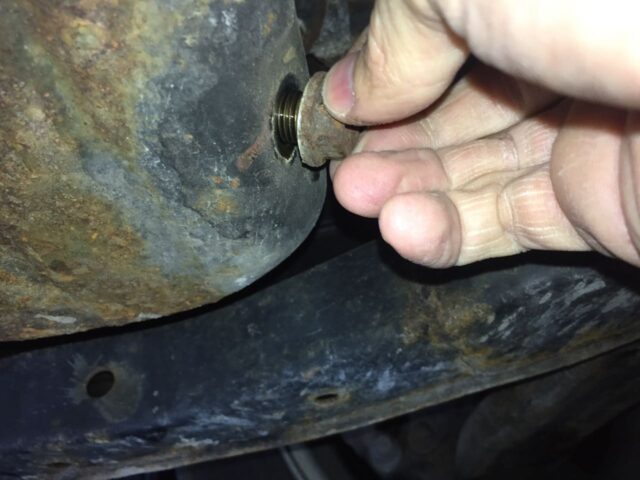
The oil plug is on the back edge of the oil pan and has a 17mm bolt head on it:
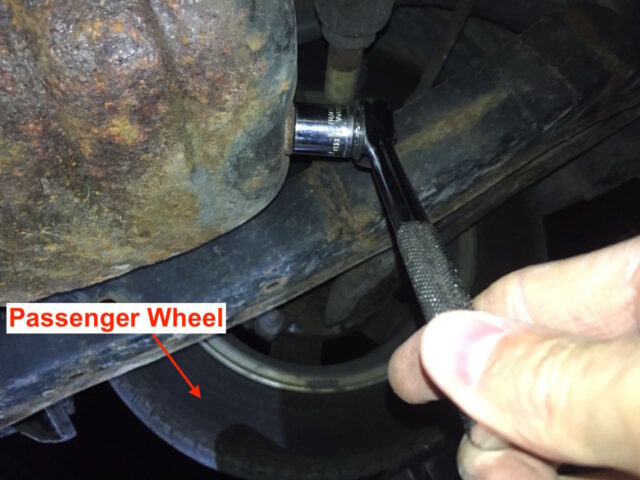
I would suggest breaking the bolt free with the socket and ratchet and then loosing the bolt the rest of the way with your fingers so you can keep track of the drain plug–remember that you turn it counter-clockwise to loosen it. Another thing I want to mention is to keep the socket square on the nut head so you do not accidentally round it with the socket.
Step 4: Remove the dip stick and oil fill cap.
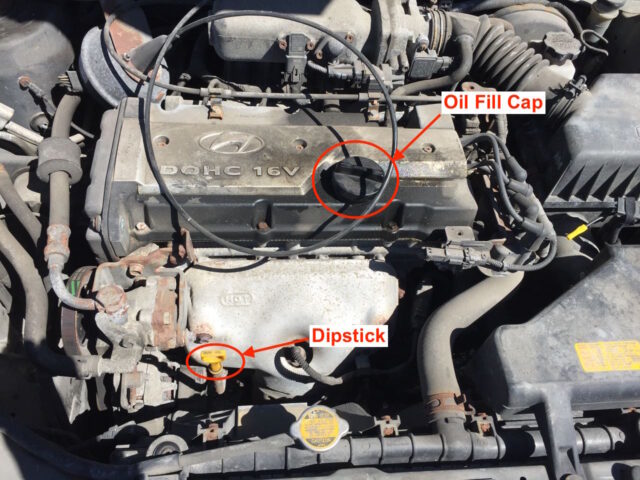
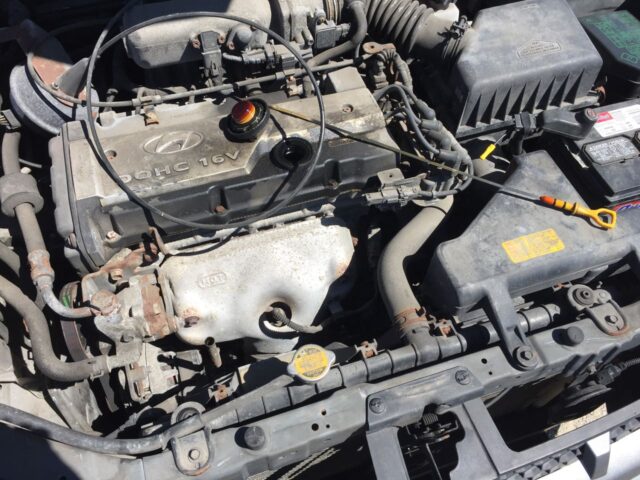
The oil will drain out better if you take out the dip stick and remove the oil fill cap so air can come in as the oil drains out. Turn the oil fill cap counter-clockwise to unscrew it:
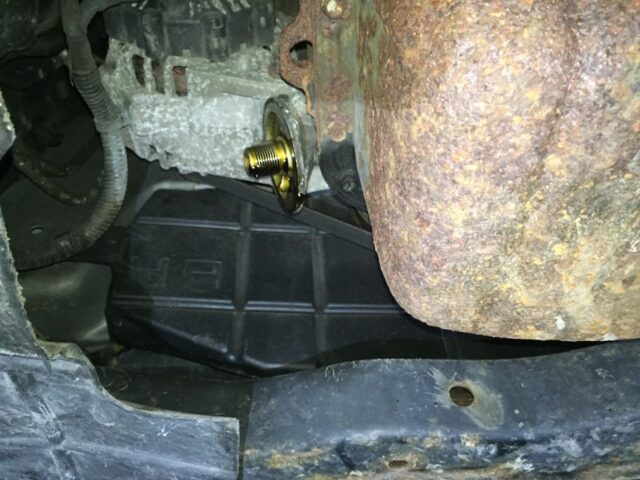
Step 5: Remove the oil filter.
The oil filter is located on the front side of the oil pan as seen below. Your filter may be any color (black, blue, red…):
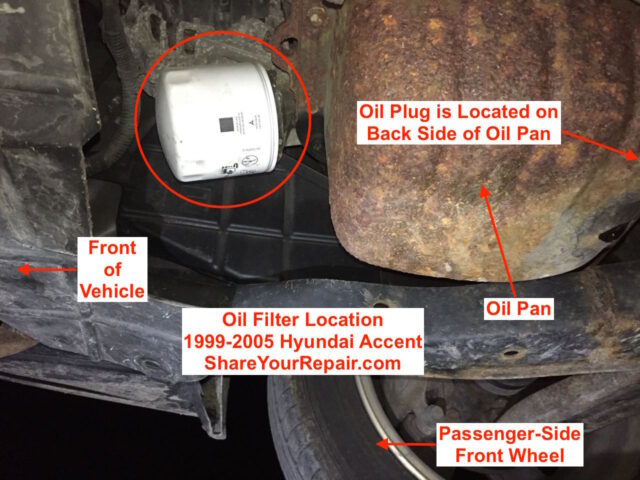
Once the oil is only dripping from the drain hole you can move the drain pain over under the filter. You possibly can remove the filter by hand but I’ve found that often it is very handy to have a filter wrench. Oil filter wrenches either loosen or tighten based on which side you put on the filter first. When you go to loosen or tighten the filter, the wrench will tighten around the filter. If it does not do what you want when you turn it the direction need to go, simply flip the wrench around and then it will work. Turn the filter counter-clockwise to loosen it:
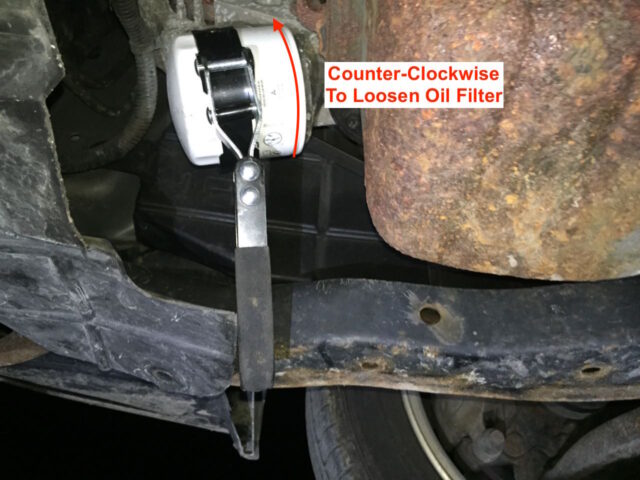
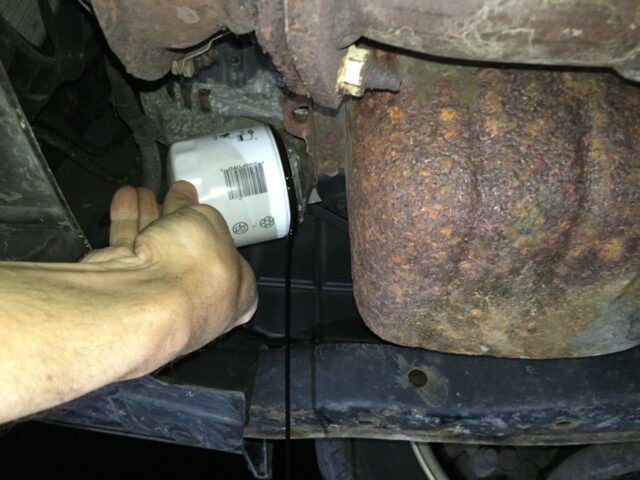
I would get the oil filter broken free with the filter wrench and then remove it the rest of the way by hand. One thing to note is that oil will begin leaking out before the filter is completely removed so keep yourself clear from the oil:
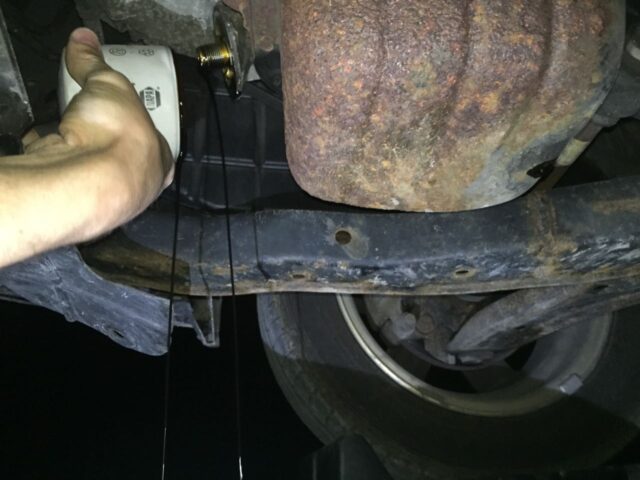
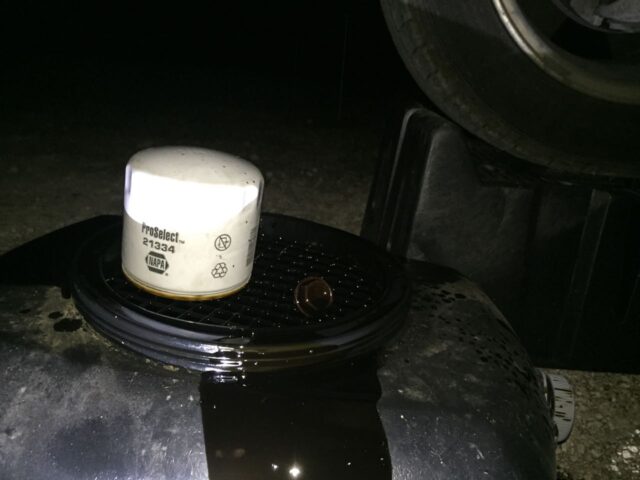
Once the filter is free you can just set it in the oil pan if yours has a nice grate on it like mine:
Step 6: Install the new oil filter.
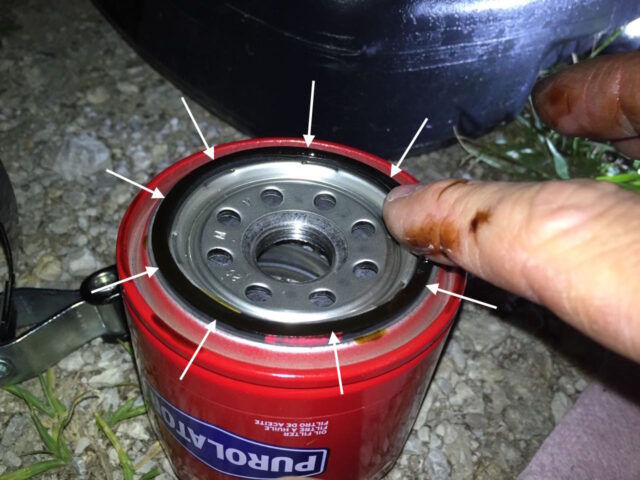
Step 6a: IMPORTANT: You must apply a thin layer of oil onto the rubber seal of the new filter before installing!
Dip your finger into some of the used oil you just drained off and smear a layer of oil on the new oil filter o-ring:
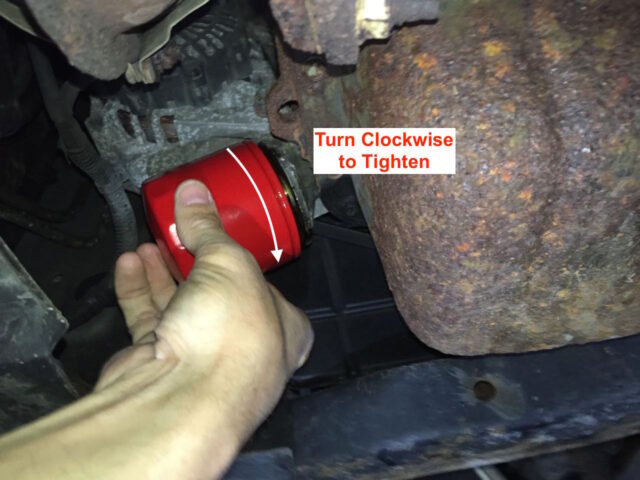
Step 6b: Put the oil filter on by hand.
I just hand tighten my filters about as tight as I can and that is plenty good enough.
Step 7: Reinstall the oil plug.
Start the oil plug bolt by hand so you make sure that you do not cross the threads and then tighten with a 17mm socket and ratchet. You don’t need to torque it down very tight because you could strip the threads.


Step 8: Fill the engine with oil.
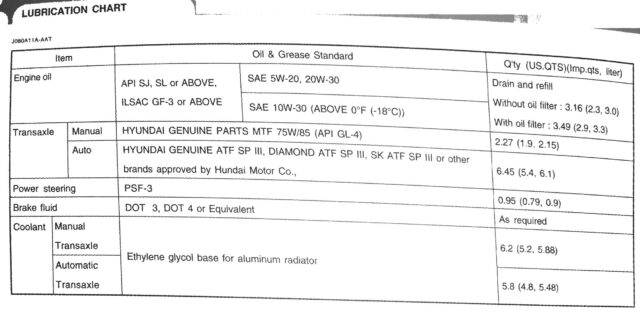
The Hyundai Accent 1.6L engine takes 3.49 quarts of oil if you change the filter, which I would always prescribe:
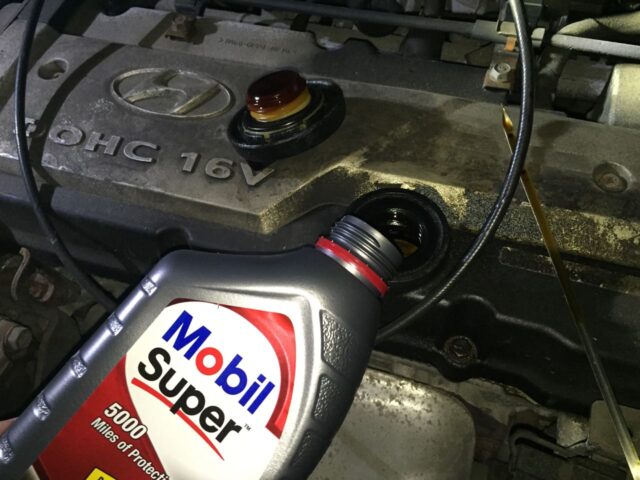
What I do is first pour in 3 whole quarts:
And then mark the 4th bottle at 16 ounces, which is a half quart:
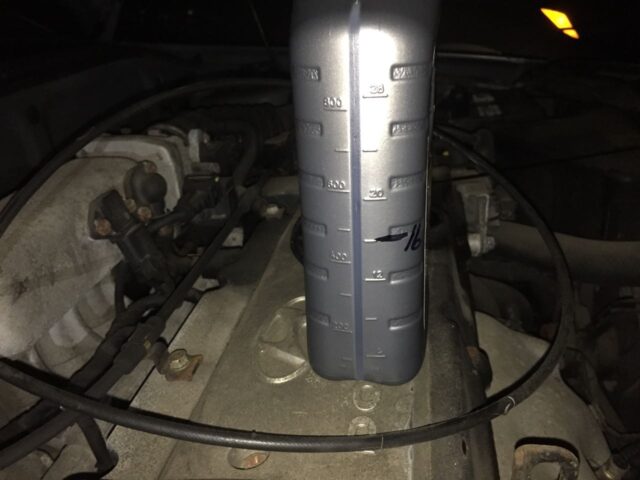
And then pour half the quart of oil in, watching for the oil level to get down to my 16-ounce mark.
Step 9: Reinstall the oil fill cap and the dipstick.

Step 10: Check your Oil.
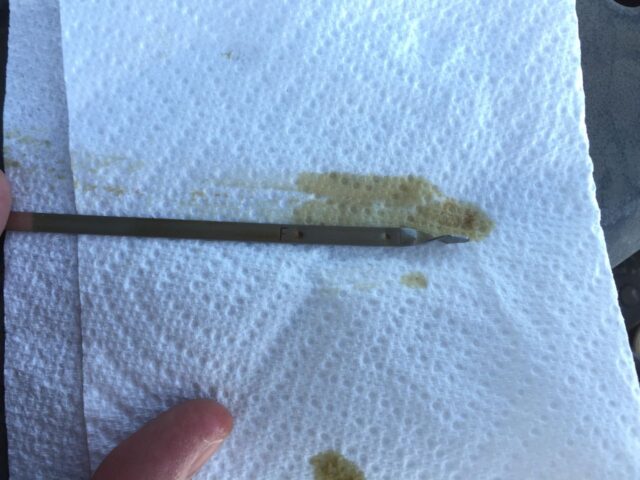
Now you should run your car for a few minutes, let it set for 5 minutes, and then check the oil (the car must be on a level surface to get a good reading). One thing to note is that fresh oil is difficult to see because it has not gotten dirty and is clear. An easy way to “see” how much oil is on the dipstick is to take the dipstick and lay it on a clean paper towel, carefully keeping the dipstick parallel to the oil mark on the towel, and the level will be easily visible, Full:
Changing your own oil is an easy thing to do and it gives you a chance to look your vehicle over with your own eyes, which can help you to notice things that need attention.
Did this tutorial help you change your oil? Do you have a tip to add? Please leave a comment!
If you where helped by this article please encourage others to change their oil on their own too. Do you have a tip to add to this article? Do you have a question you want answered before you get started? Post it in the comment section and I’ll get right back to you.
Please note: if you do not have any approved comments on this site then your comment must be personally approved by me before it will appear. I do this to keep my site 100% free of spam comments. I read them all and almost always review and respond to all comments within a day. I look forward to hearing from you.
Amazon Associate Disclosure: As an Amazon Associate I earn from qualifying purchases. This means if you click on an affiliate link and purchase the item, I will receive an affiliate commission. The price of the item is the same whether it is an affiliate link or not. Regardless, I only recommend products or services I believe will add value to Share Your Repair readers. By using the affiliate links, you are helping support Share Your Repair, and I genuinely appreciate your support.


I always have used synthetic and because of that I have always changed the oil myself. I changed it myself because it was almost double the price to have somebody else change it. The problem was I didn’t have a good way of documenting my own oil changes. I knew it would probably be a problem down the road. If I keep regular oil like you do then I would save a ton of money and not have to change it myself anymore!! Although I don’t know how many places out there I can trust to change my oil…I guess the dealer would be good but they are 35 miles from me. I would say the gas money would not be worth it but I have a HSH lol
Thank you for sharing. Recently I’ve been doing some of my oil changes and I simply log them in the maintenance table I created that mimics the one in the owner’s manual. Because I keep such good records of all the service I do on my vehicles I don’t think anyone would have a problem if I handed them a table that I filled out showing the dates and mileage of the oil changes I performed. That is what I would recommend you do and it doesn’t have to be fancy–you could do it on a sheet of paper by hand.