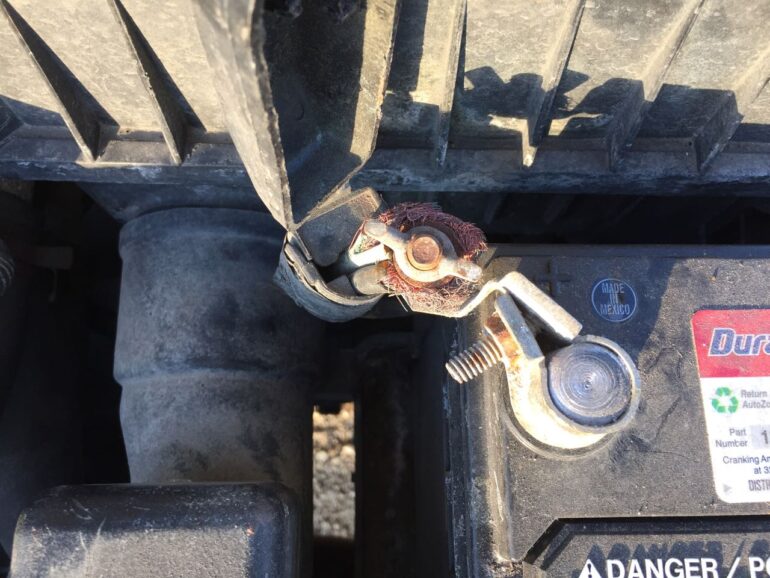
My car would not start–not even a click when I turned the key in the ignition. Just before I acquired the car the battery had been replaced so I didn’t think it was a bad battery and I had been driving for 40 minutes before this so it was not that I left the lights on. After popping the hood it became clear that I needed to replace bad battery terminals because the wires were very frayed where they run to the positive terminal connector. Now you could buy the OEM part but it includes the positive and negative terminals and that is expensive and a lot of work and after thinking about I realized there is an easier way–installing a battery terminal splice. Here is how you can fix your bad battery cables…
How to Repair Bad Battery Cables
Automobile:
- Any vehicle but you will need to get the specific replacement terminals for your vehicle. I will specifically show you how to perform this repair on a 1999-2005 Hyundai Accent GT.
Tools Needed:
- 10 mm (battery terminals) and 12mm sockets (battery mounting bracket bolt) and ratchet, get these and more in this: 210-Piece Tool Set
- Wire Stripper Tool
Parts Needed:
Step 1: Determine the type of battery terminal splice that you need.
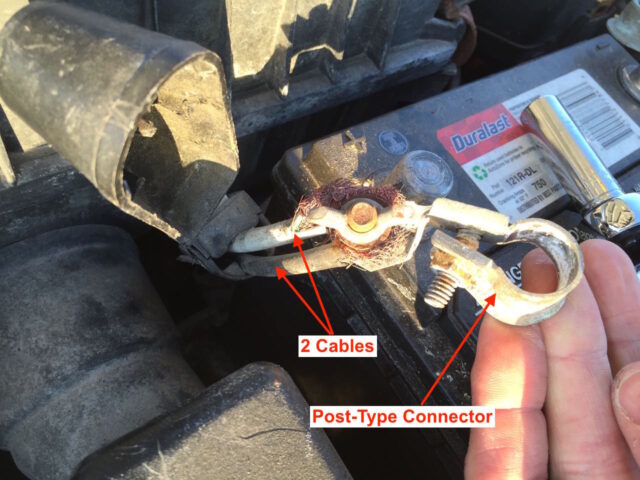
My battery has posts on it so that is one particular feature you need. Secondly, this Hyundai Accent has two wires that connect to the positive terminal. It’s actually one cable that runs up and loops around the post on the battery terminal connector but electrically it is two connections. So your replacement “splice” needs to be the post type mount and have two connectors. Below is my bad positive battery cable:
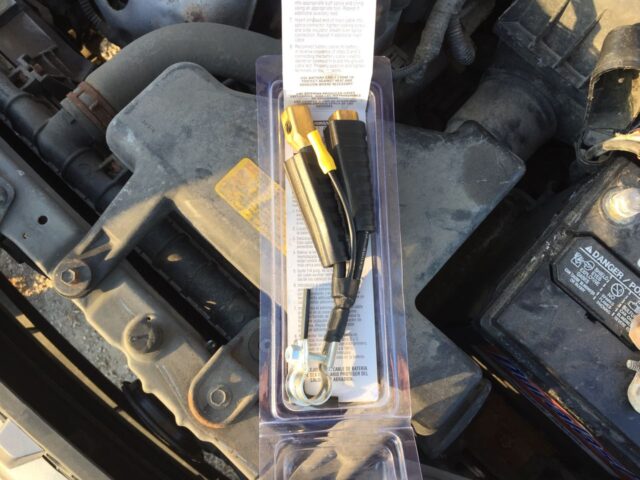
I have the splice required for a 1999-2005 Hyundai Accent GT linked in the “Parts Needed” list above. One thing to note is that the battery splice I have linked has an additional “auxiliary wire” which you can just leave disconnected and it will not matter at all. I couldn’t find one without the extra wire. I could not find one that is red in color so you’ll just need to remember from here on out that this black cable is actually the positive. This is the splice I purchased:
Step 2: Remove the battery.
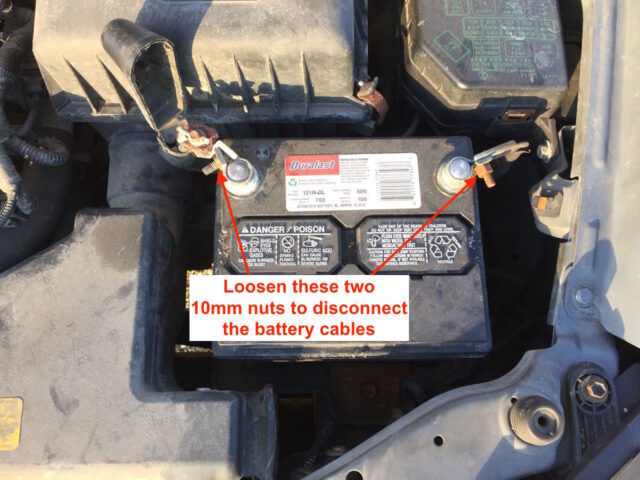
It is much easier to do this repair with the battery out of the way so taking the battery out gives you the room you need to do this repair. Mine required a 10mm socket to loosen the bolts on the battery terminals:
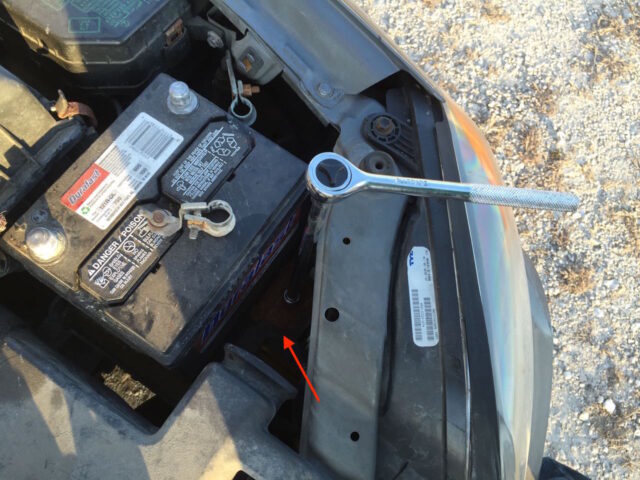
This battery is held in place by one 12mm bolt and a bracket. You’ll need a 6″ extension on your ratchet to reach this bolt:
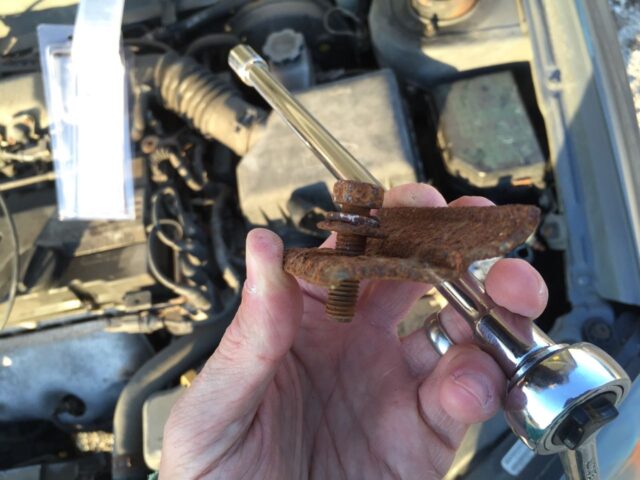
I will spray some WD-40 on this before I put it back in (it was quite stiff removing it):
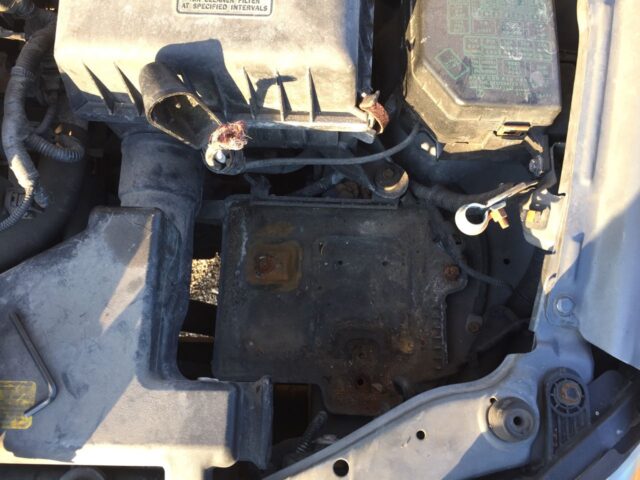
Step 3: Cut off the bad portion of the battery cables and prepare the ends.
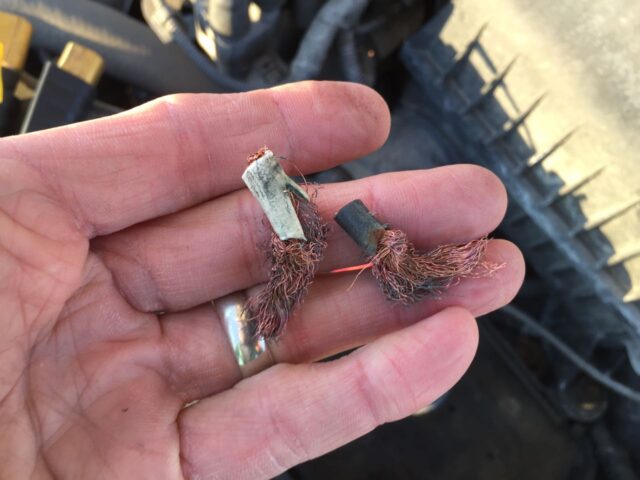
You will want to cut off all the bad frayed wires so you can make a good connection with the splice. The splice comes with like 6 inches of pigtail so you have plenty room to cut off all the bad ends. Do not try connecting the splice to the frayed wires–you want to connect them to shiny new-looking copper wires (that were previously protected by the insulation). Be careful not to cut off too much because you DO NOT want to leave them short. This is how much I cut off:
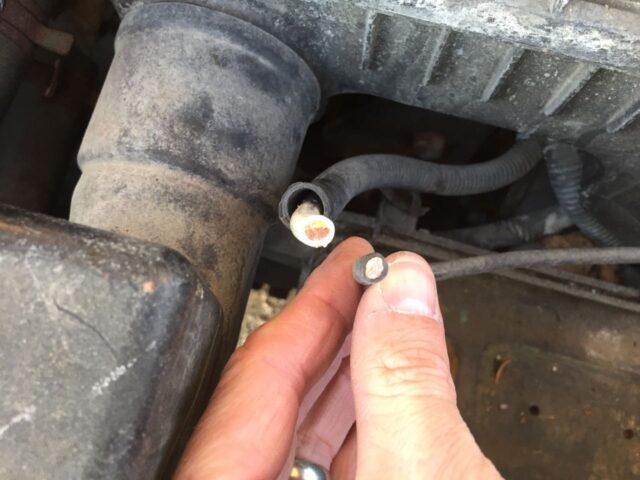
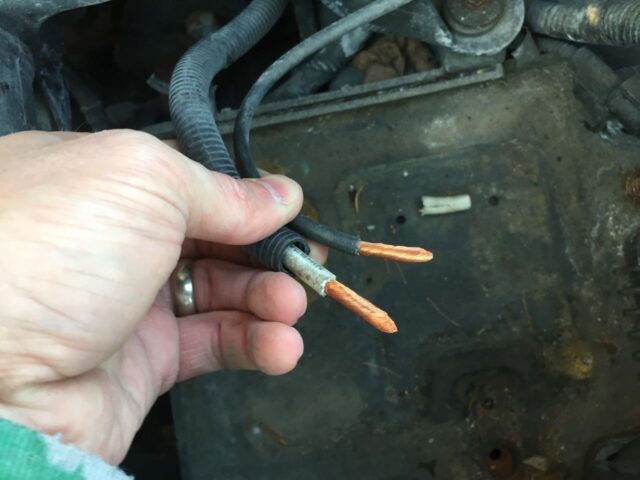
You want to see shiny copper on the ends:
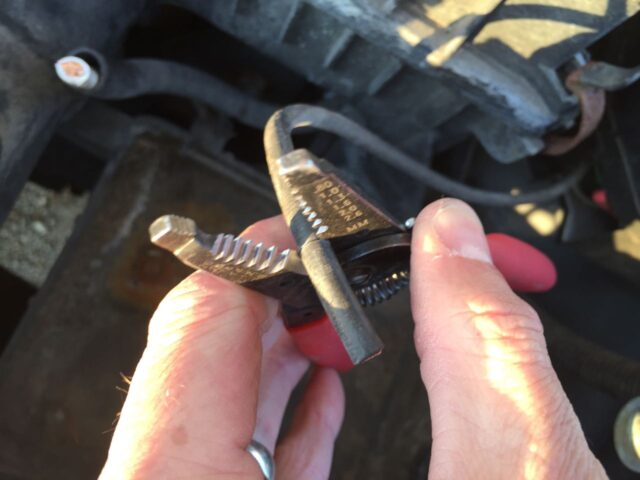
Clean off about an inch of the insulation, being careful not to cut down into the wiring:
Step 4: Connect the pigtails.
Insert the battery cables into the pigtail connectors and tighten down the set-screws. My pigtail set came with the correct allen wrench for tightening the set screws:
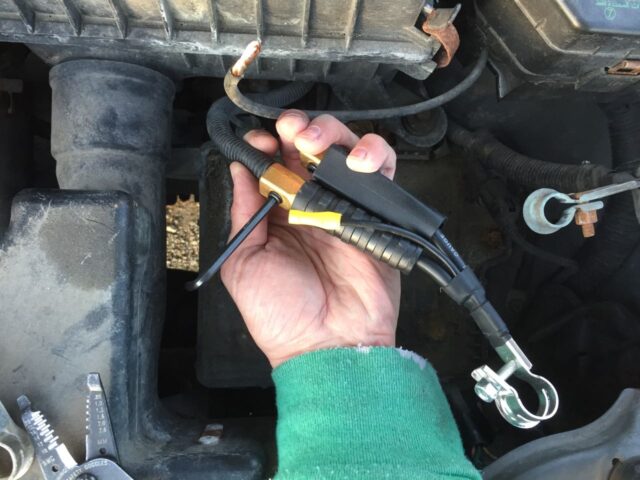
You will want to tighten the set screws very tightly in order to make a good electrical connection. Note that nothing is connected to the smaller third wire but that is ok–it is insulated at the end and will not be a problem.
Step 5: Reinstall the battery.
Set the battery back in place and reinstall the battery bracket if you have one.
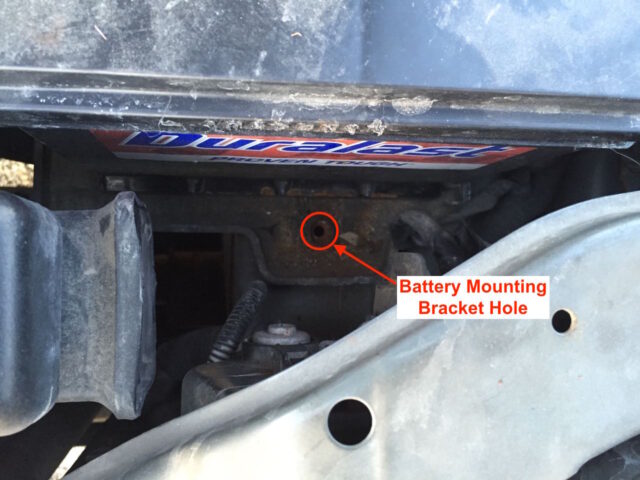
Step 6: Reconnect the battery.
Place the terminals back on the posts of the battery and tighten the 10mm bolts:
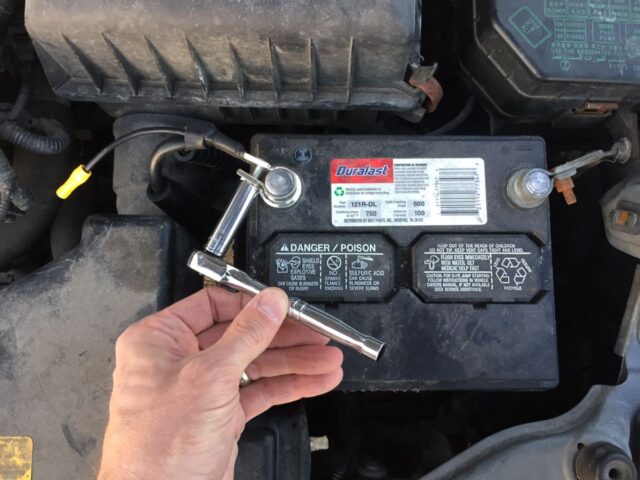
My positive terminal had a plastic case that snapped over it to protect you from accidentally shorting out the battery. It would not fit back on this new battery cable but I modified it and was able to reinstall it. I forgot to take a picture of it. Anyway, by repairing your bad battery cables with pigtails you will save yourself money and time and be back on the road before you know it.
Amazon Associate Disclosure: As an Amazon Associate I earn from qualifying purchases. This means if you click on an affiliate link and purchase the item, I will receive an affiliate commission. The price of the item is the same whether it is an affiliate link or not. Regardless, I only recommend products or services I believe will add value to Share Your Repair readers. By using the affiliate links, you are helping support Share Your Repair, and I genuinely appreciate your support.

