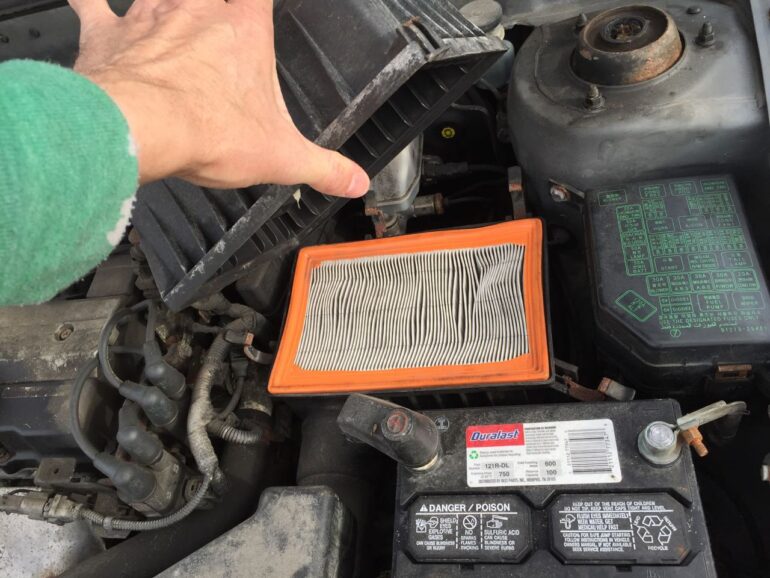
Here I show you how easy it is to change your own engine air filter. Repair shops will charge you to replace it but you can easily do it for the price of a filter and they are cheap!
Equipment:
Tools Needed:
- None!
Parts Needed:
- Fram CA8970 Extra Guard Flexible Panel Air Filter
- Sharpie Fine Tip Permanent Marker
(for writing the install date on the filter)
How to Change Hyundai Accent Engine Air Filter
Step 1: Pop the hood.
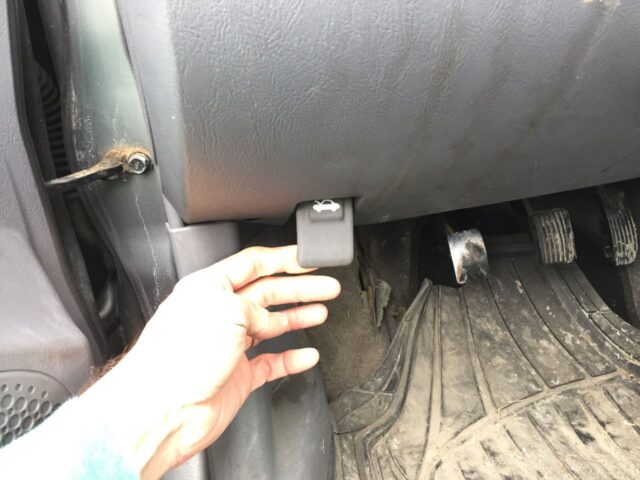
Pull the latch inside the cabin down near the drivers left knee on the dash:
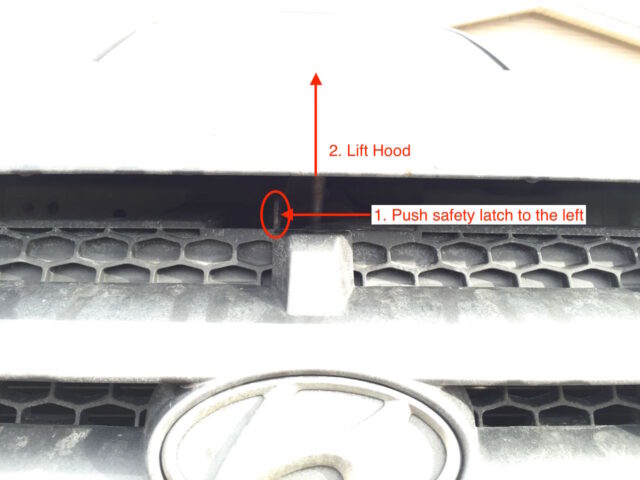
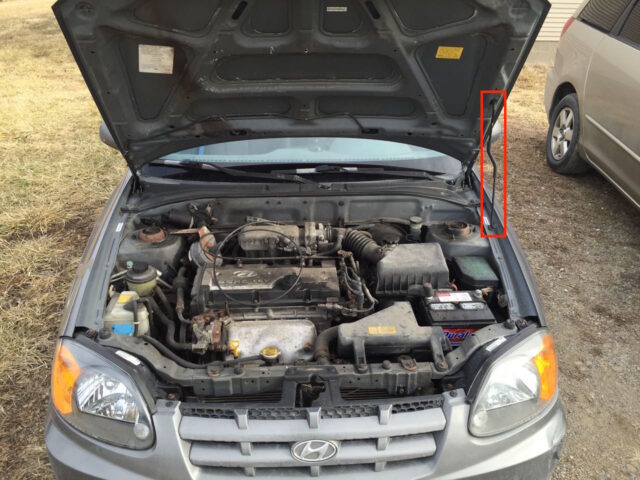
Release the hood safety latch and lift the hood:
Put the hood support rod in place.
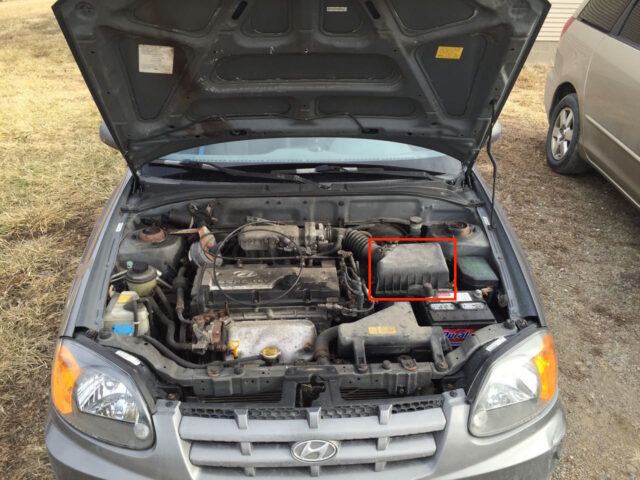
Step 2: Locate the air filter box.
The air filter box is above and slightly to the left of the battery:
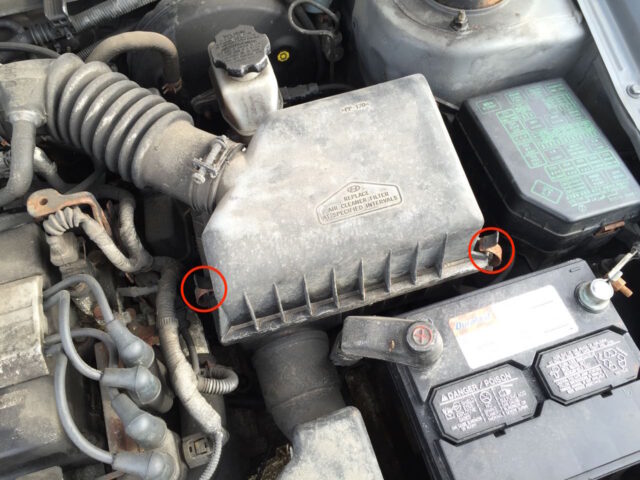
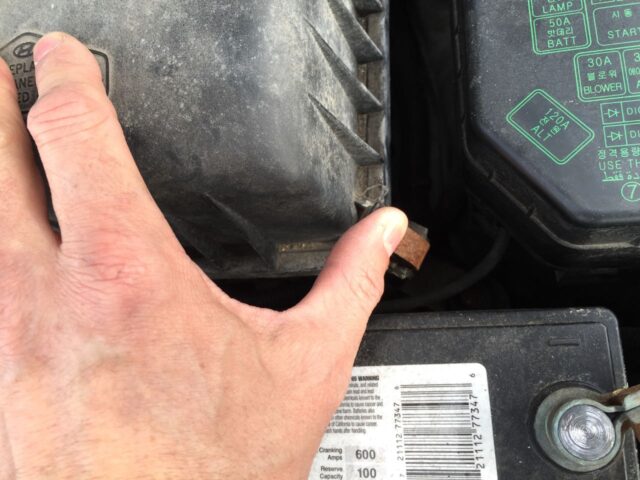
Step 3: Release the four filter box lid latches
There are four spring latches that lock the upper cover down on the air filter/breather box. Below is where they are located.

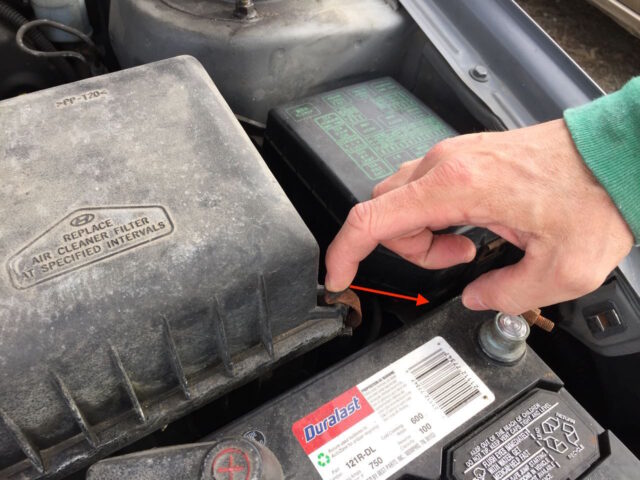
Simply pry them each off as seen below:
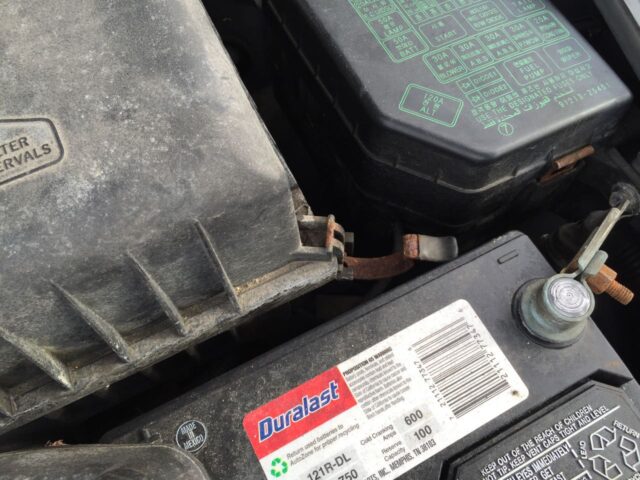
Step 4: Lift off the lid of the air filter box and remove the old filter.
The filter box lid will lift straight off and then you can see the engine air filter sitting there:
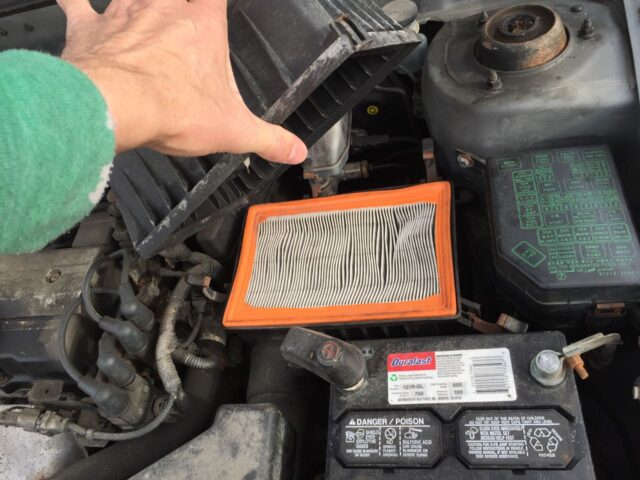
Take out the old filter. It just lays in the opening.
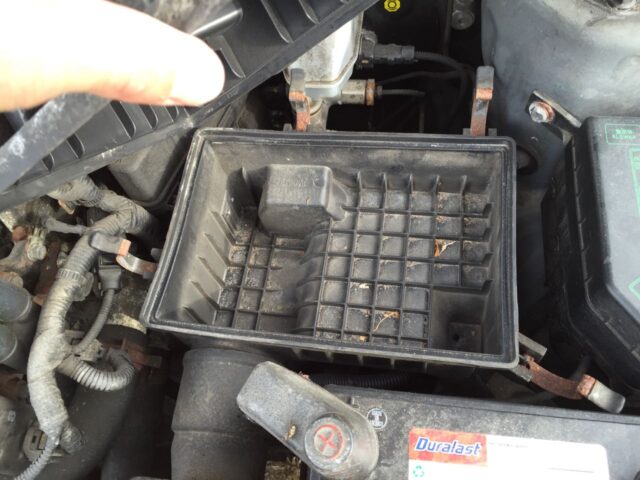
If there are any large leaves or any other debris, clean it out now. If you really want to you can vacuum out the bottom of the air breather box. It’s not crucial that you do because the air flows into the bottom of this box and then is drawn through the air filter and into the engine–anything large in the bottom of this box will stay on that side of the filter.
Step 5: Write the date on the new filter.
It is handy to know when you installed the filter so I like to write the install date on my filters with a Sharpie marker:
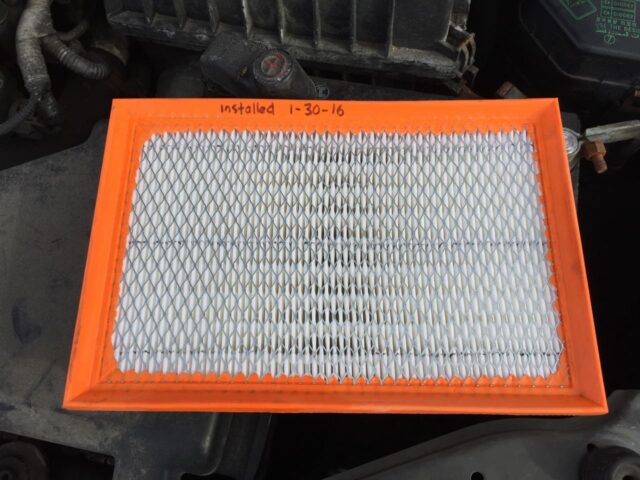
Step 6: Insert the new air filter.
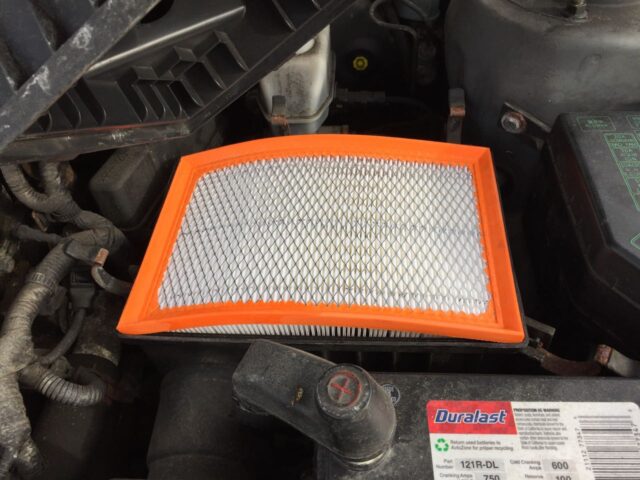
The replacement air filter I purchased had square corners where the opening where the filter lays has slightly rounded corners. This is not a big issue but it makes the filter seem to be too big. You want to make sure the corners get down into the opening as seen below and then when you put the cover on it will lay in place like it should:
Step 7: Reinstall the air box cover and latch it in place.
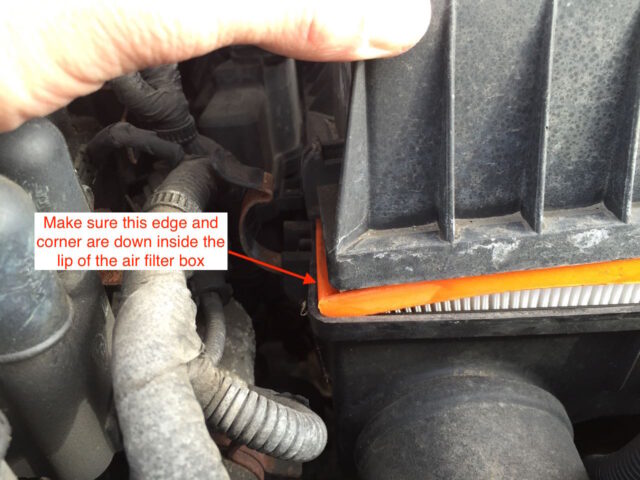
When you are placing the breather box lid on make sure the filter stays down inside the lip on both sides.
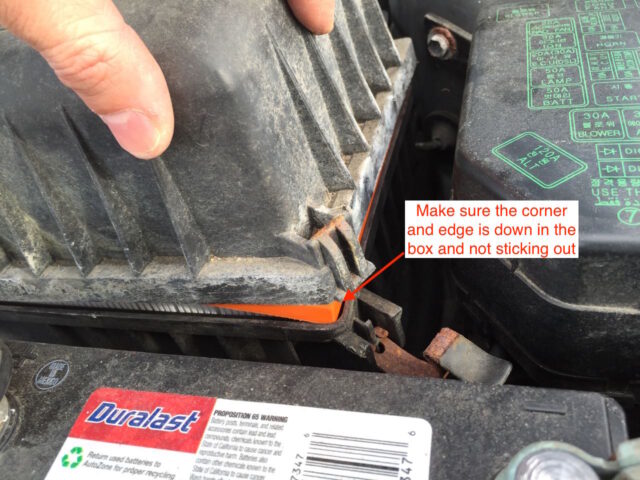
You should feel the lip of the lid nestle down over the edges of the lower half of the air breather box:
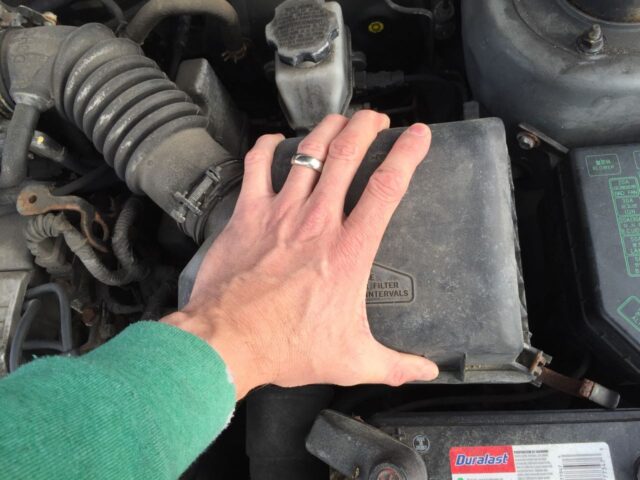
Flip all four latches back into place:
Step 8: Close the hood and you are done.
I never “slam” my hood down. I drop it from maybe 6 inches and then push it down to latch it shut. There’s always the chance you could have left a tool under the hood and you could damage the hood or something inside the engine compartment and it is unnecessary to slam a hood. Now you are done! An auto repair shop charges for labor and 20% or more on top of the cost of parts to put in an air filter so why not do it yourself and save money? It’s easy and anyone can do it!
Amazon Associate Disclosure: As an Amazon Associate I earn from qualifying purchases. This means if you click on an affiliate link and purchase the item, I will receive an affiliate commission. The price of the item is the same whether it is an affiliate link or not. Regardless, I only recommend products or services I believe will add value to Share Your Repair readers. By using the affiliate links, you are helping support Share Your Repair, and I genuinely appreciate your support.

