You can easily upgrade RAM on Dell Optiplex 320 and it will take up to 4 GB. If you upgraded to Windows 7 and are still using your Optiplex 320 you can easily max out the RAM and do it yourself for not much money. Here’s how…
How to Upgrade RAM on Dell Optiplex 320
Hardware:
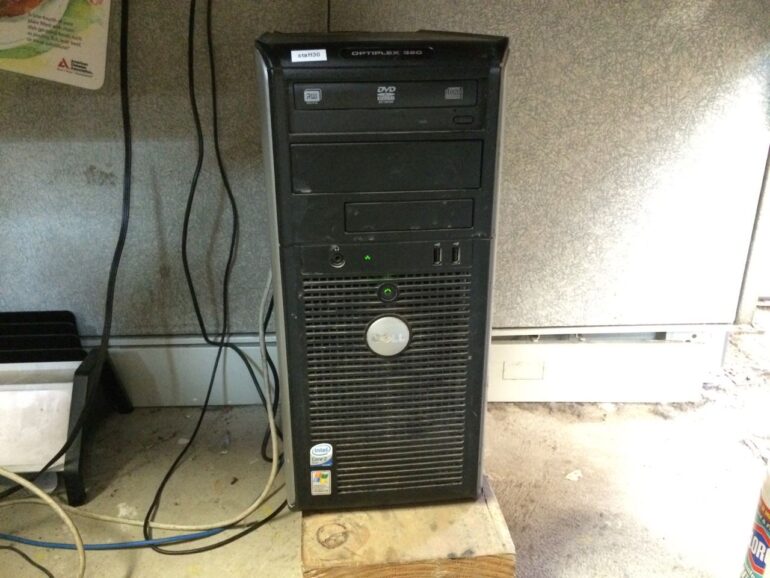
- Dell Optiplex 320 (manufacturer support page)
- Original RAM: Hynix 1GB 2Rx8 PC2-53000U-555-12 Part: HYMP512U64BP8-Y5 AB-A 0713
Parts Needed
Tools Needed
- None!
Step 1: Determine how much RAM you have.
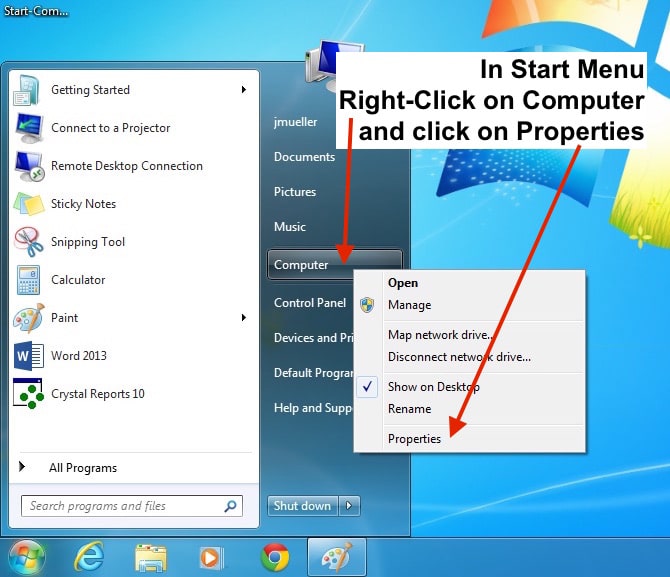
In Windows 7 click on the start menu, right click on Computer and click on properties.
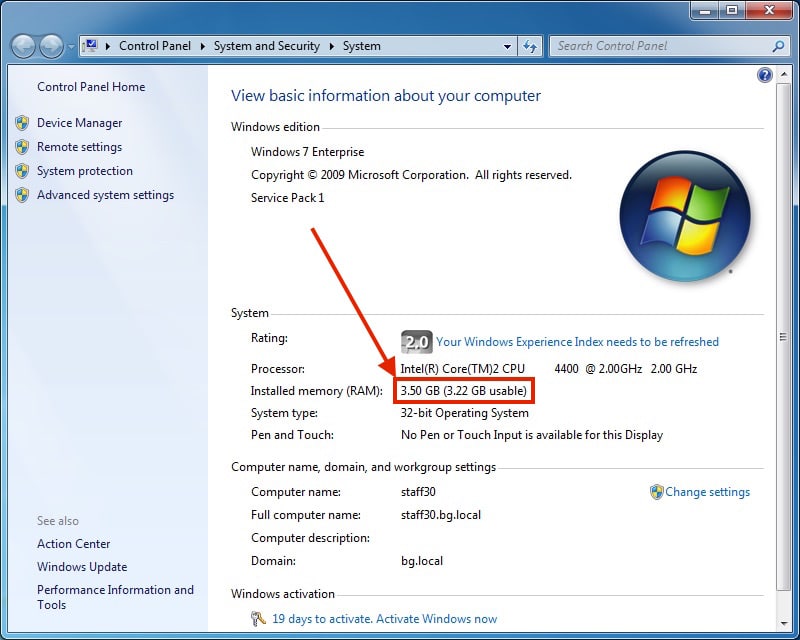
You can see the amount of installed RAM in the System section:
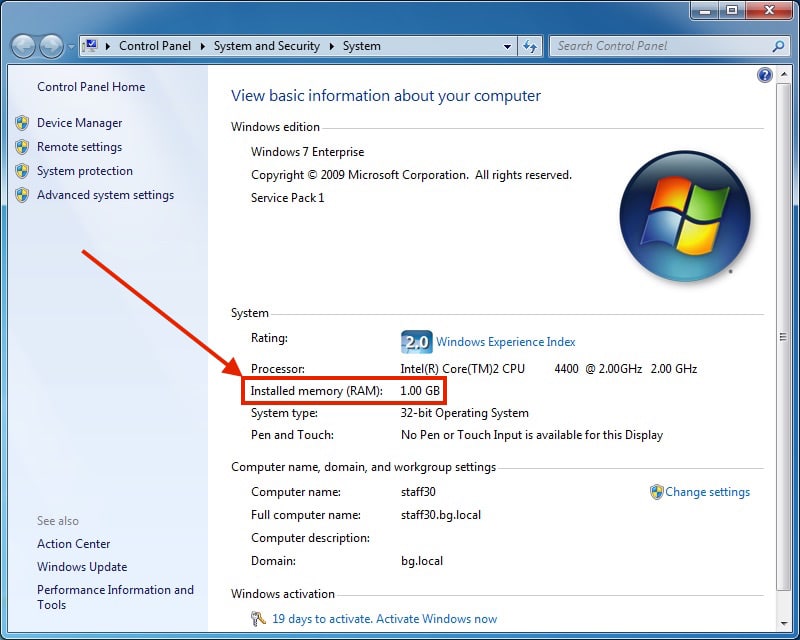
This machine only has 1 Gig installed so we can quadruple that amount to 4 GB with two 2 GB sticks of Desktop Ram as linked in the parts section at the top of this article.
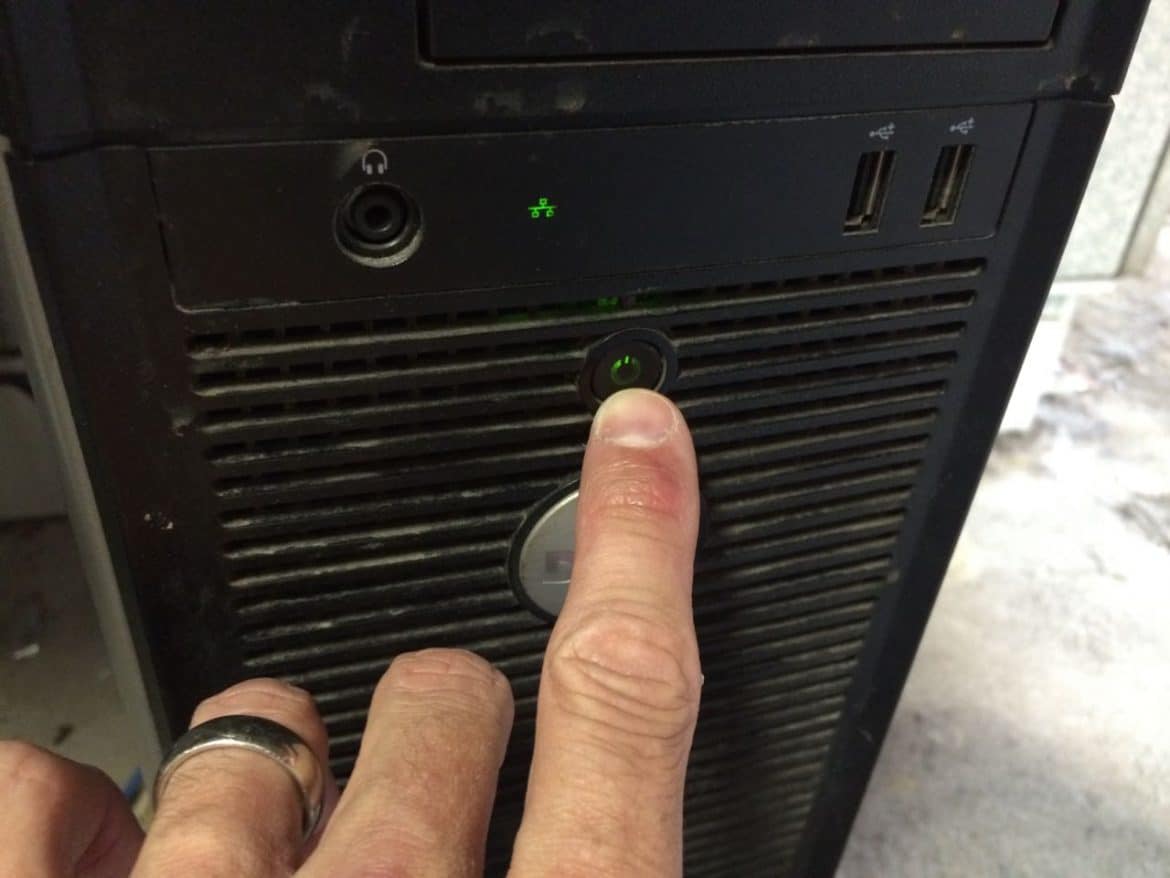
Step 2: Power off and unplug your Dell Optiplex 320.
Honestly, I did not unplug this machine when I upgraded the RAM but you can see from the lit LED on the motherboard that there are some things that are still powered on the motherboard even when the power is turned off so it is probably a good idea to unplug it.
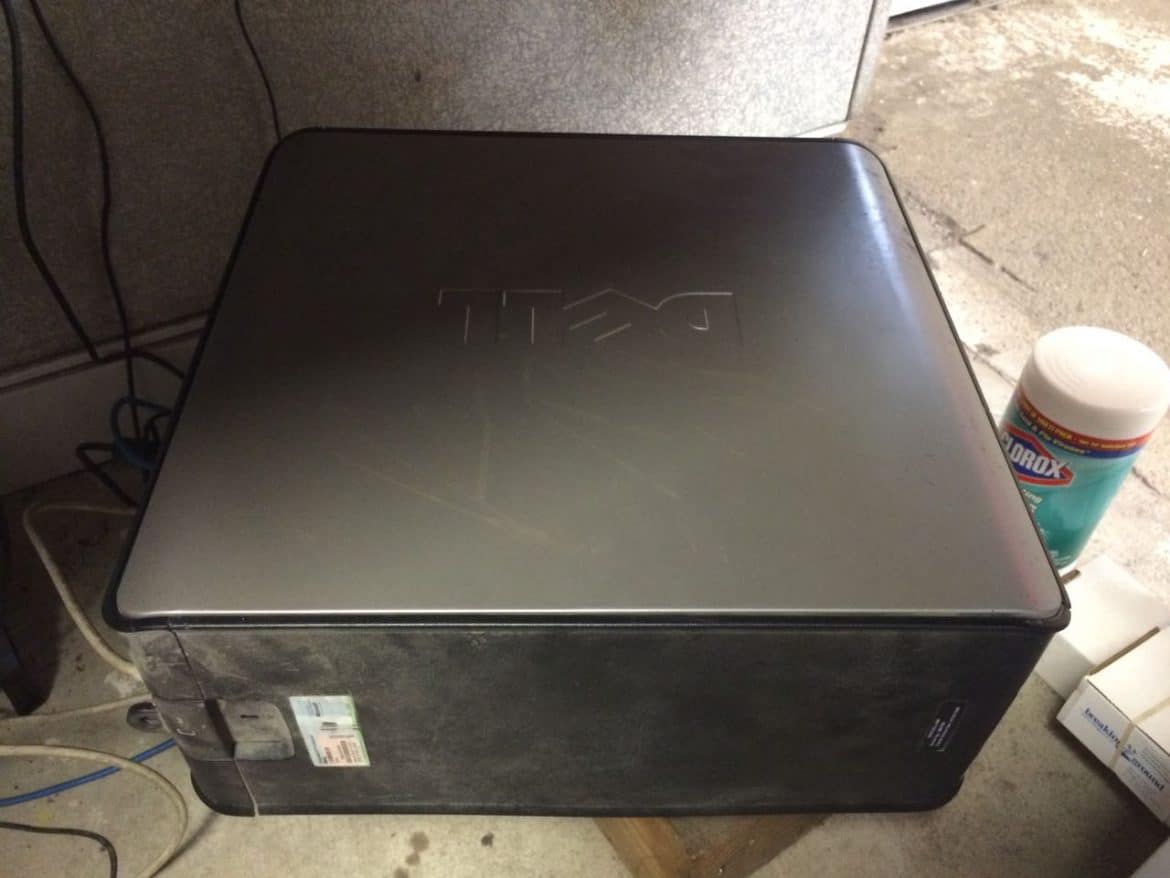
 Step 3: Lay the machine on its left side.
The right side cover comes off so you want it laying on its left side.
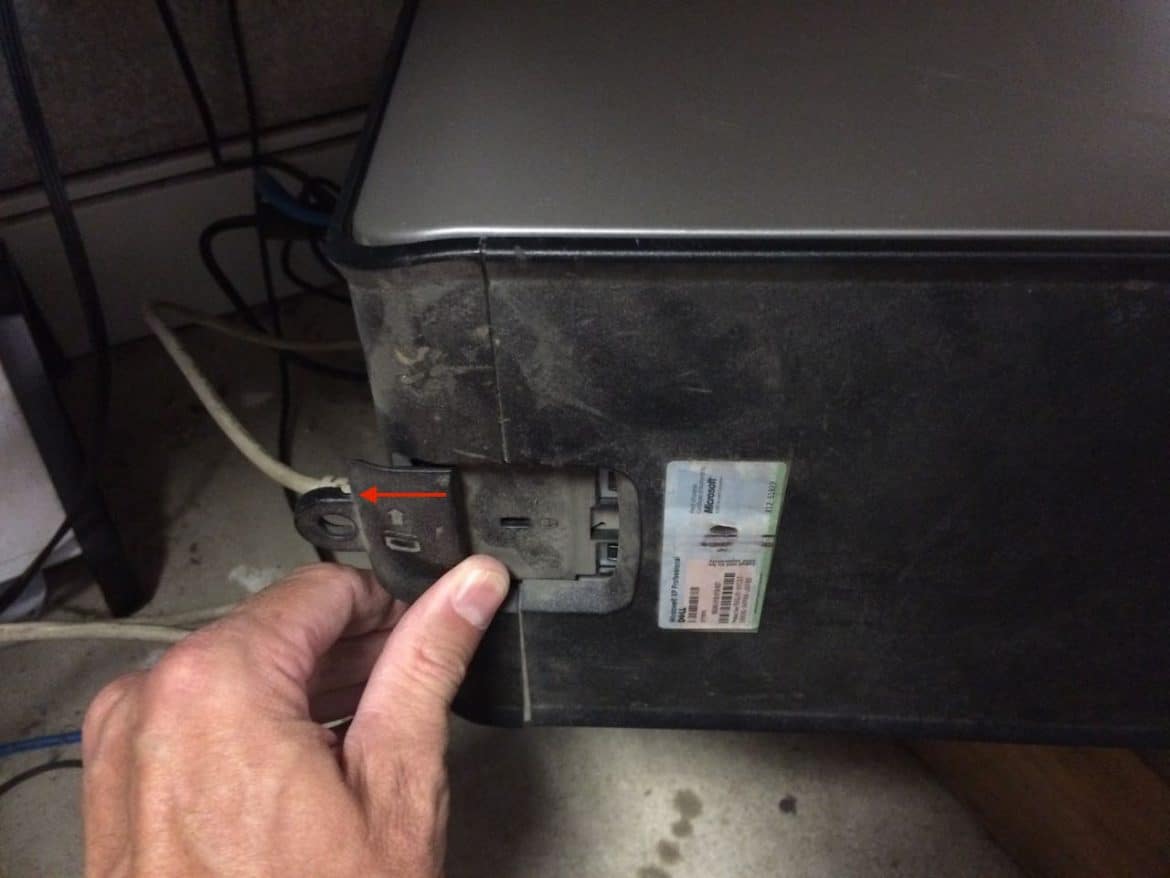
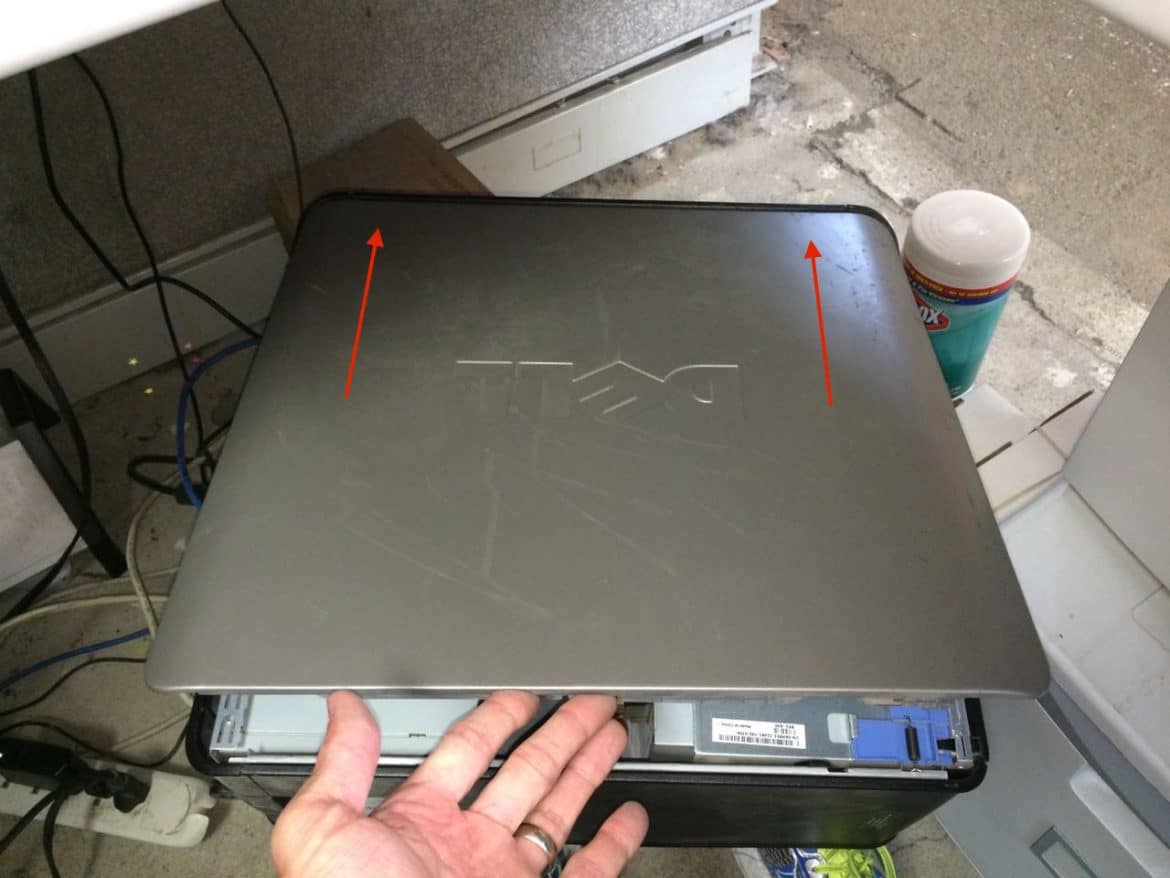
Step 4: Pull the latch on the back edge of the top of the machine.
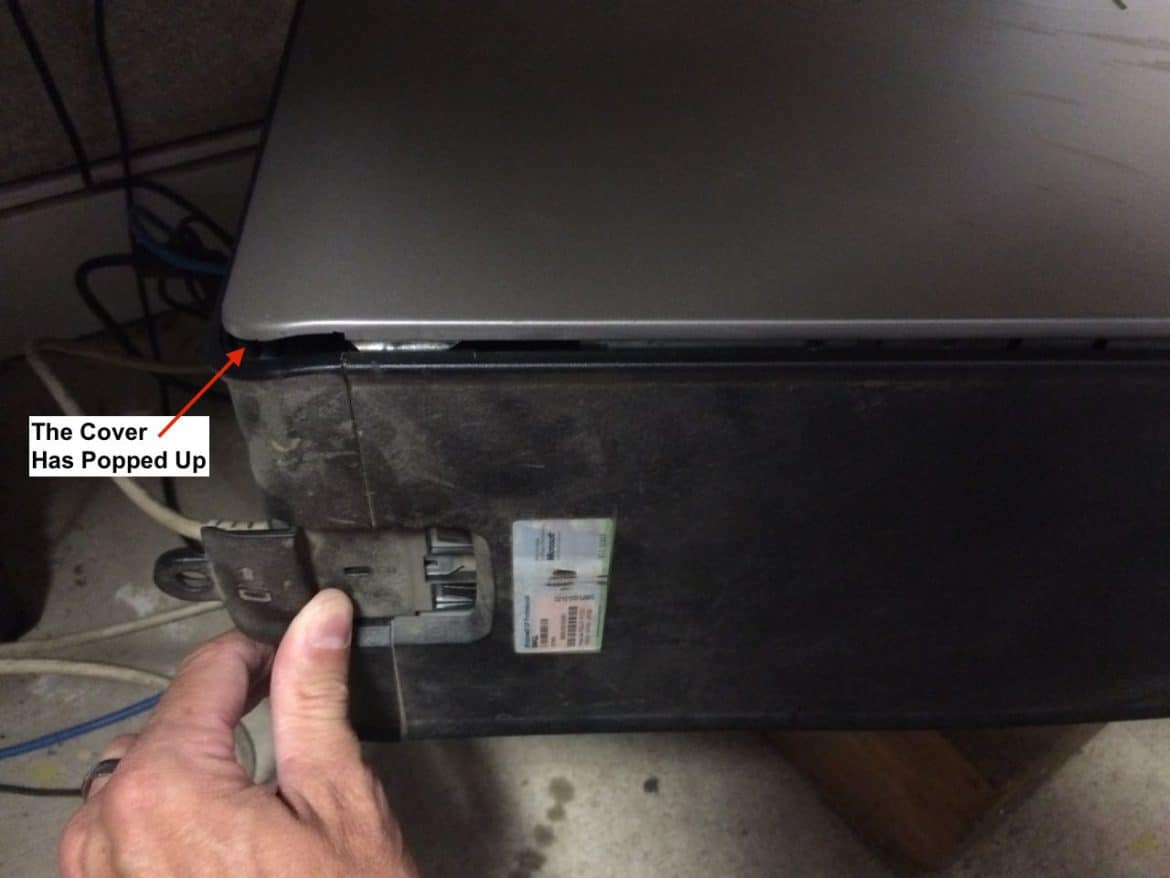
You slide the latch toward the back until the side pops out.
You know you have gone far enough when the latch releases a bit and the side pops out like this:
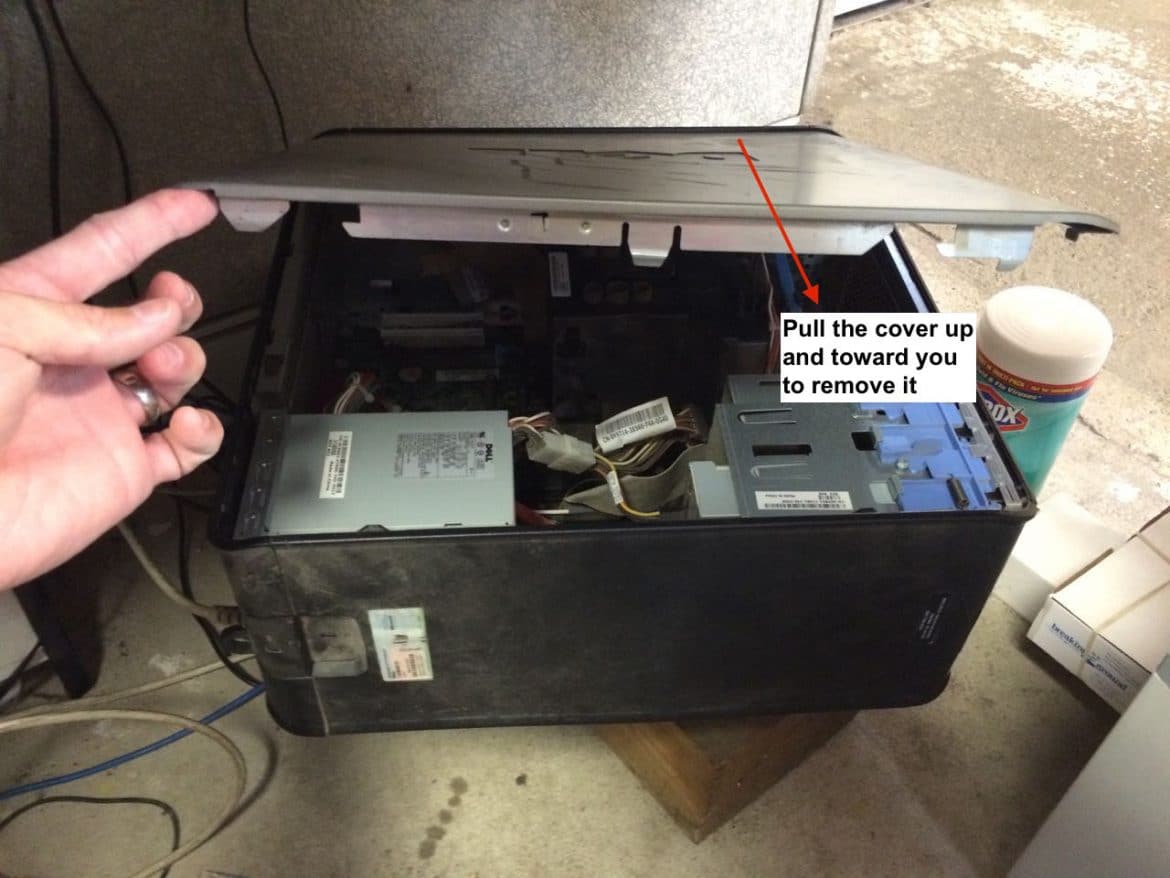
Step 5: Remove the side cover.
If you are viewing your machine the way I’m viewing it in the images above you can lift the near edge up and then pull the entire cover towards you and it will come off. It sits down on tabs the insert into the bottom edge of the cover.
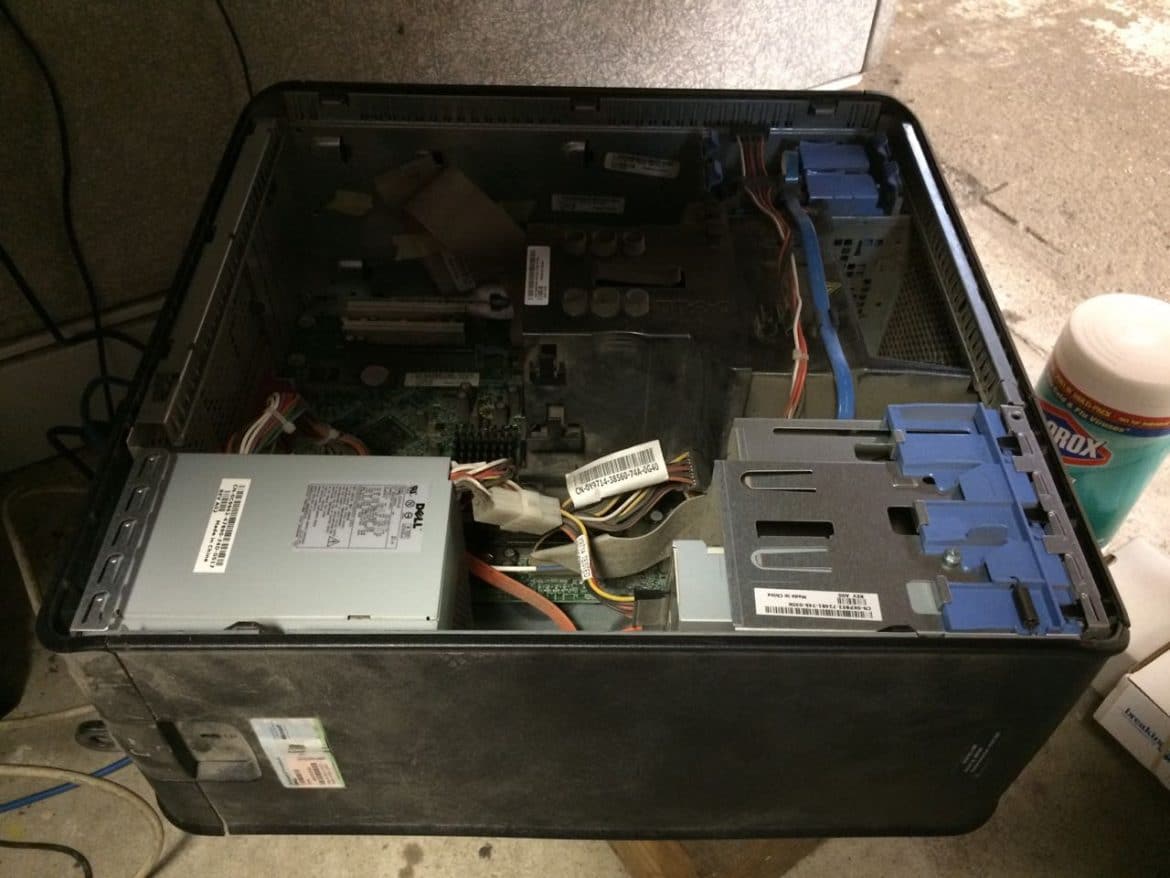
The side removed:
Step 6: A caution about electrostatic discharge.
You can build up static electricity on your body and if you have and the first thing you touch is an integrated circuit in your computer, well you may very well destroy that chip. You can safely replace the RAM in your desktop without using a special electrostatic discharge grounding strap. Before you touch anything inside touch the metal case of the computer. This will safely discharge any static electricity from your body.
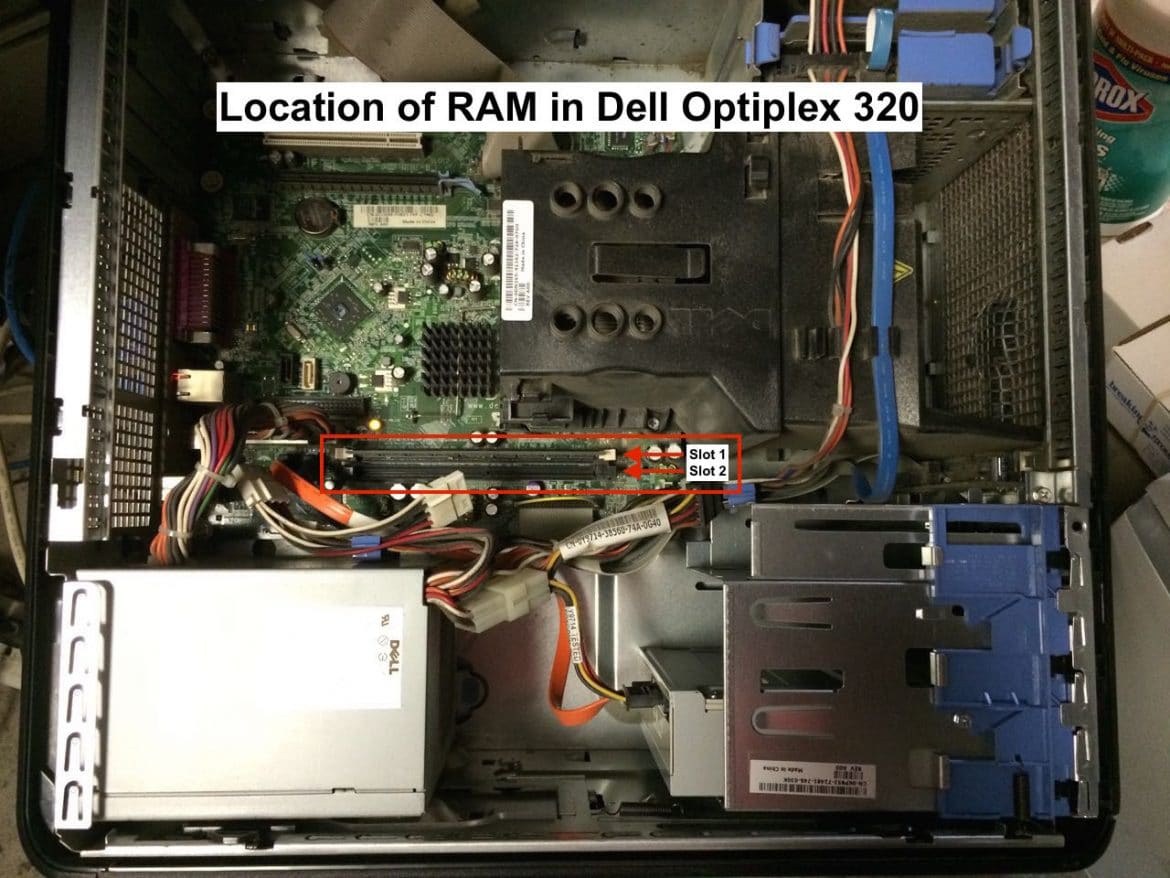
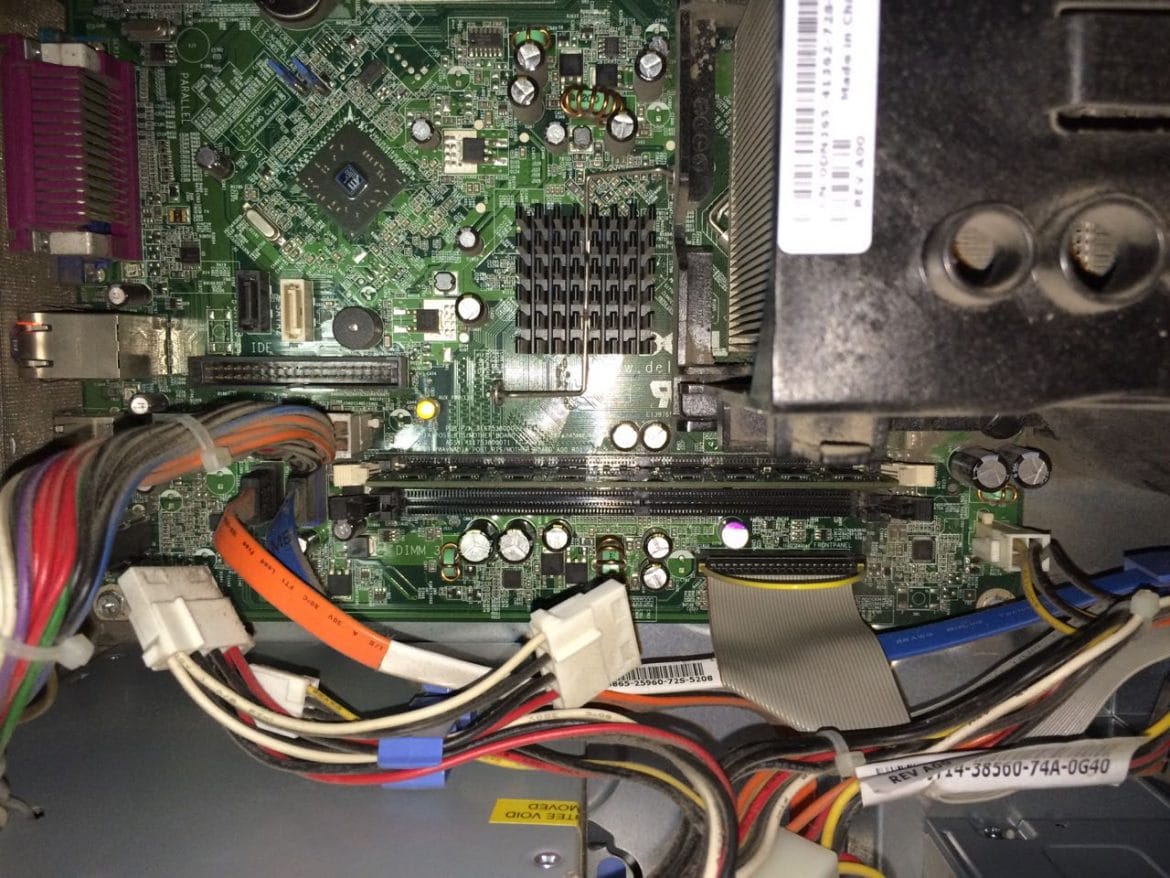
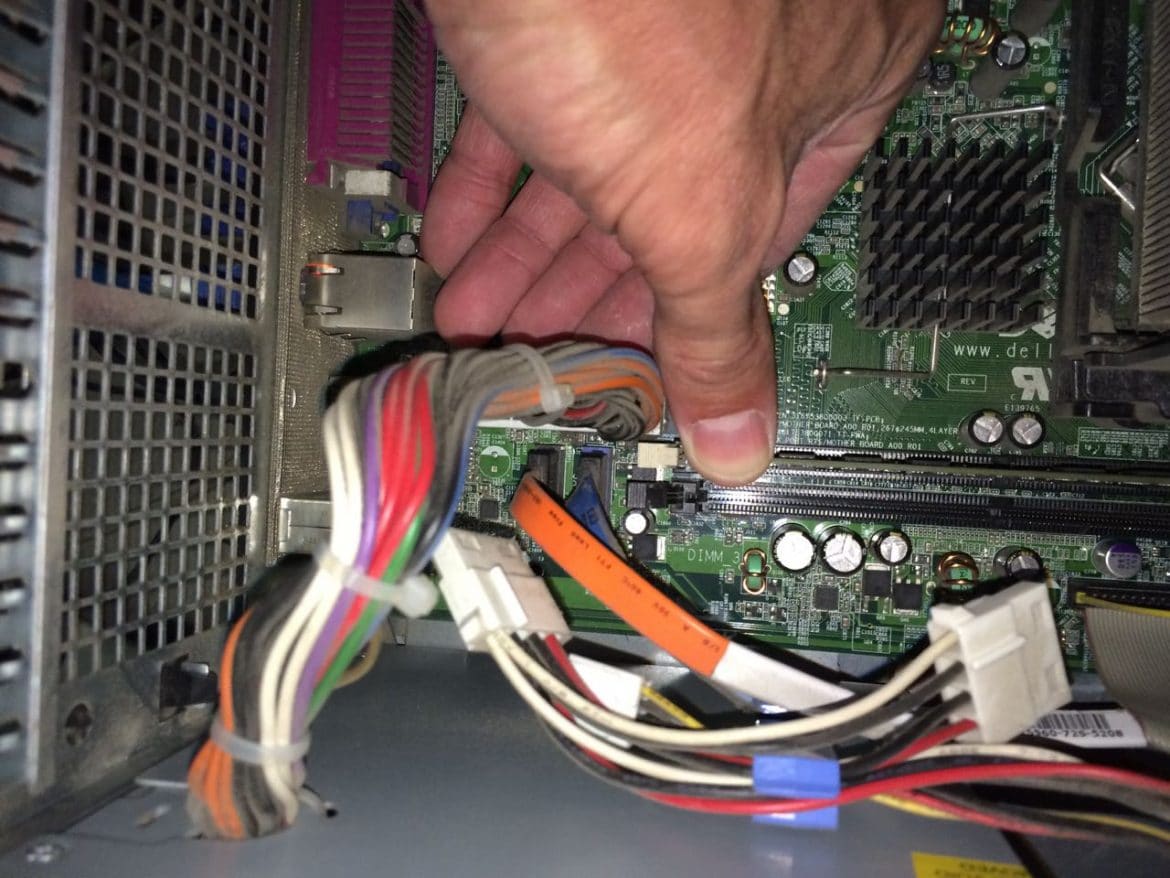
Step 7: Locate the installed RAM.
There are two RAM slots in a Dell Optiplex 320 and you can have only 1 RAM chip installed. In this case I have one 1GB chip installed in the first RAM slot:
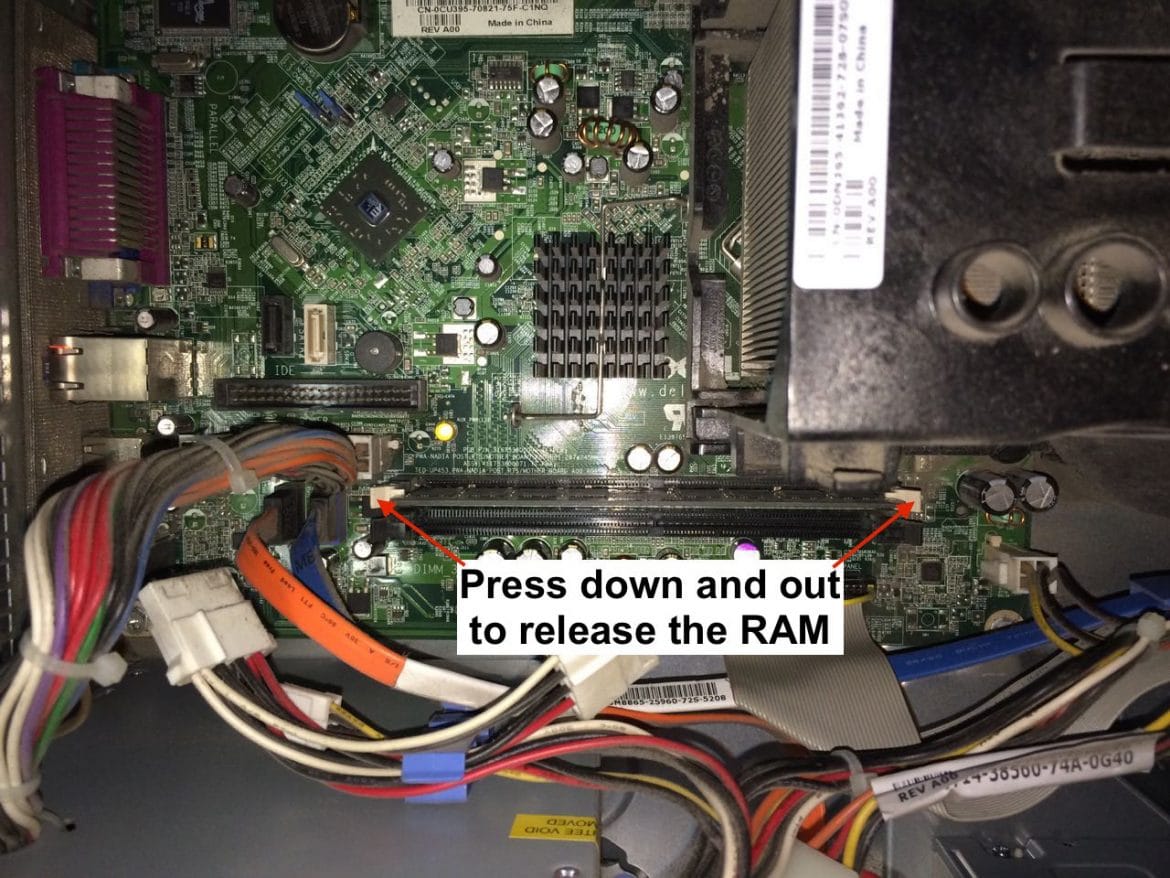
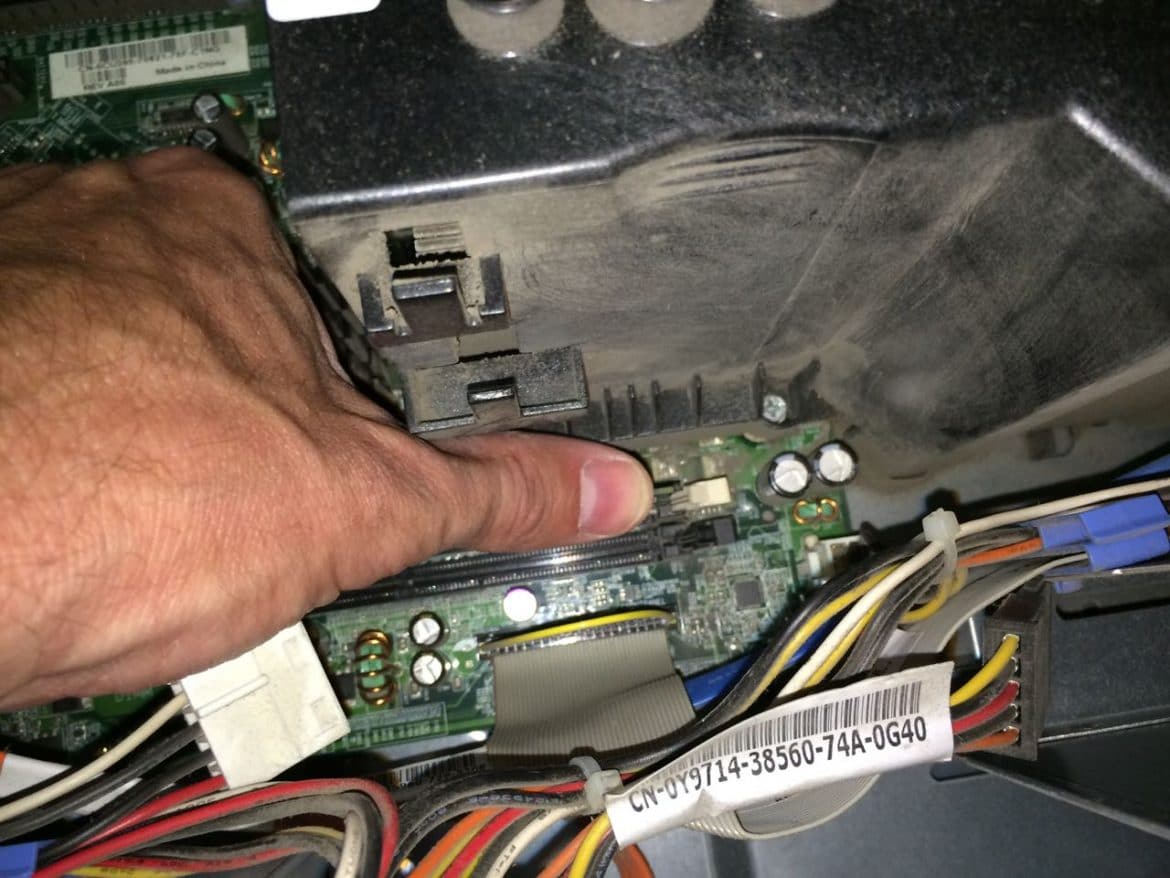
Step 8: Remove the existing RAM.
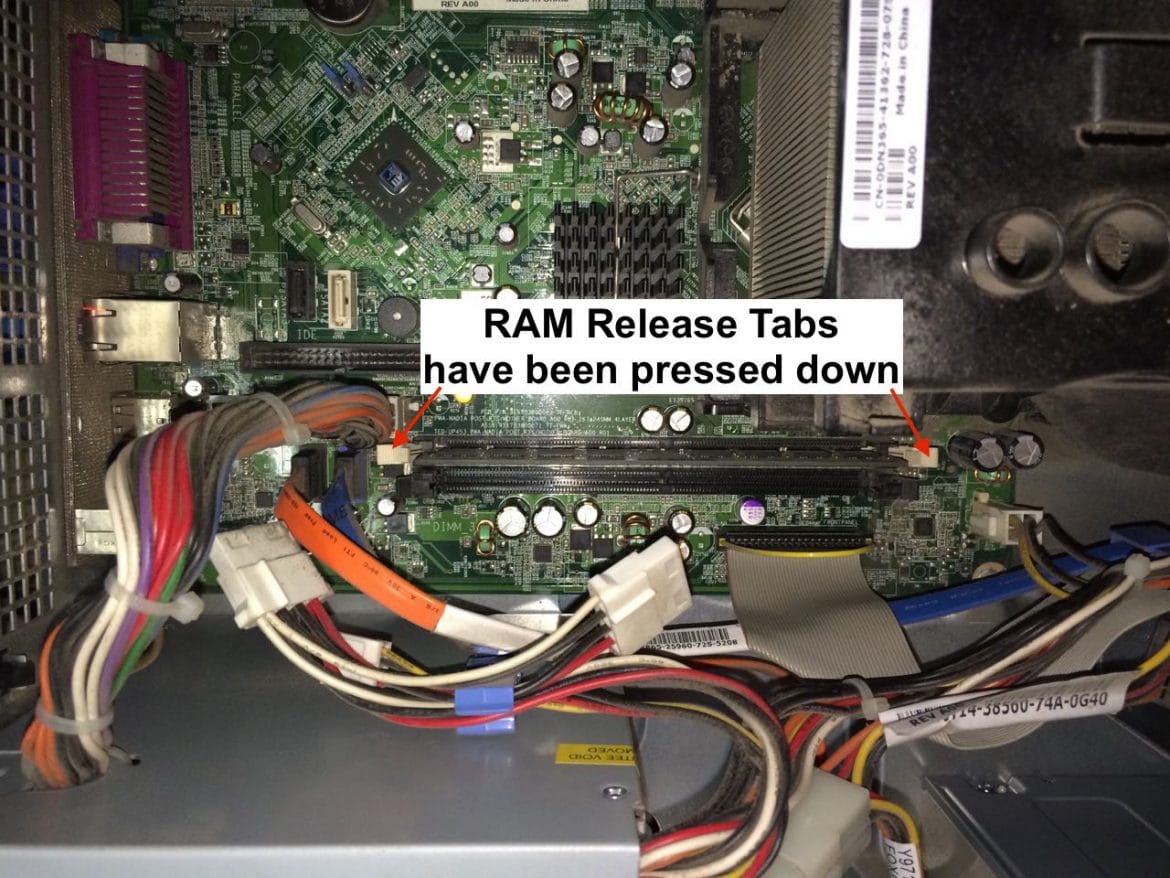
If I were upgrading to 2GB I could just add another RAM chip but since RAM is so cheap and I want to go all the way I’m going to remove this and replace it with two 2GB chips. To remove the RAM press down on the tab on each end of the RAM as highlighted below:
When you press each tab it will lift out that end of the RAM chip and you will see what is pictured below:
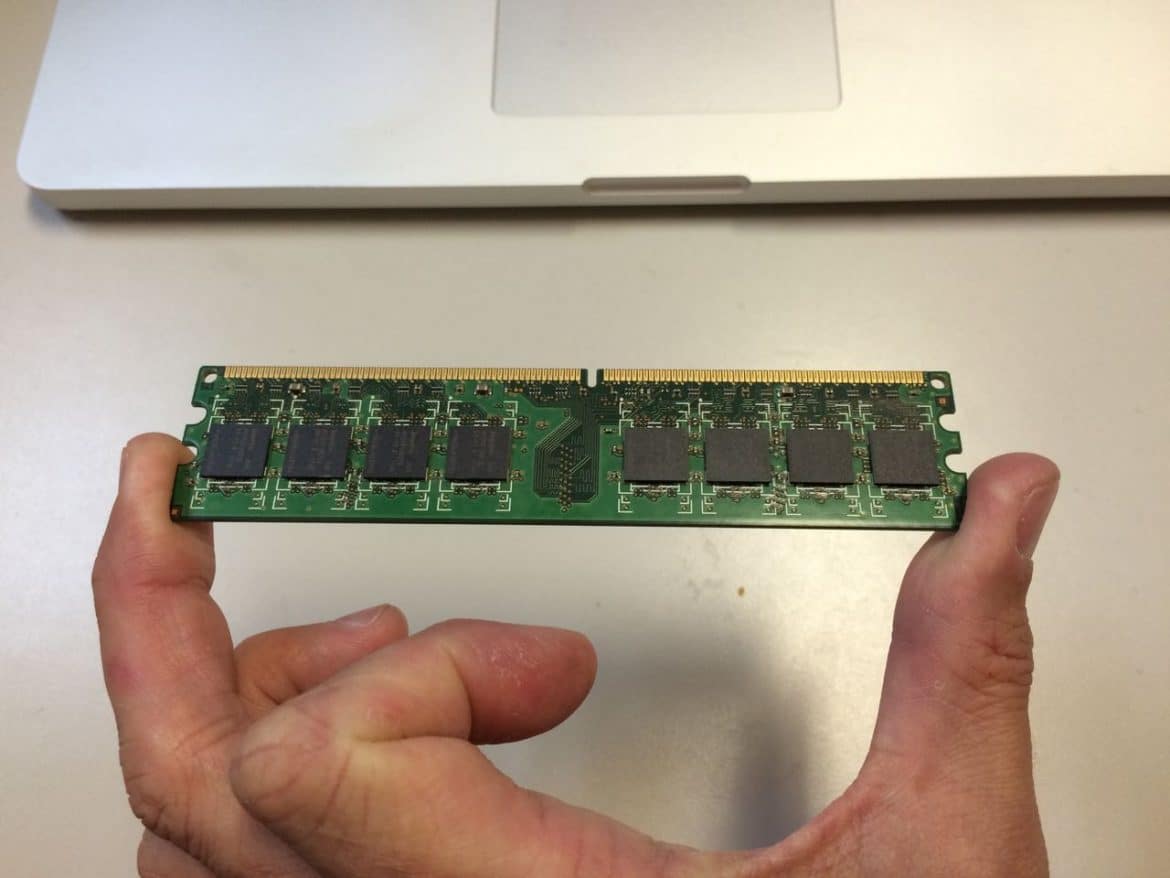
Now you can lift out the RAM. I suggest not grabbing it by the front and back sides but only by the EDGES. This minimizes the chance of you accidentally discharging any static on the RAM and is just good practice for handling RAM, to hold it by the edge like this:
If your hands are small you can use two hands to lift it out or if you must grab it by the faces, do it like this:

Step 9: Guide the first new RAM chip into the opening of its socket.
RAM will only fit one way in a computer and you can tell which way it goes by the offset notch on the edge that inserts into the slot on the motherboard:
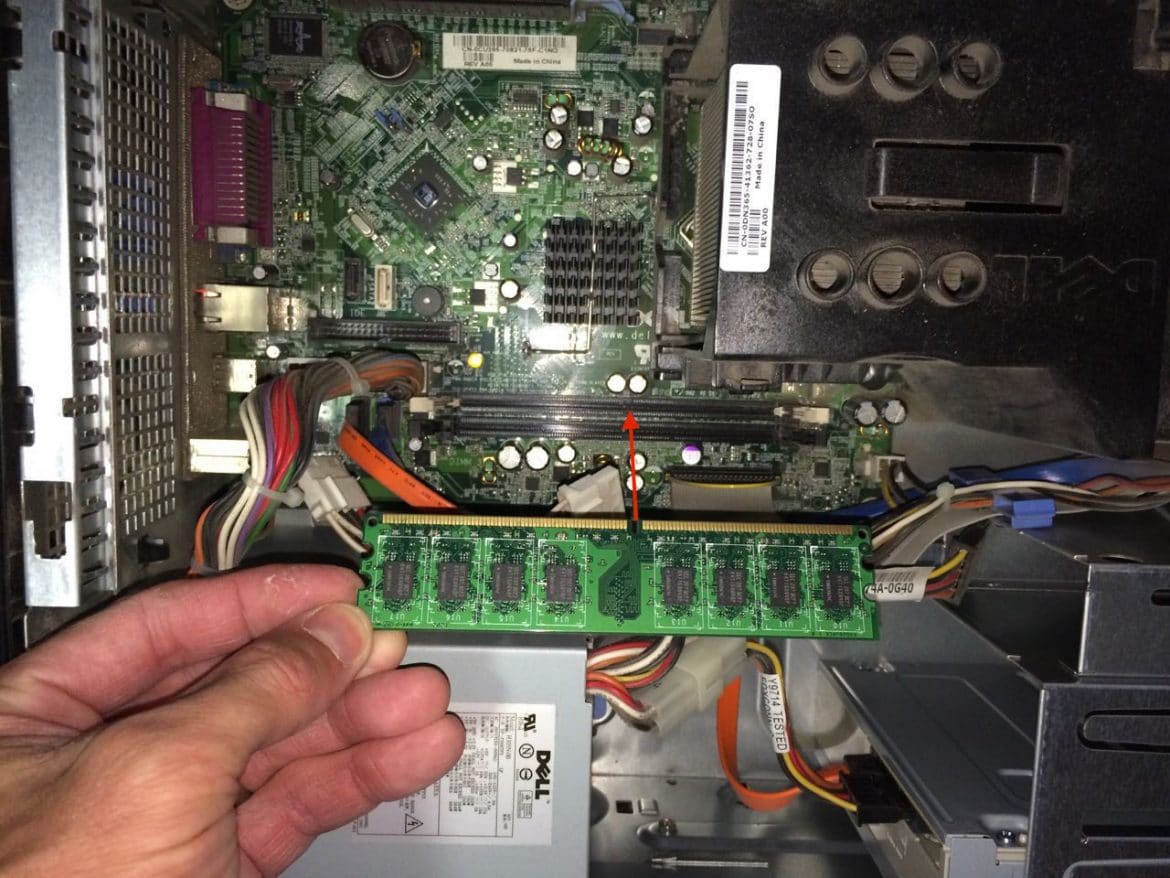
With the locking tabs in the same open (pressed down) orientation they were when you removed the RAM, gently insert the new RAM straight down into the slot:
Step 10: Lock the RAM into place.
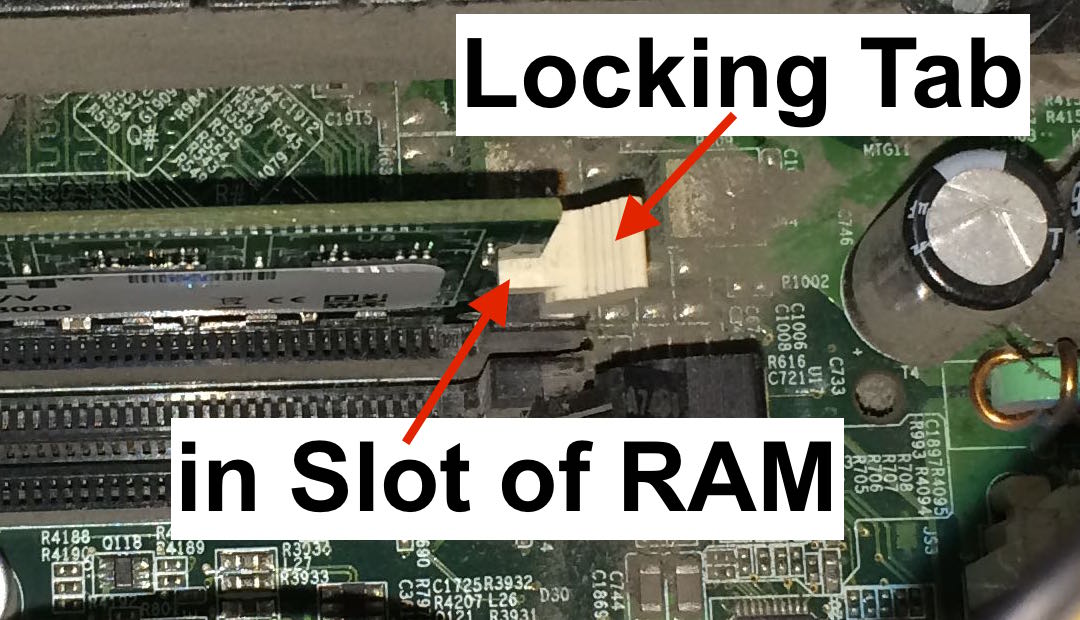
Once the RAM is straight and nestled into the slot you need to push straight down on the top edges (ends) of the RAM to lock it into the slot. This takes quite a bit of force so make sure you have the RAM aligned before you do it:
The RAM will pop into place as you press down. When the RAM is locked in correctly the locking tab will slip into the notches on each end of the chip as seen below:
Step 11: Repeat Steps 9 and 10 for the next RAM chip.
There’s one more chip to install but it will go in just like the first one. Once you’ve installed one you’ll get good at it.
Step 12: Reinstall the side of the computer case.
Insert the bottom edge down onto the stubs that insert into holes on the bottom edge of the case side like this:
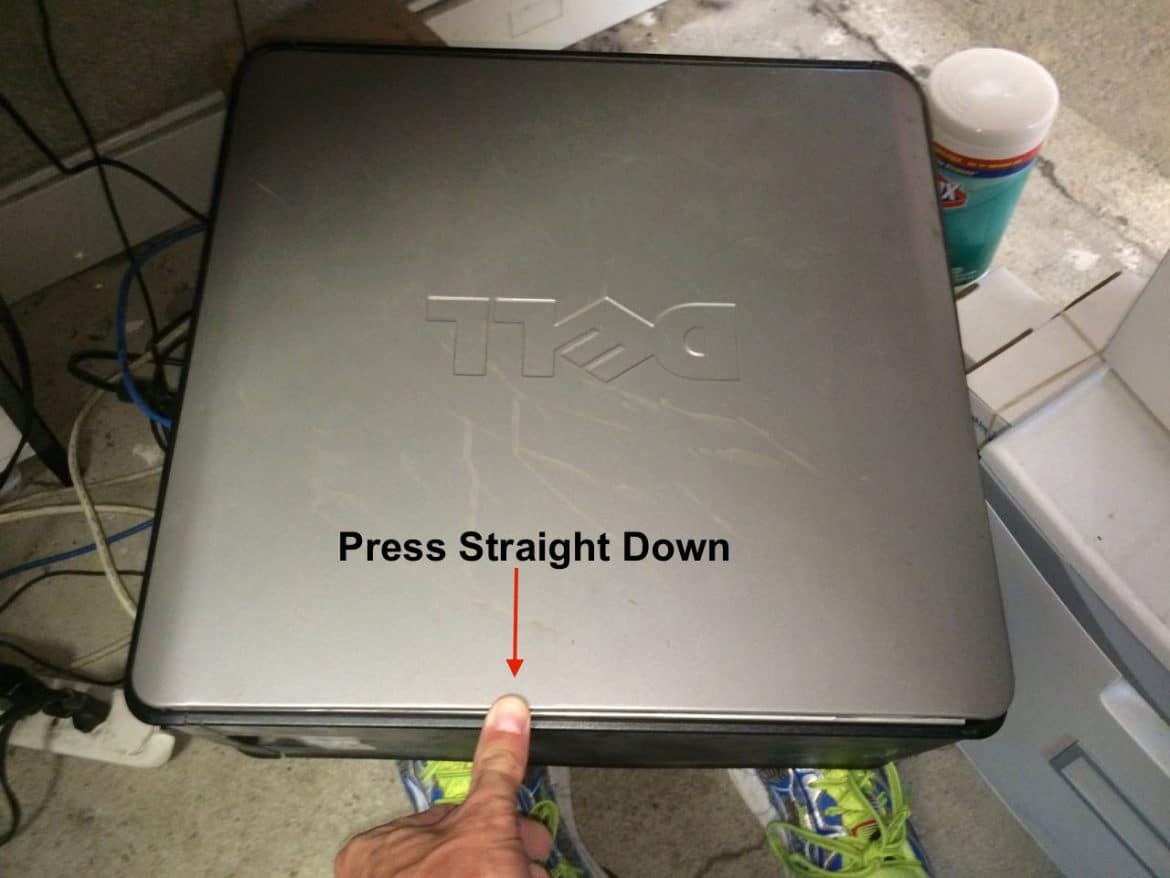
Lock the side in place by pressing straight down until it latches:
Step 13: Reconnect the power cord and power up your upgraded Dell Optiplex 320.
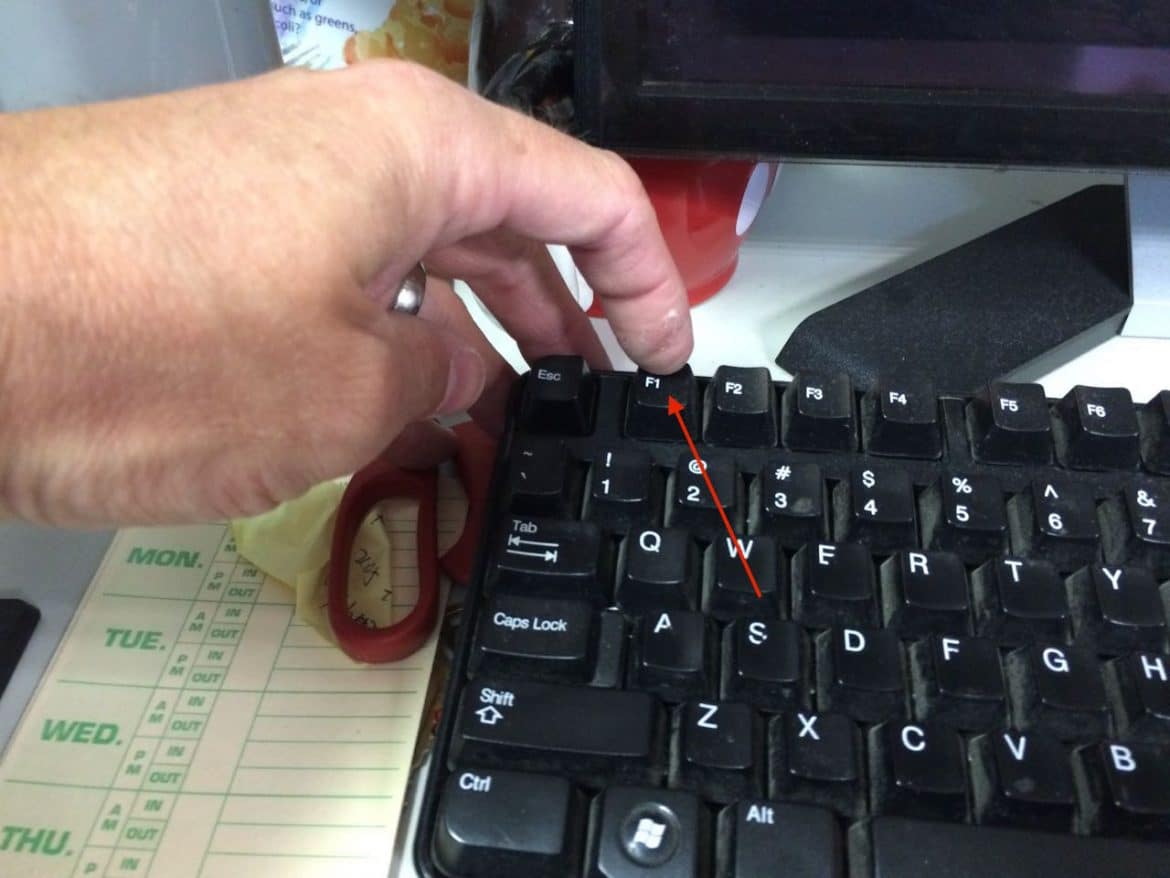
You will get an message from the Bios, letting you know it has detected the change in RAM, this is good.

Press the F1 key to continue:
Step 14: Verify that Windows 7 Reports the Additional RAM
Boot up, log in, and repeat Step 1 to check the RAM being reported by your OS. For some reason it only reports 3.5 GB on this machine but there really is 4 GB installed. This possibly is because this is a 32-bit machine. Regardless, it is a lot better than only 1 GB:
Amazon Associate Disclosure: As an Amazon Associate I earn from qualifying purchases. This means if you click on an affiliate link and purchase the item, I will receive an affiliate commission. The price of the item is the same whether it is an affiliate link or not. Regardless, I only recommend products or services I believe will add value to Share Your Repair readers. By using the affiliate links, you are helping support Share Your Repair, and I genuinely appreciate your support.