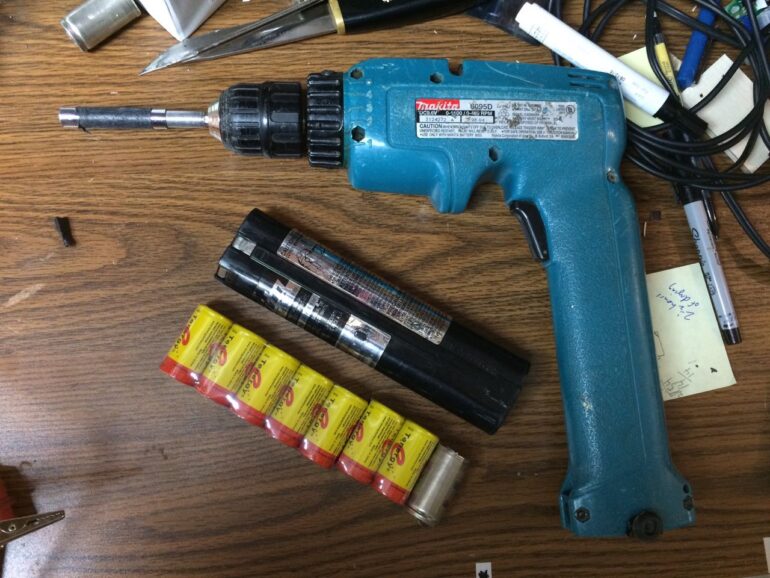
In this article I teach you how to refurbish a Makita 9.6 V NiCad Battery. I have a beloved Makita 9.6V cordless drill and flashlight that have faithfully served me for over 20 years now and even though it doesn’t have all the bells and whistles (and power) that some of the new cordless drills have, I don’t intend on replacing them any time soon. I was about ready to throw out this battery pack, which came with the drill back in 199x when I purchased it but the love of repairing, learning, and fixing overtook me so I decided to tear it open and see if I could install new 1.2 volt NiCad C battery cells. I wrote about the process of opening up the case and removing the battery cells in the following article:
How to Disassemble a Makita 9.6V NiCad Battery Model 9000
After taking it all apart I decided I wanted to go ahead and replace the cells and refurbish it…
How to Refurbish a Makita 9.6 V NiCad Battery
Equipment Involved:
- Makita 6095DWE 3/8-Inch 9.6 Volt Cordless Keyless Drill
(my drill is not manufactured anymore, they are currently selling this model
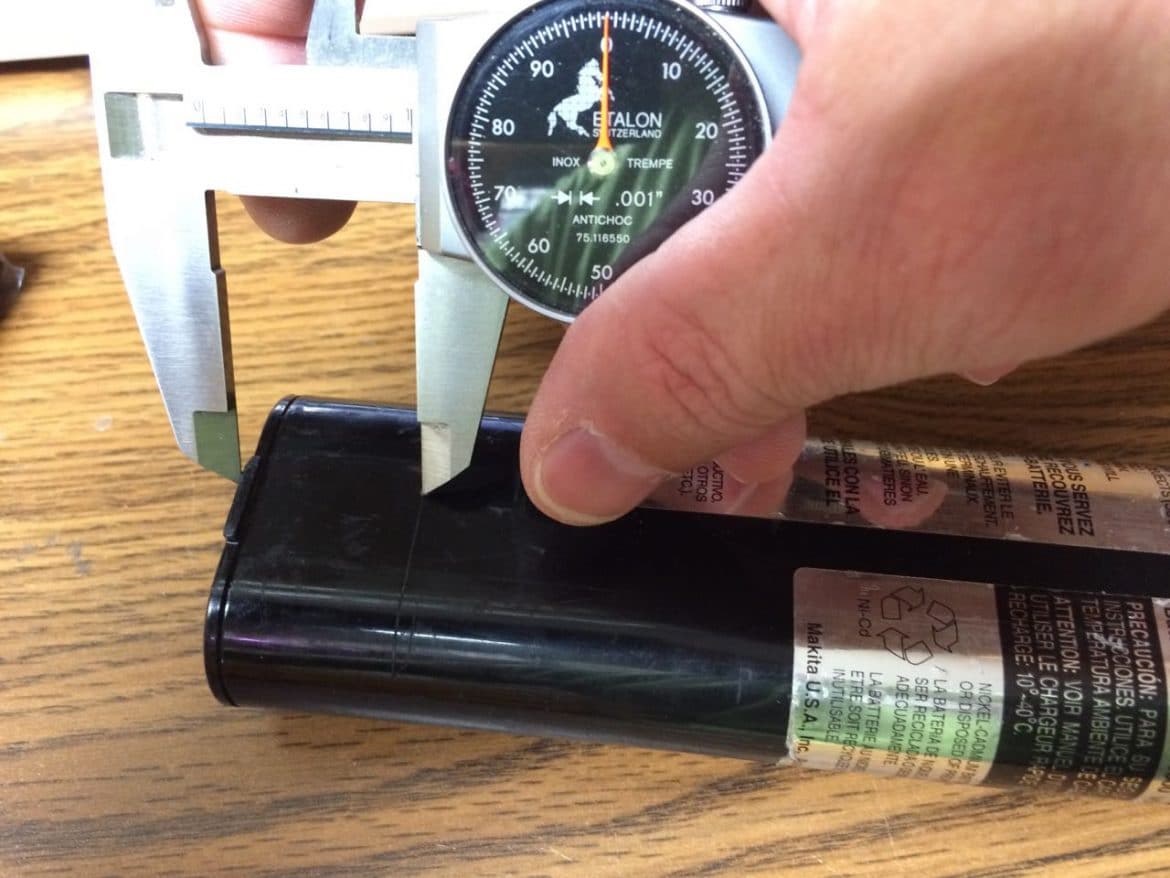
- Original 1.2 volt NiCad battery cells (physical size of each cell: 1.625″ long, .86″ in diameter)
Tools Needed:
- Soldering Iron
- Safety Glasses
(these are the ones I’m wearing and they are comfortable)
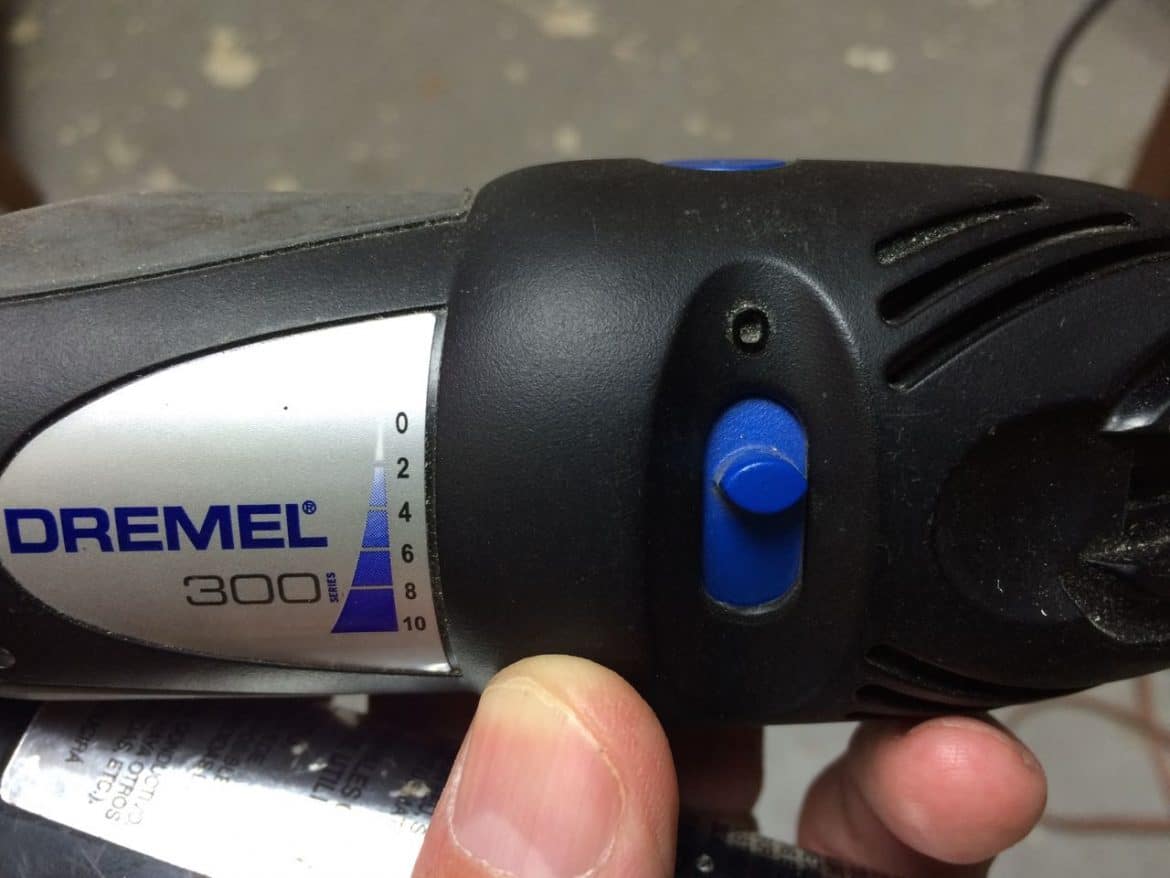
- Dremel Tool
- Dremel Reinforced Cutting Wheels/Disks
(make sure to get the “reinforced” ones because the other ones are brittle and break very easily)
- Dremel 4486 MultiPro Keyless Chuck
(makes changing bits on your Dremel so easy and will hold smaller tools too)
- 9.6v Ni-cd 1300mah Battery for Makita 9000 9033 192696-2 632007-4 (Makita Equivalent)
(if you just want to replace the battery)
- Fluke 177 True RMS Digital Multimeter with Backlight
(for checking the voltage of the battery when you are done)
- Needle Nose Pliers
(for prying off the terminal tabs that are spot-welded to the battery cells)
- Extra Set of Hands Tool
- 6-Inch Steel Spring Clamps (to hold your extra set of hands and your batteries in place while soldering)
- Quick Grip Bar Clamp
(to hold the battery cell stack all together as you are soldering them)
- Channel Lock Pliers
- Flat Head Screwdriver
- Bench Vice
- Hot Glue Gun
- Brother P-touch Label Maker
(optional, I labeled my battery with “refurbished 7/29/15”)
Parts Needed:
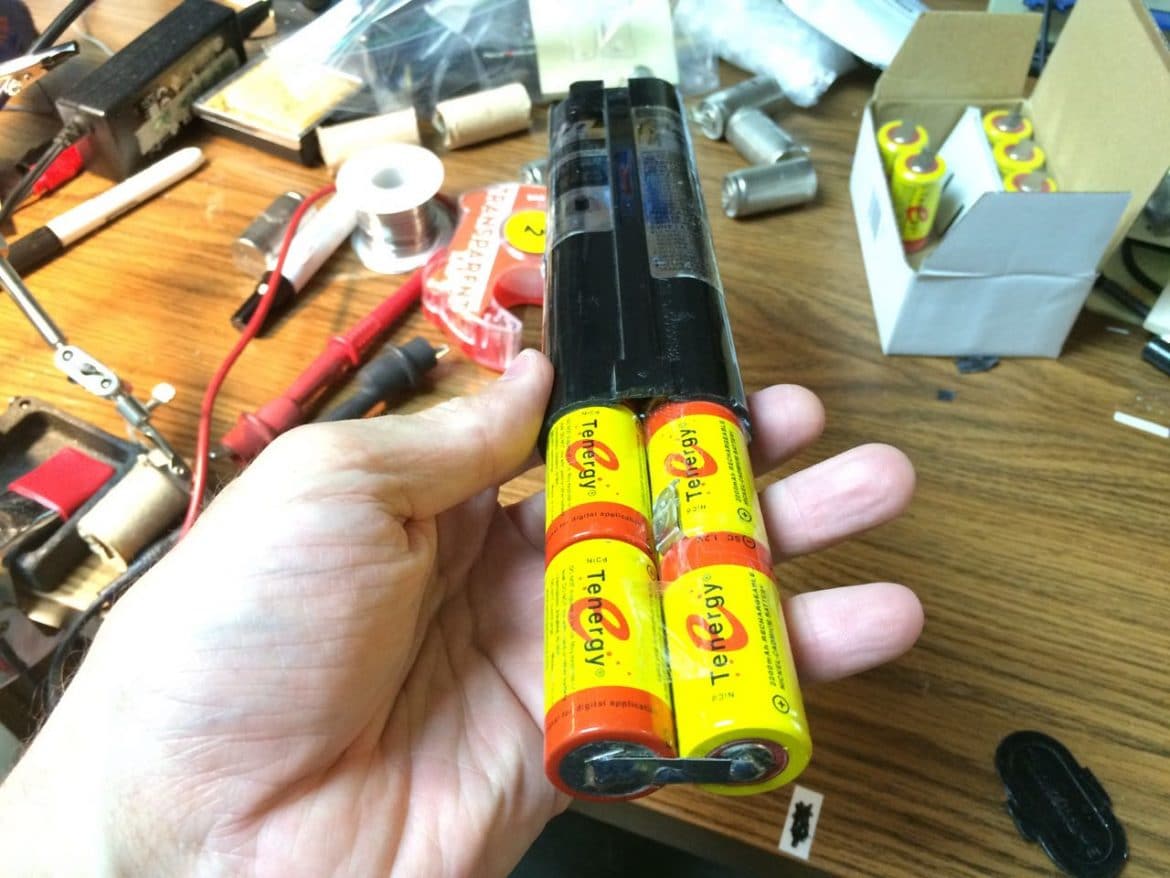
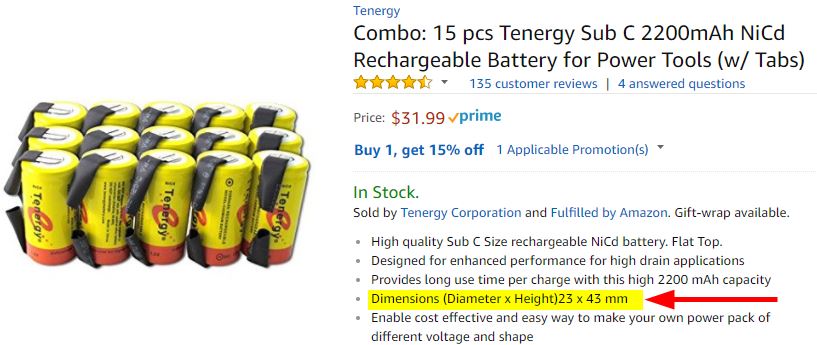
- Sub C 2200mAh NiCd 1.2 V Rechargeable Batteries
(replacement cells)
- Solder
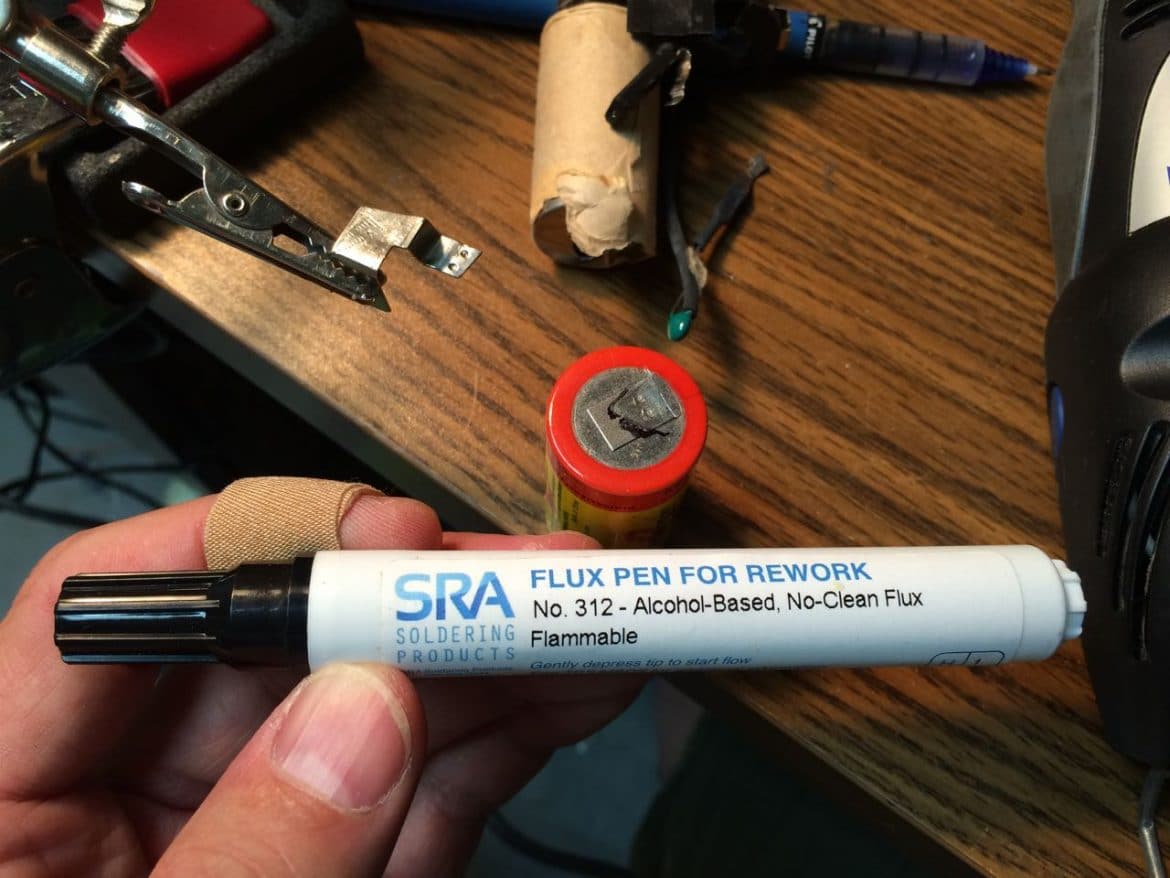
- Soldering Flux Pen
(very important for getting the solder to stick to new parts without overheating the batteries)
- Hot Glue Sticks
- Five-Minute Epoxy
- Packing Tape
(to dam up the epoxy before we clamp the case)
- Transparent Tape
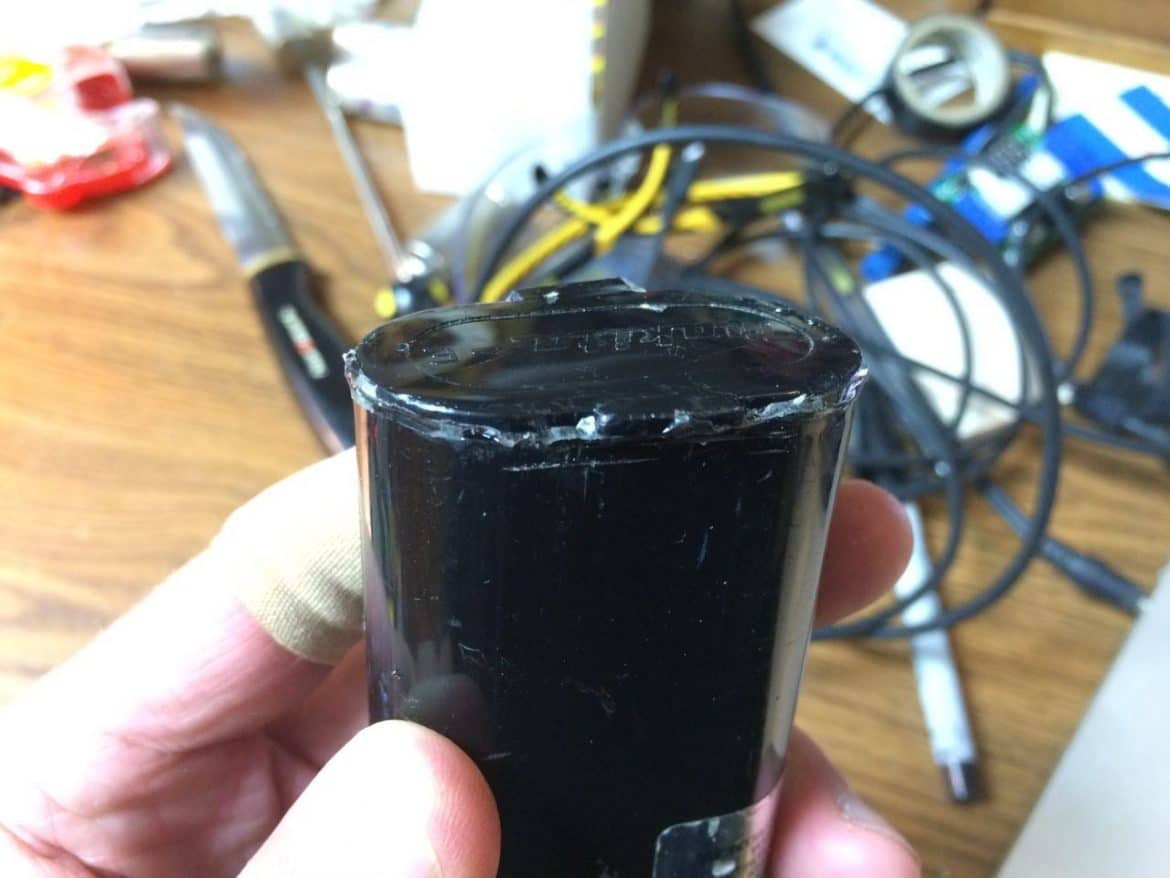
Step 1: Cut open the battery case
When I did this the first time I opened up the battery case along the the seam on the end. Now that I’ve done one I suggest cutting it right in the middle of a cell so the part you cut off is like a “cap” on the end. This will make it easier to disassemble the battery and eaiser to put the case back together and the cell itself will form part of the stability of the newly assembled battery:
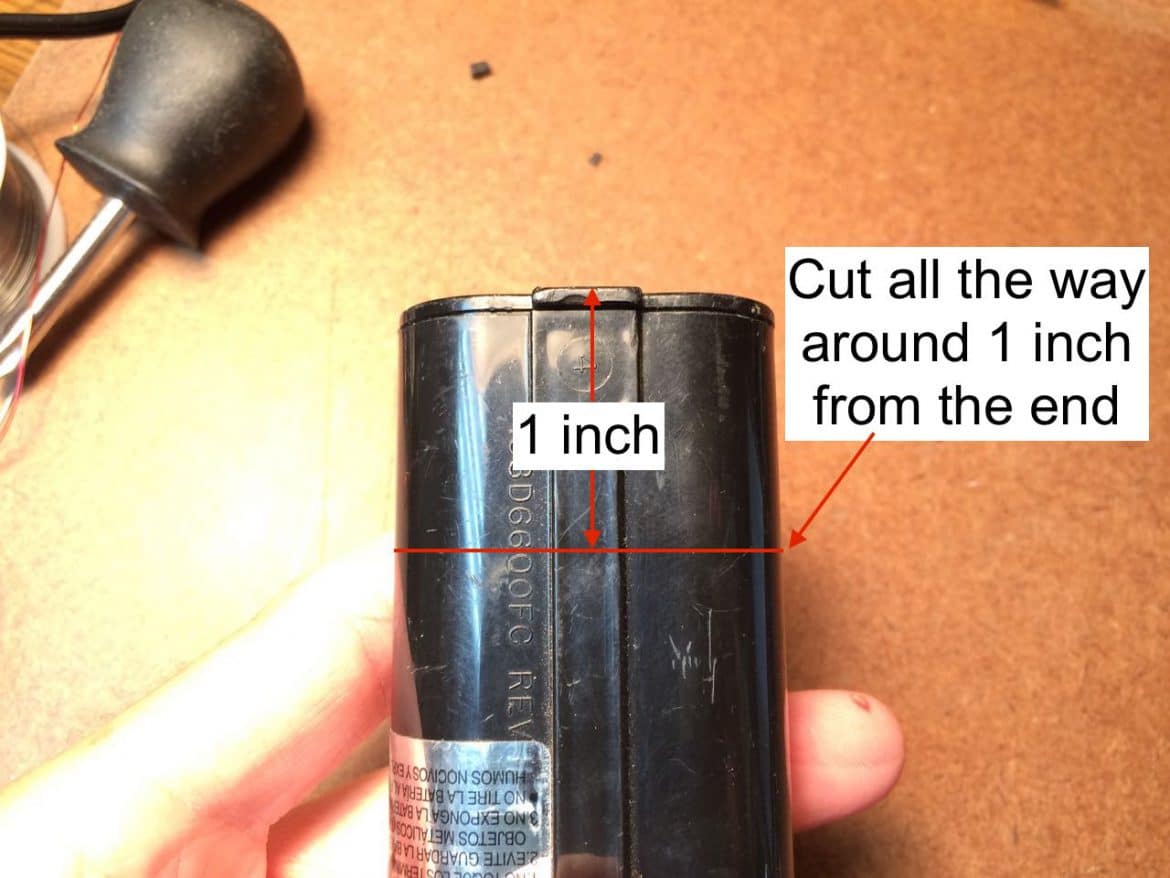
Here I am scoring a line 1 inch from the end to cut on:
I ran my Dremel pretty slow, at around 2,000 rpm:
Here I’ve cut all the way around on the line:
Step 2: Remove the old battery cells from the case
If you cut the case an inch from the end, like I show above, it will be VERY easy to remove the cells by hand–they should slide right out:
I wrote an entire article on how to disassemble this battery and you can read it here:
How to Disassemble Makita 9.6V NiCad Battery 9000
After I had the battery all disassembled I put together this diagram of all the parts and the polarity of the cells as they are arranged in the case:

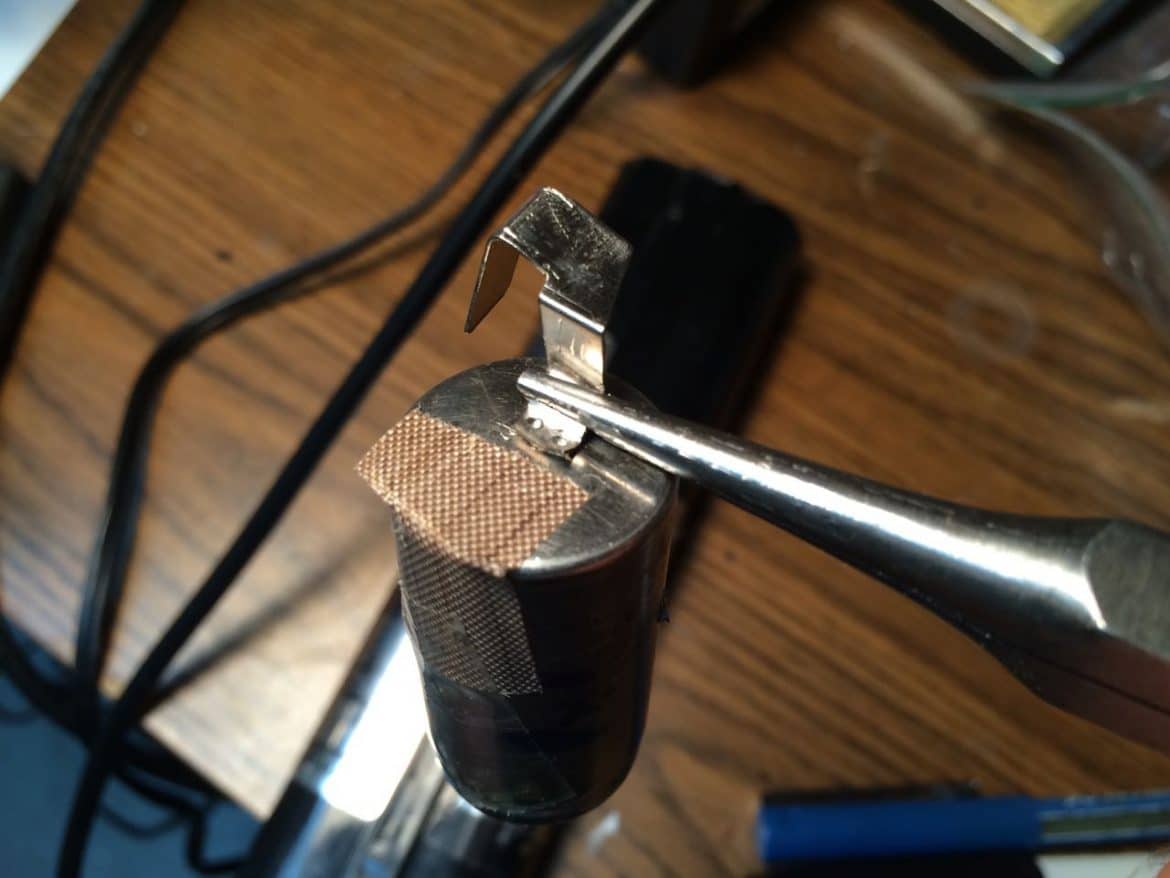
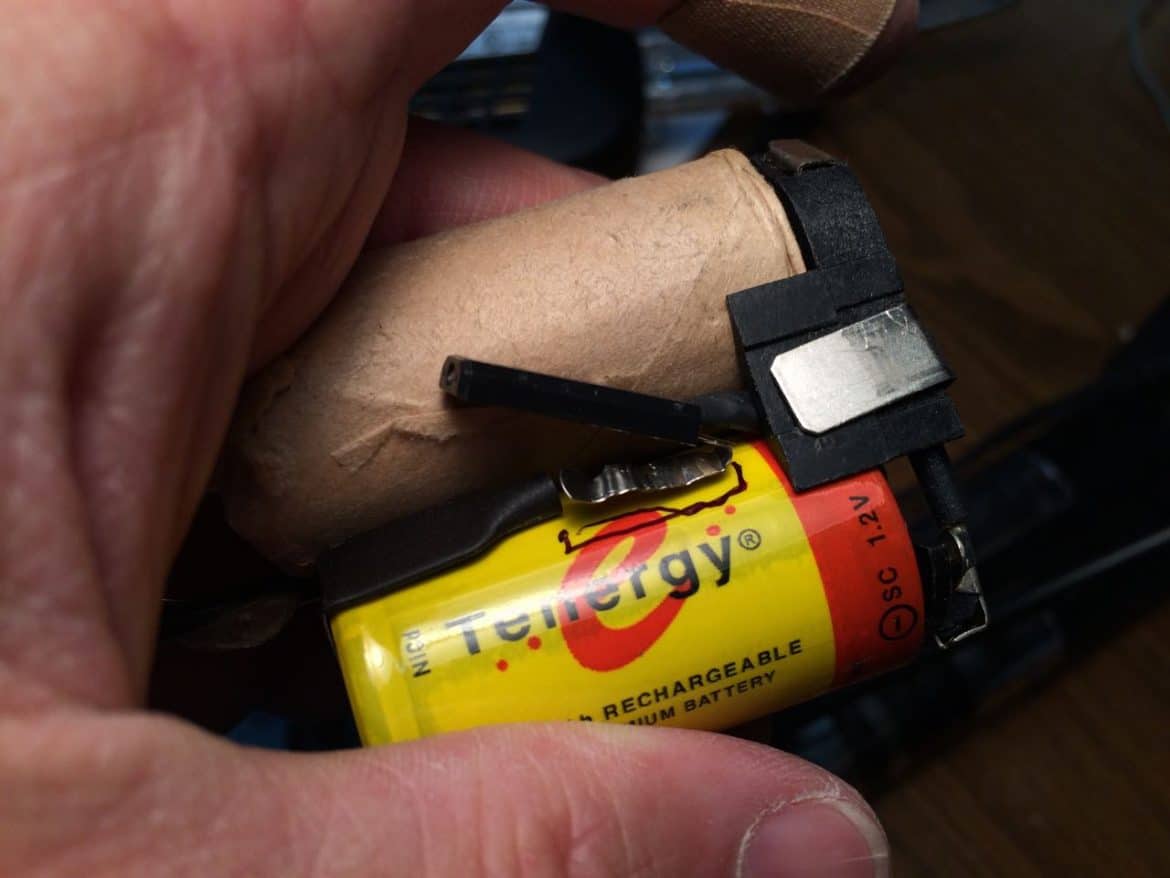
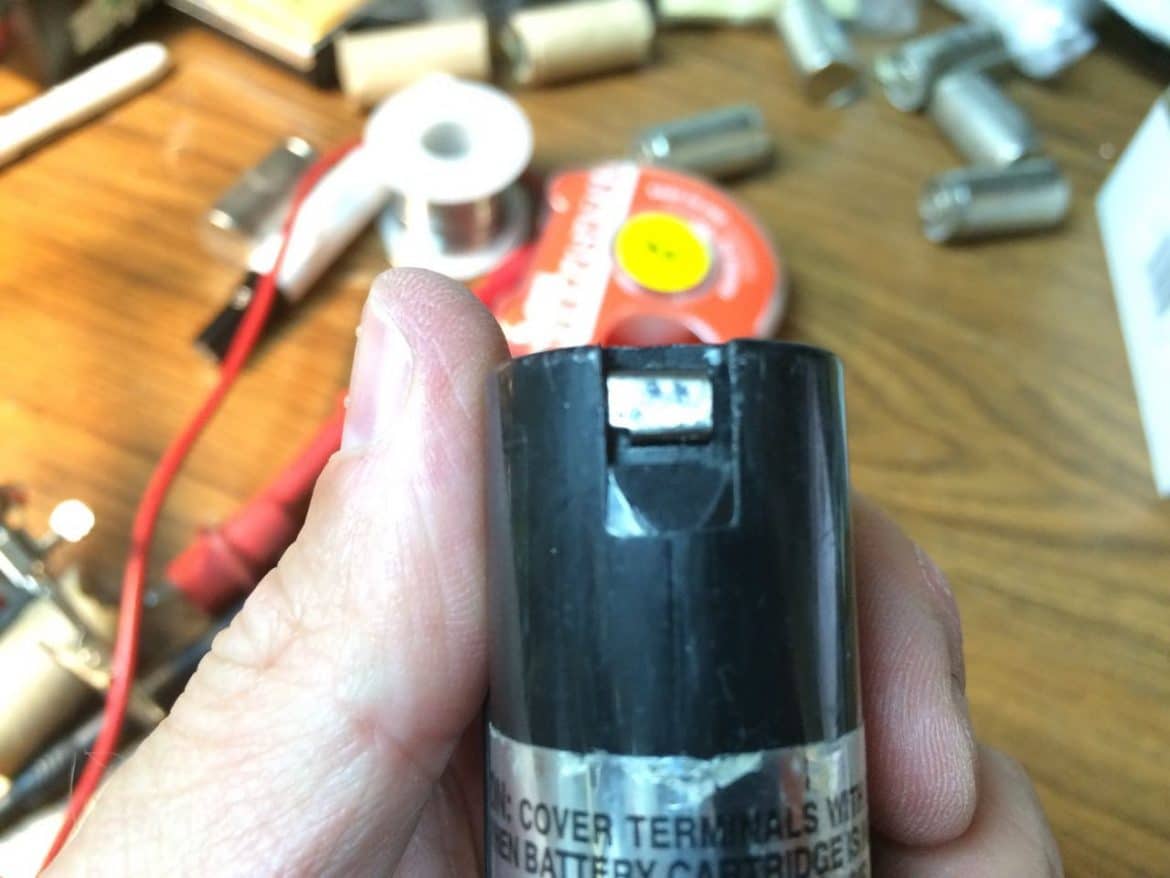
Step 3: Remove the thermal switch
The thermal switch is spot-welded to the side of one of the end cells:
Carefully pry it off the battery case. I used a needle-nose pliers. Pry up a bit and then adjust your grip on the tab so the tab doesn’t tear in half. Here you can see I’ve pulled the tab completely free:

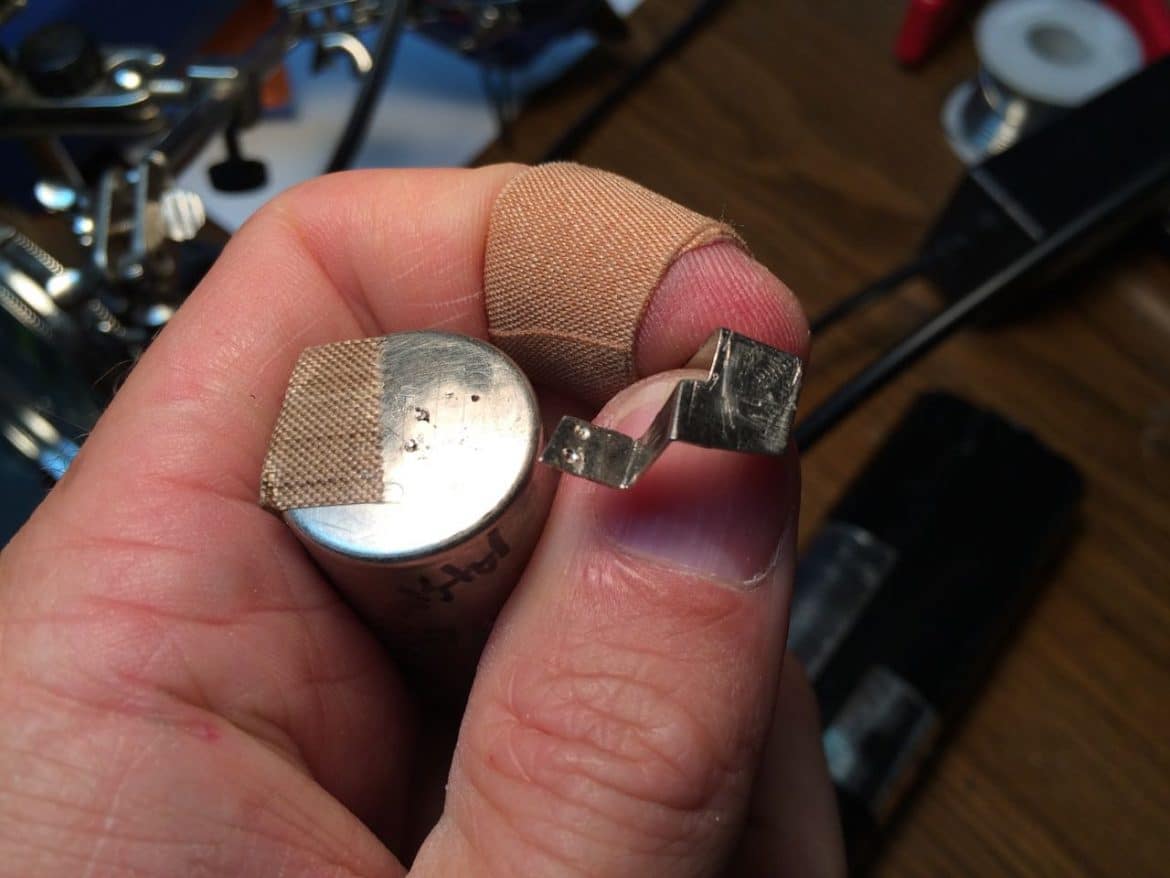
Once you have pulled the tab free you can use your needle-nose pliers to flatten the tab back out.
We must re-use the battery terminals, the thermistor, and the thermal switch and the are spot-welded to the old batteries. You will need to keep track of where they were attached and we need to re-attach them in a location that allows them to fit into the black plastic piece that fits on the end. Carefully pry them off the old batteries. Here is the location where the positive and negative terminals are spot welded:
The thermal switch is spot welded on the side of one of the end cells:
Here I have pulled the spot-welded thermal switch free from the side of the battery:
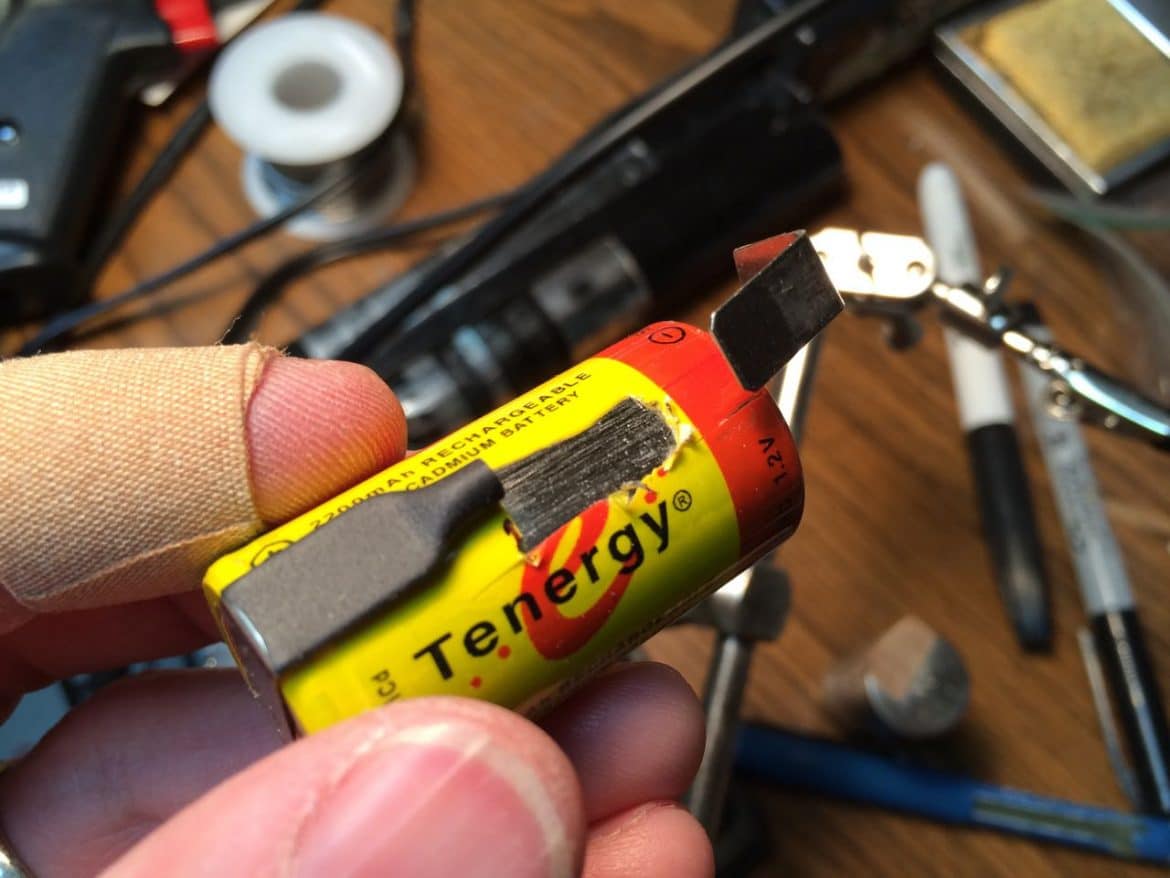
Step 4: Remove the thermistor
The thermistor is spot-welded in similar fashion to how the thermal switch is attached, on the other side of the same cell:
Step 5: Remove the negative battery terminal/connector
We are going to do one battery at a time to keep track of what goes where and we’ll start with the negative end. Carefully pry the metal battery terminal tab off the negative end of the battery (NOT the button end) from the places it is spot welded. In the series of three pictures you can see me carefully prying the (negative) battery terminal free:

Step 6: Prepare the first new NiCad cell for the negative battery terminal connection.
We need to transfer the negative battery terminal piece you just removed to the first new NiCad battery. The replacement batteries have tabs on both ends and we don’t want a tab on the very end. The way I removed the tab is to use my Dremel tool and cutting disk and make a slight score on the tab that allows it to break easily when you bend it. If you buy the Tenergy batteries I link above you will be working with the red (negative) end:
Step 7: Insert the negative end of the new battery into the end bracket and mark where the terminal should be soldered.
Everything needs to line up closely for it to fit back together so the best way I found was to insert the first new battery into the end bracket (note the polarity), place the negative terminal where it goes in the end bracket, and mark the location it should be soldered.
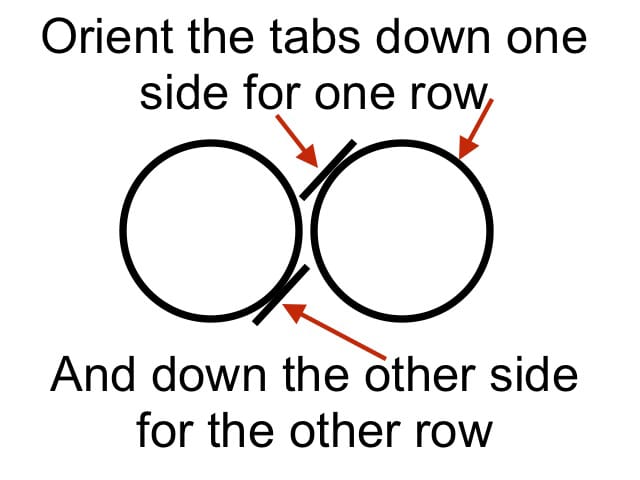
Important Note: It is critical how you have the battery oriented when you mark where the battery terminal is going to be soldered. The new battery tabs cannot be on the side that touches the case, they must be in the valley, like this:
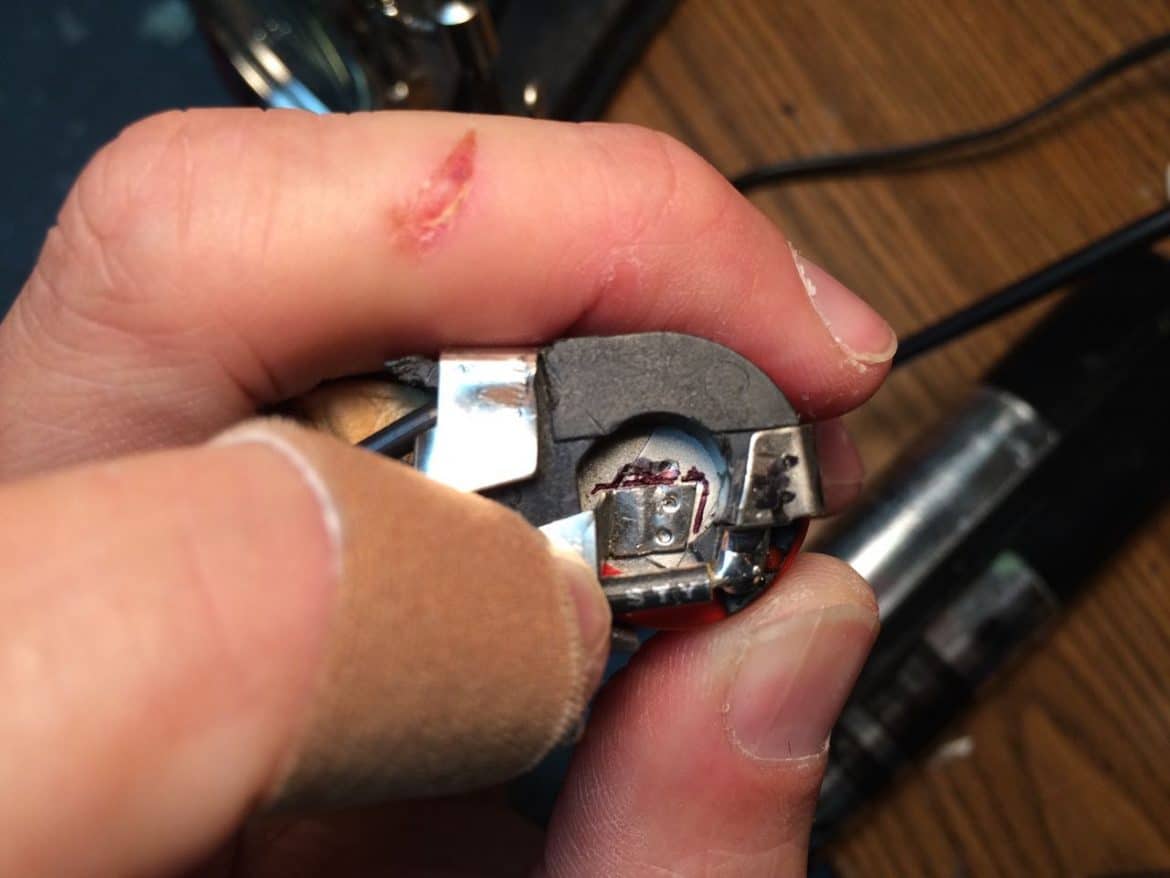
One thing I’ll note is that you shouldn’t use permanent marker to mark the location (as I did in the picture below) because the flux you are about to put on the metal will smear the ink everywhere and you won’t be able to see your mark. Mark the location by scratching it with the point of a pocket knife:
Step 8: Prepare the pieces to be soldered
Because you want to avoid heating up the battery any longer than necessary we want to make it easy for the solder to stick. You can ease your soldering by the following:
- Sand or scratch with the tip of a knife the metal where it connects
- Apply flux to both sides of the metal that are being soldered together
Scratching/sanding battery end:

Step 9: Clamp everything in place and solder the tab in place
You cannot use your hands because everything is going to get hot when you solder this joint so you need to use clamps. I used my extra set of hands tool, my 6″ clamps, and quick grips to hold everything right where I wanted it as you can see below:

A good setup is key for getting a good soldered connection:
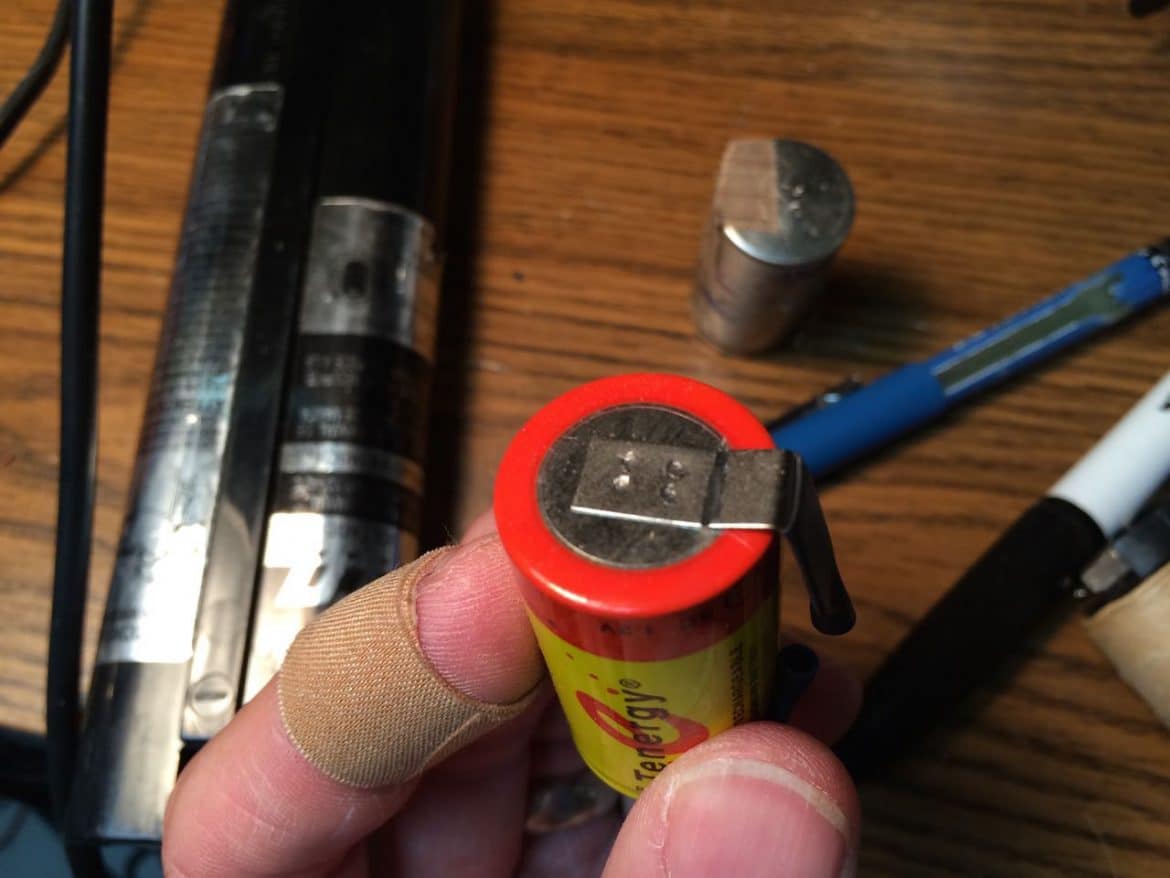
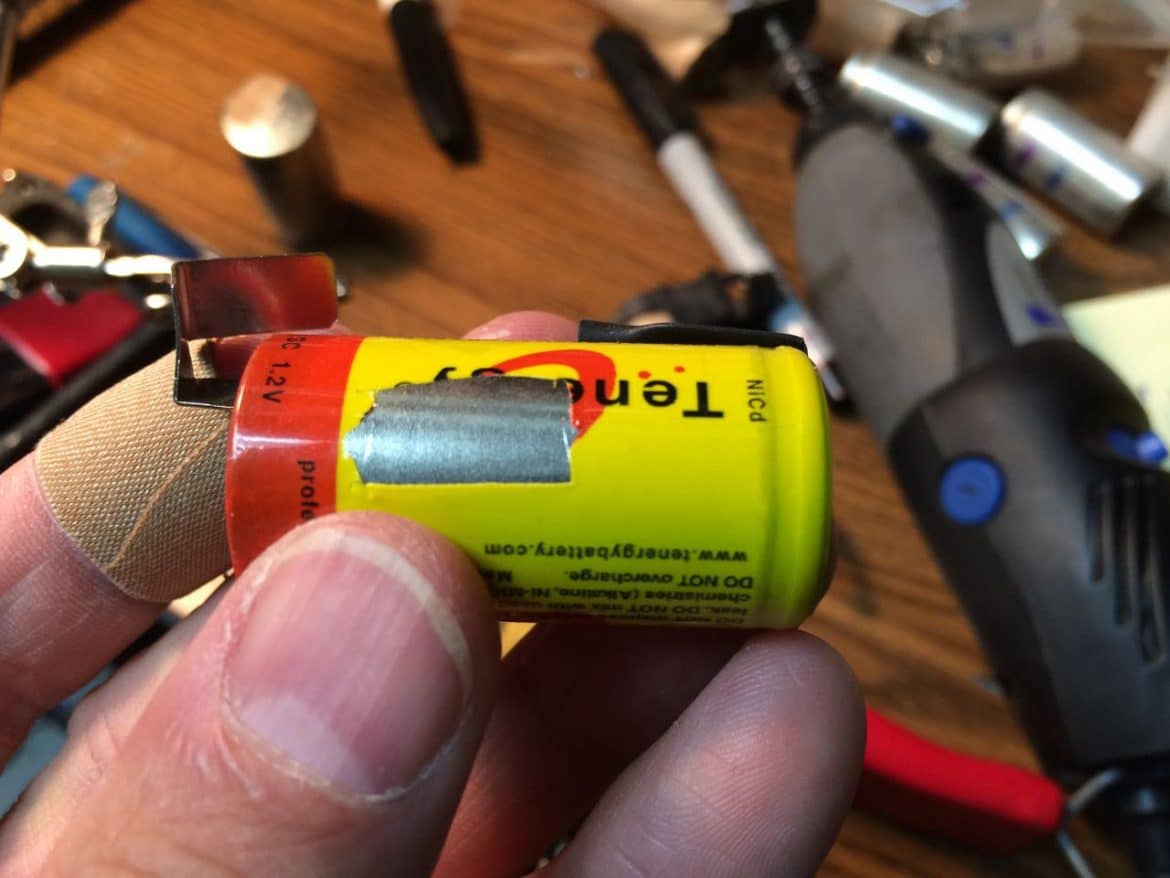
Step 10: Prepare to solder the thermal switch in place.
Now that you have the negative connector soldered to the end of the first battery you can feed it into place in the end bracket and see where the thermal switch needs to be connected. Mark the side of the battery for where the solder connection will be because you will need to remove the plastic battery case to expose the side of the battery. IMPORTANT NOTE: the side of the battery is the negative terminal of the battery. DO NOT short the positive and negative or you could burn yourself or possibly explode a battery. Here I am marking the location:
Cut the plastic case away and sand/scratch the surface to prepare for soldering:
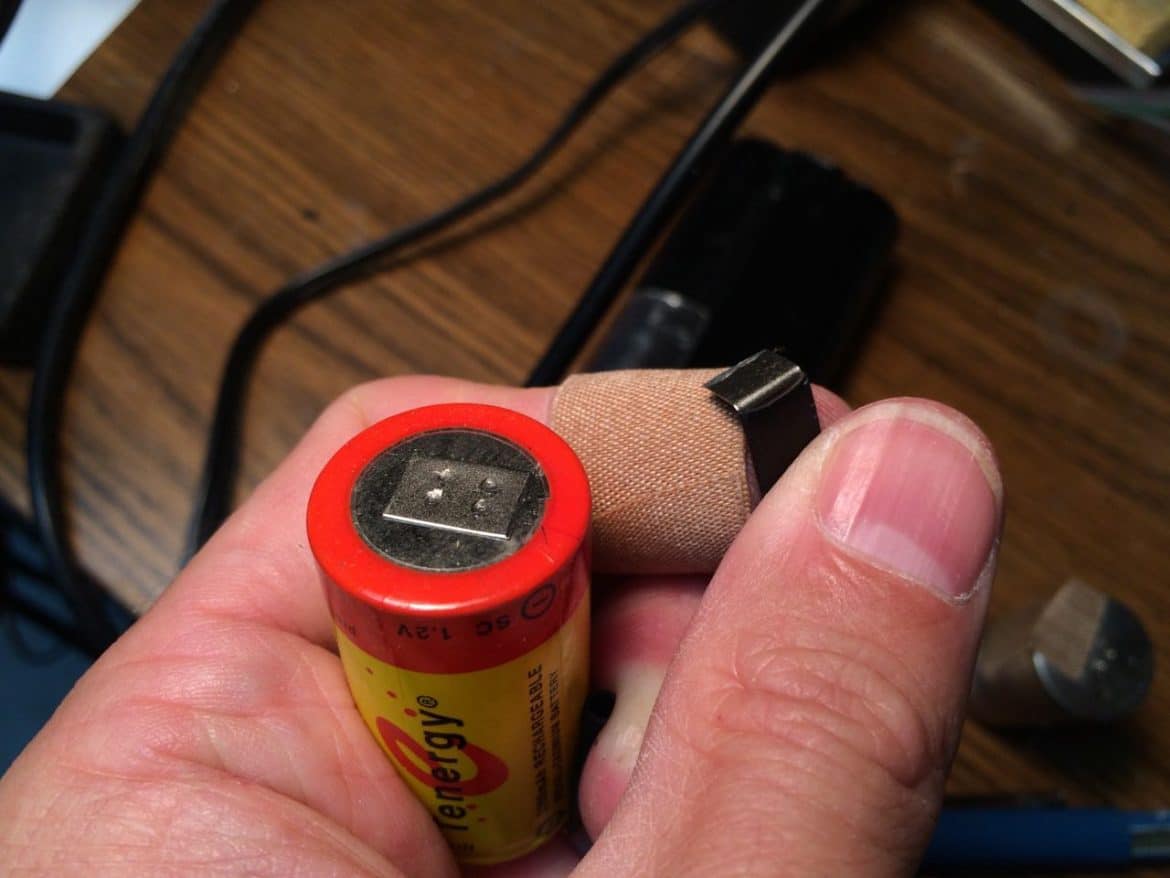
Step 11: Prepare to solder the thermistor in place.
With the battery in the end bracket mark the location where the thermistor should be soldered and mark where to cut away the plastic case wrapper just like you did in Step 10 for the thermal switch:
I recommend sanding the area where you’ll solder, I had not done that yet when I took the picture above.
Step 12: Clamp and solder the thermistor in place.
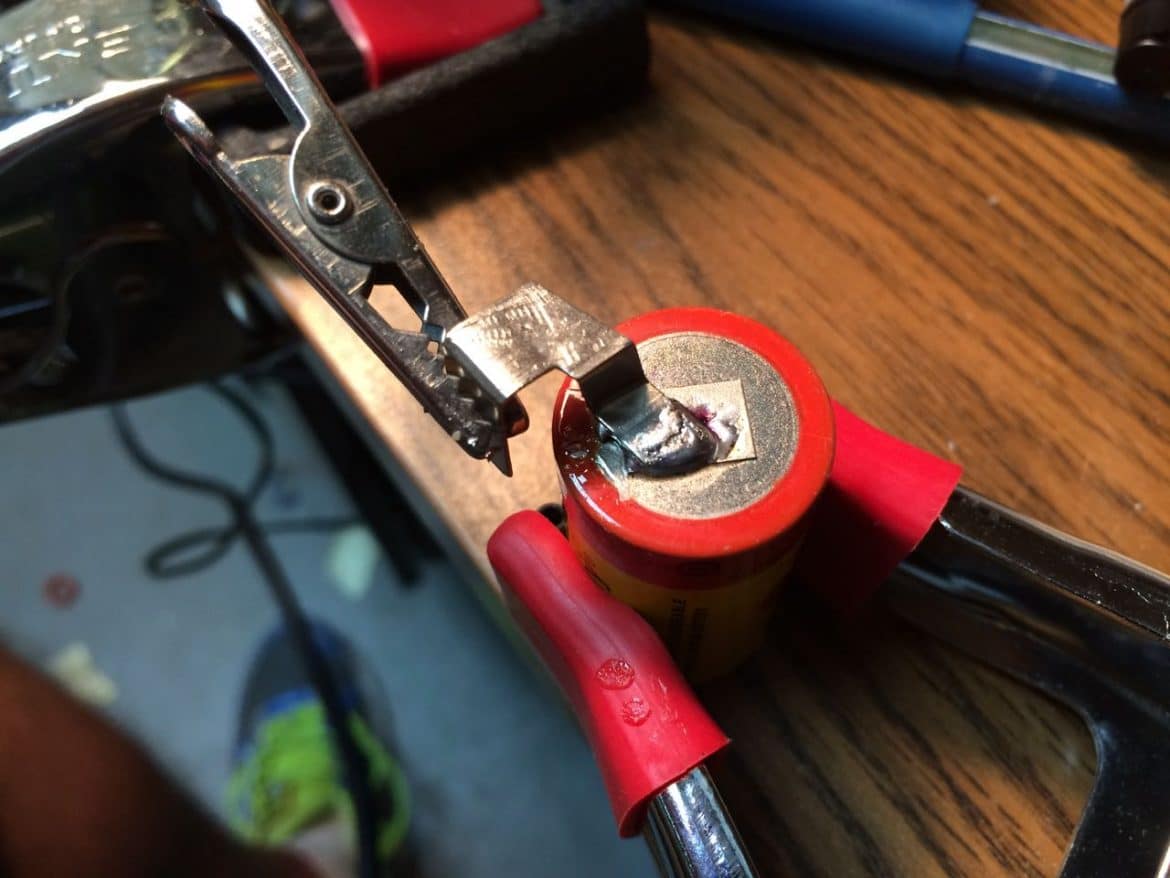
Clamp everything in place so nothing moves, sand all surfaces to be soldered, apply flux to both sides of the joint, and solder them in place. Here’s my clamp setup for soldering the thermistor:
Here’s another look at the thermistor soldered in place, with the clamps taken off:

Step 13: Clamp and solder the thermal switch in place.
I had a harder time figuring out how to hold this solder joint tight. Here’s my clamping setup for this soldering joint:
I wasn’t real crazy about the solder joint I achieved above but this isn’t a high current connection so it just has to have good electrical connectivity. One thing I’ll note is not to worry about melting the plastic battery case wrap–it doesn’t hurt anything.
Step 14: Remove the positive battery connector/terminal
Pry it off just like you did the negative one:
Step 15: Prepare the new NiCad cell for the battery terminal
Cut off the tab from the positive end of one of the batteries just like you did in Step 6 except doing it on the positive end instead:
Insert the new cell into the end bracket, positive end first (button end) and mark where the positive connector should be soldered. Just like in Step 7, make sure you pick the opposite side to run the tab down and orient it as diagrammed below or your cells will never fit back into the original battery case:
I forgot to take a picture of this step when I had the new cell in the end bracket but you can review what we’re doing by going back to Step 7 if you want. Here you can see I’ve marked the location with marker and then I followed it up by scratching in the mark with my knife so it doesn’t get washed away by the flux:
Step 16: Solder the positive connector in place
Sand the surfaces, apply flux to both sides, and then clamp everything in place:
Here’s my solder joint:
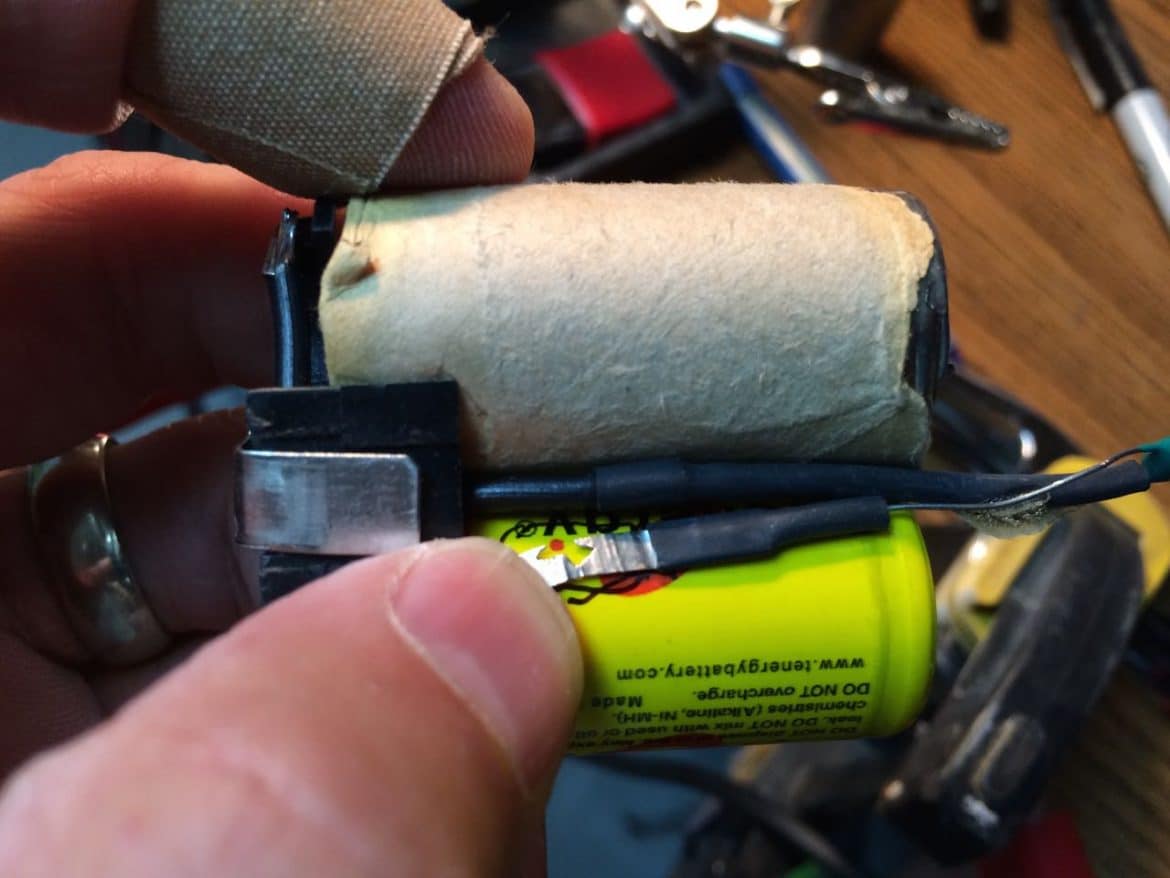
Step 17: Insert the cell with the positive terminal into place in the end bracket
You’ll need to bend the positive and negative terminals a bit to get everything to fit. I had to trim off part of the plastic end bracket too, because my solder was running into it and the cell wouldn’t go all the way in. Here’s what it should look like from the thermal switch side:

And the thermistor side:
Step 18: Use some clear tape to tape the cells together
This will help hold everything together for you:
Step 19: Solder the next three cells in series starting on the positive end
You will always be connecting the positive end of one battery to the negative end of the other. Put the two cells together, remove the tab heat shrink, sand where they’ll contact each other, bend the tabs so that when the cells are put together that the tabs press together, apply flux, clamp them together, and solder into place:
Step 20: Finish soldering the last three cells in series
I won’t show every picture because they are all the same but keep soldering cells together, connecting positive to negative end until you have all three done:
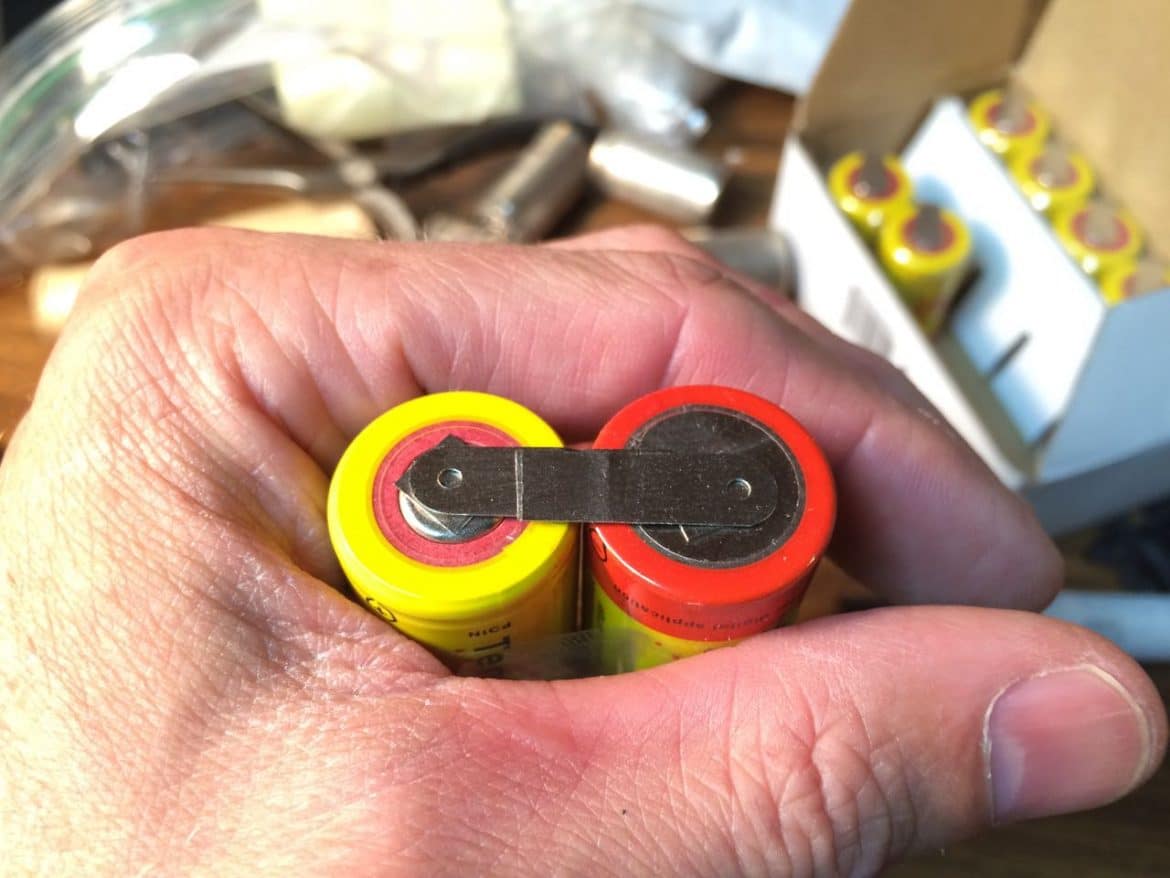
Step 21: Cut off the end tabs and prepare them for bridging the cells
To make both rows of cells add up to 9.6 volts we need to solder together the ends of both rows. Unfortunately the tabs do not line up so we cannot use them to bridge the cells they way they are oriented. Cut off the tabs like we have been doing:
Straighten out the tabs and sand both sides:
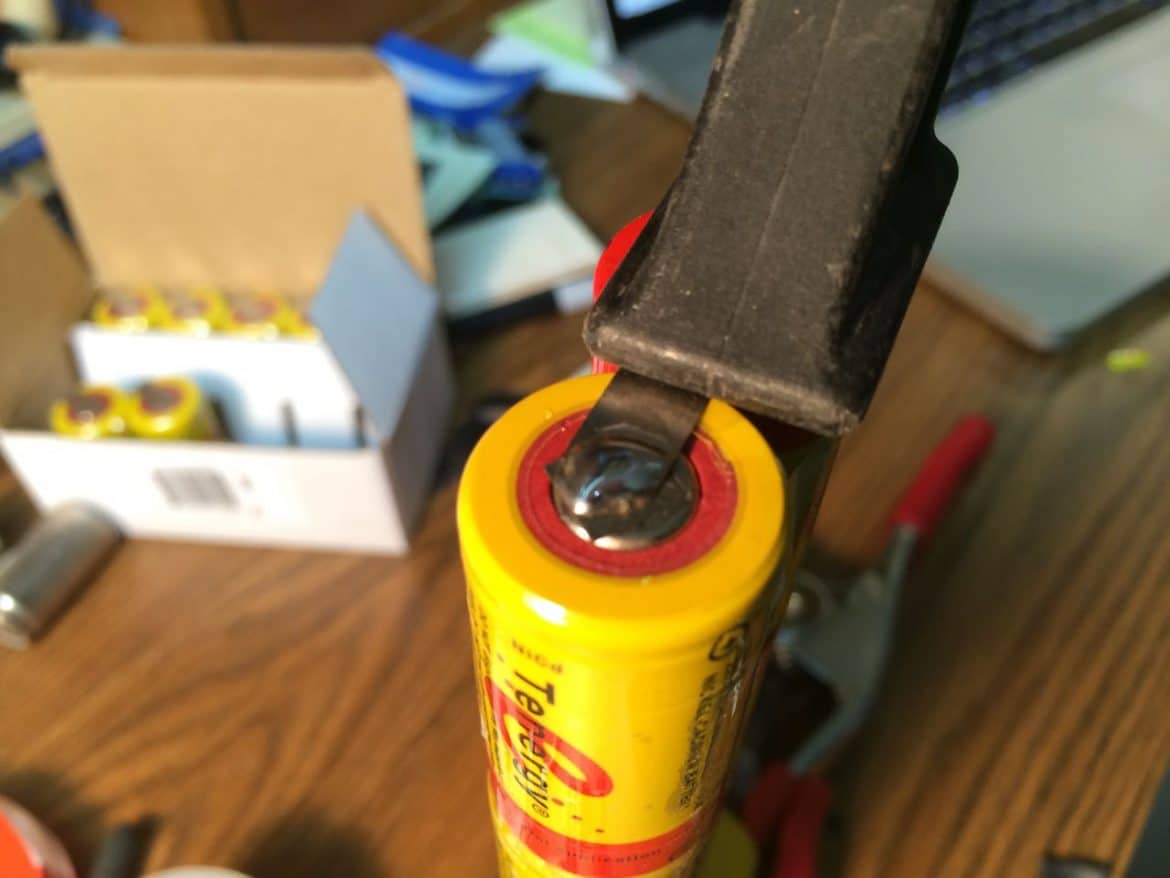
Step 22: Solder the two end cells together.
I taped both rows of cells as tightly together as I could so they are where I want them when I solder the ends together:
This is the goal, to have the tabs soldered in place as seen here:
It is a bit tricky to clamp the batteries still and hold the tabs in place for soldering. I ended up clamping one tab in place and soldering it to the battery first:
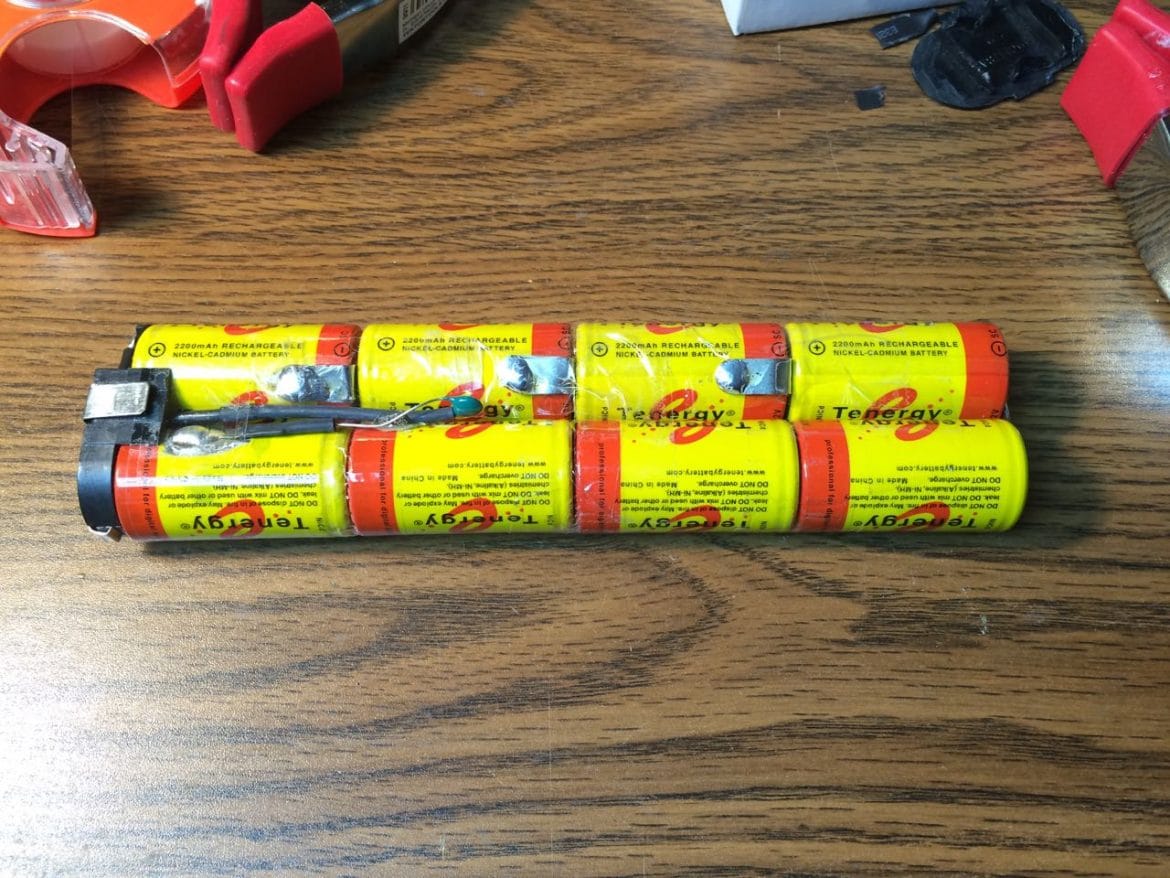
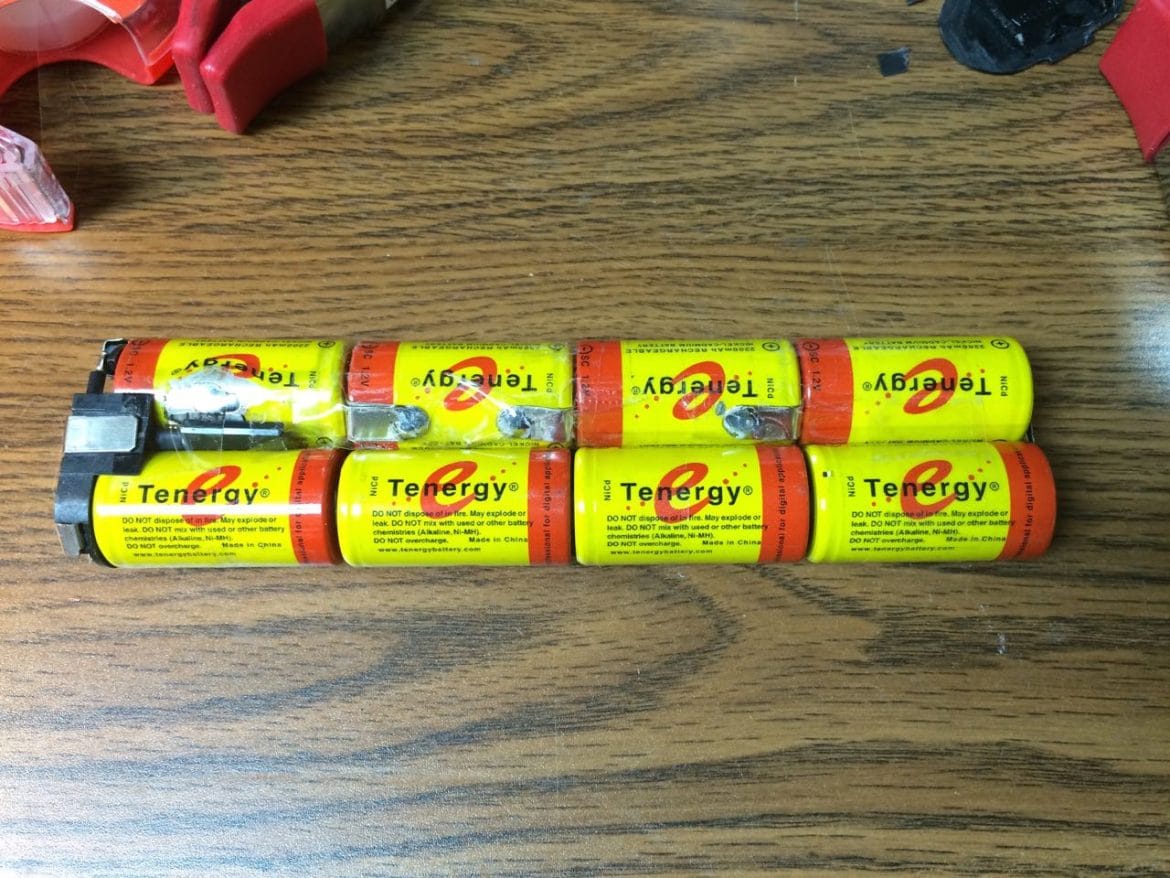
Then I soldered the two tabs together:

And then solder the other end to the other battery cell. I forgot to take a picture of that. Here’s what you’ll have when you are done:
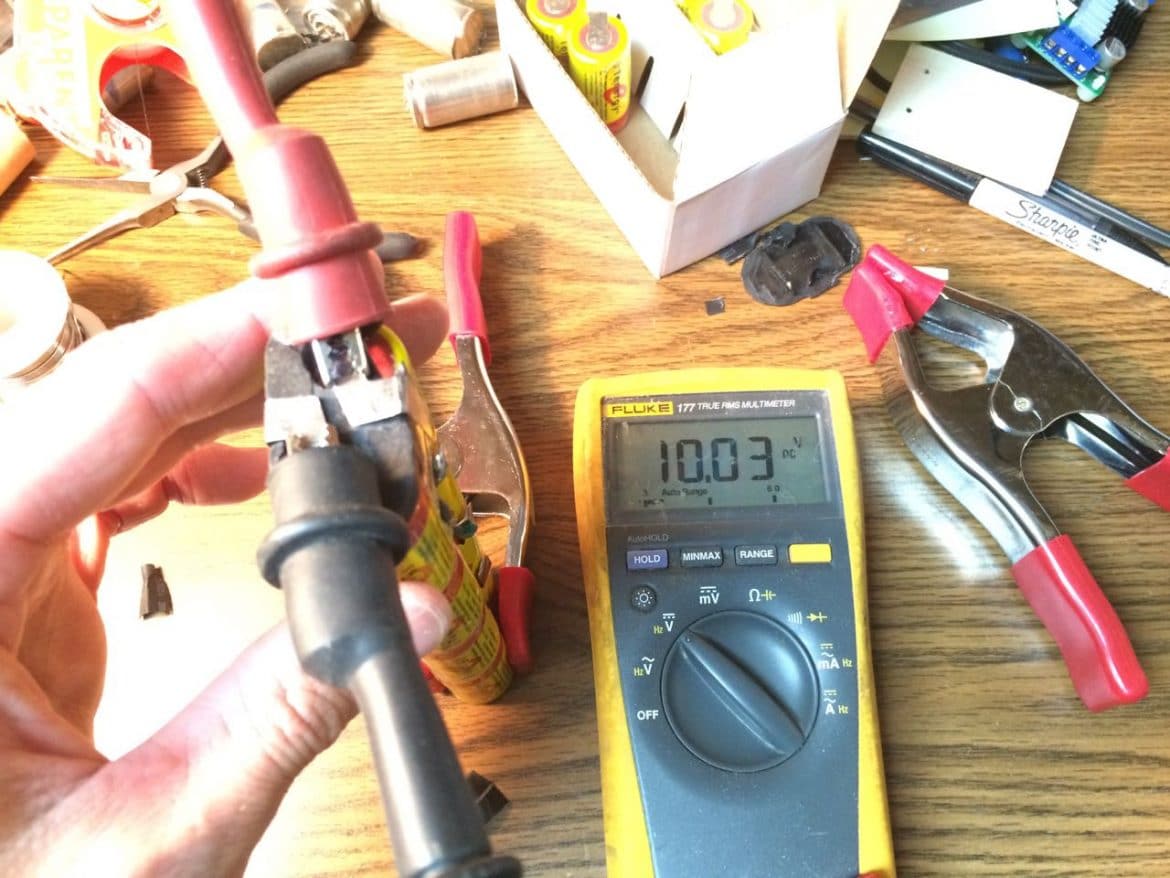
Step 23: Check the voltage of your new battery pack.
When you are done if you measure the voltage with your multimeter you should get right around 9.6 volts if you measure the voltage between the battery terminals on the end. Caution: Be careful not to bridge the two battery connections together with the leads of your multimeter. I got 10 volts, which is just perfect for fresh batteries:
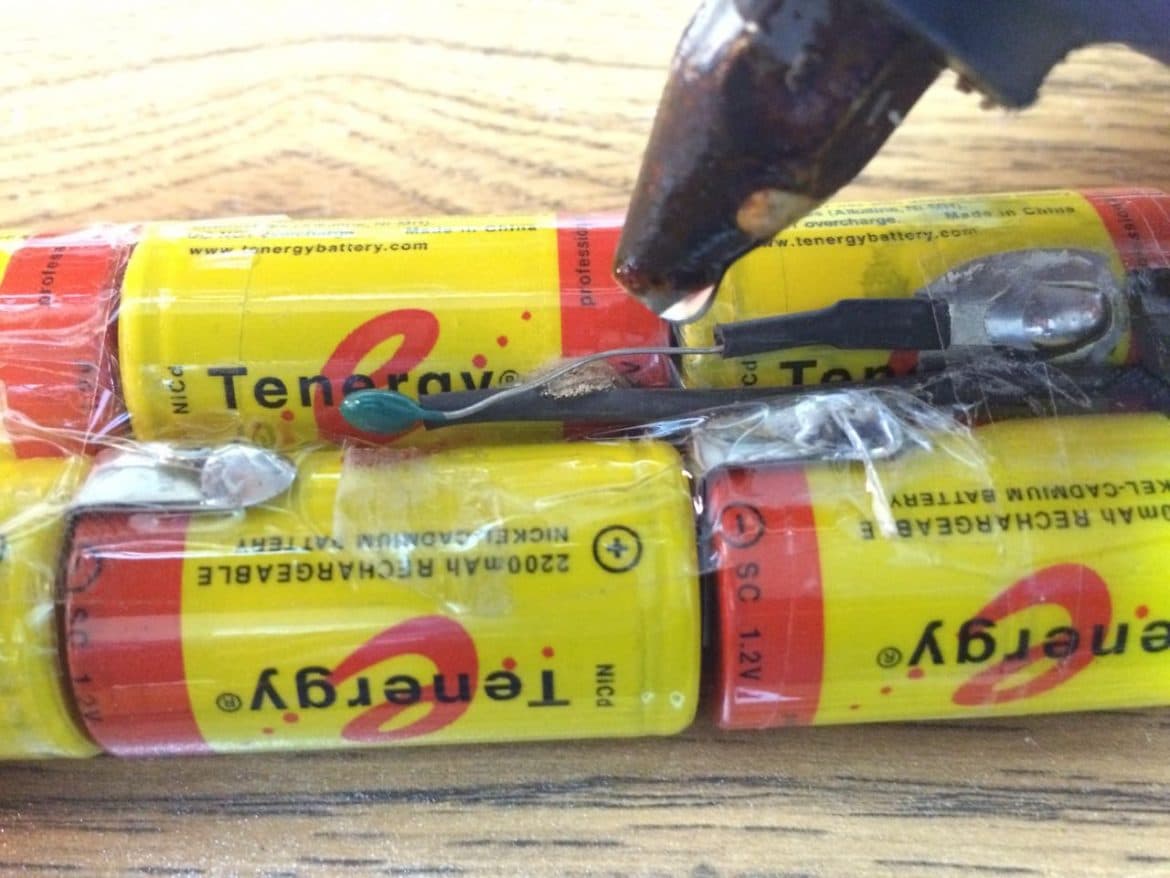
Step 24: Glue the thermistor in place
The thermistor wiring was glued to the side of one of the cells so I used my hot glue gun and glued it back in place:
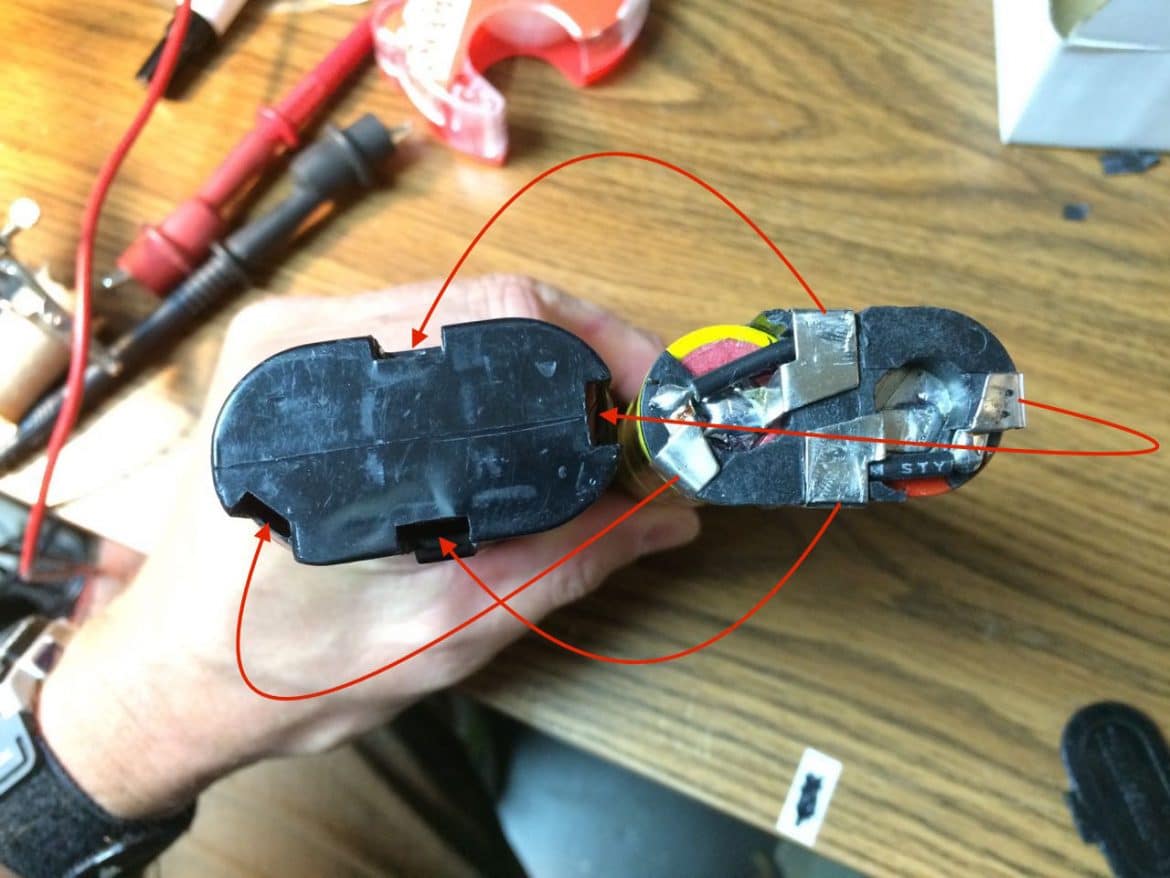
Step 25: Insert the battery cells into the case.
Take note of the orientation of the connections on the end so they line up when you insert the batteries into the case:
Carefully slide the cells in:
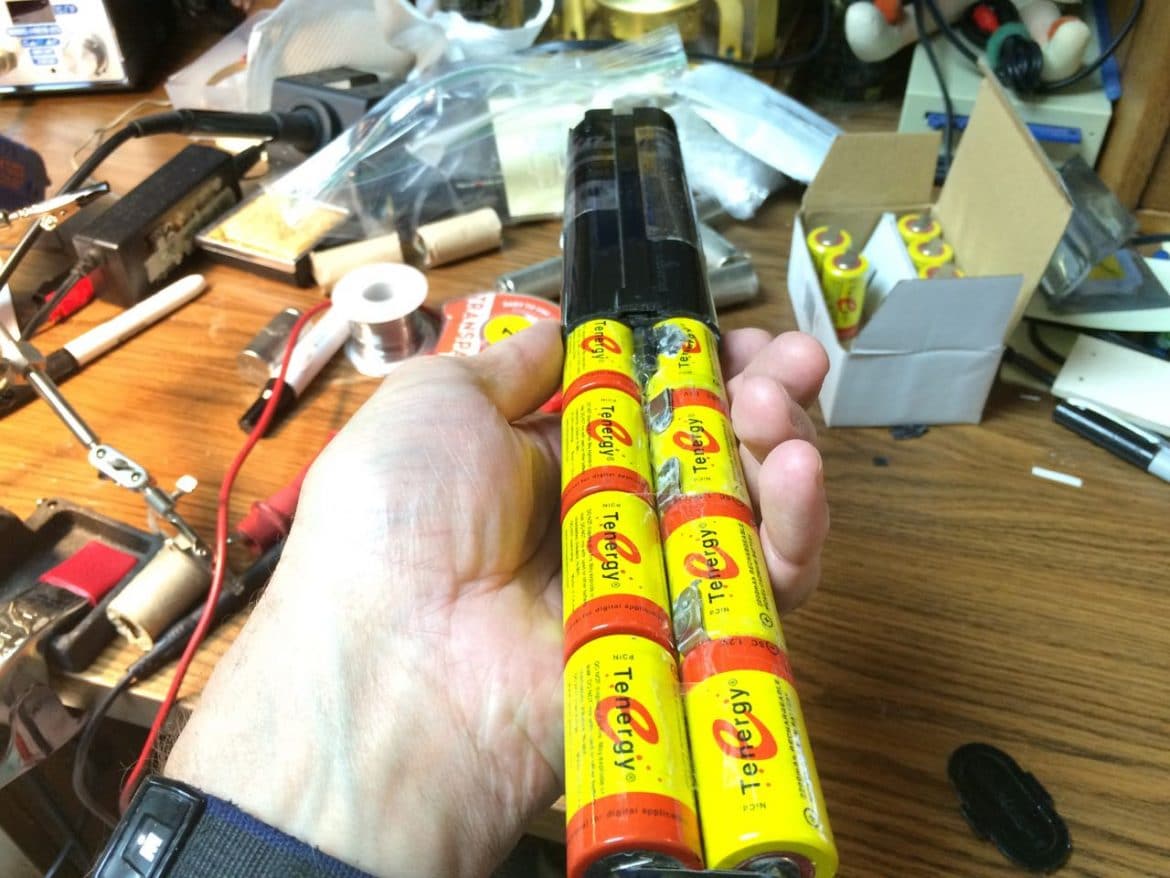
You can hold the case and push down on a hard surface to push them in.
The cells should go all the way in until the terminals show up in their openings and the top is flush:
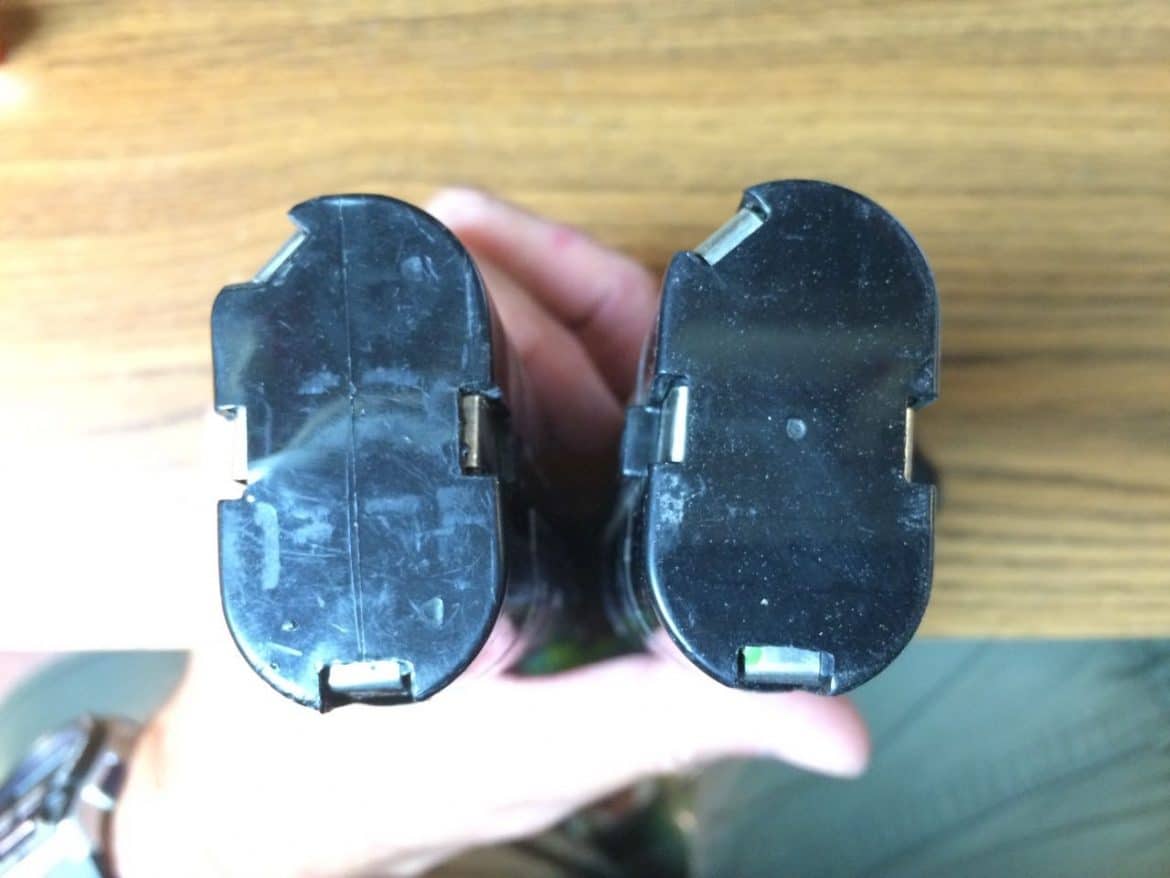
Here’s a look at my refurbished battery (left) by a factory battery. As you can see below, the right terminal (on the left battery) doesn’t quite line up perfectly with the hole but I used a heavy knife and moved it into place.
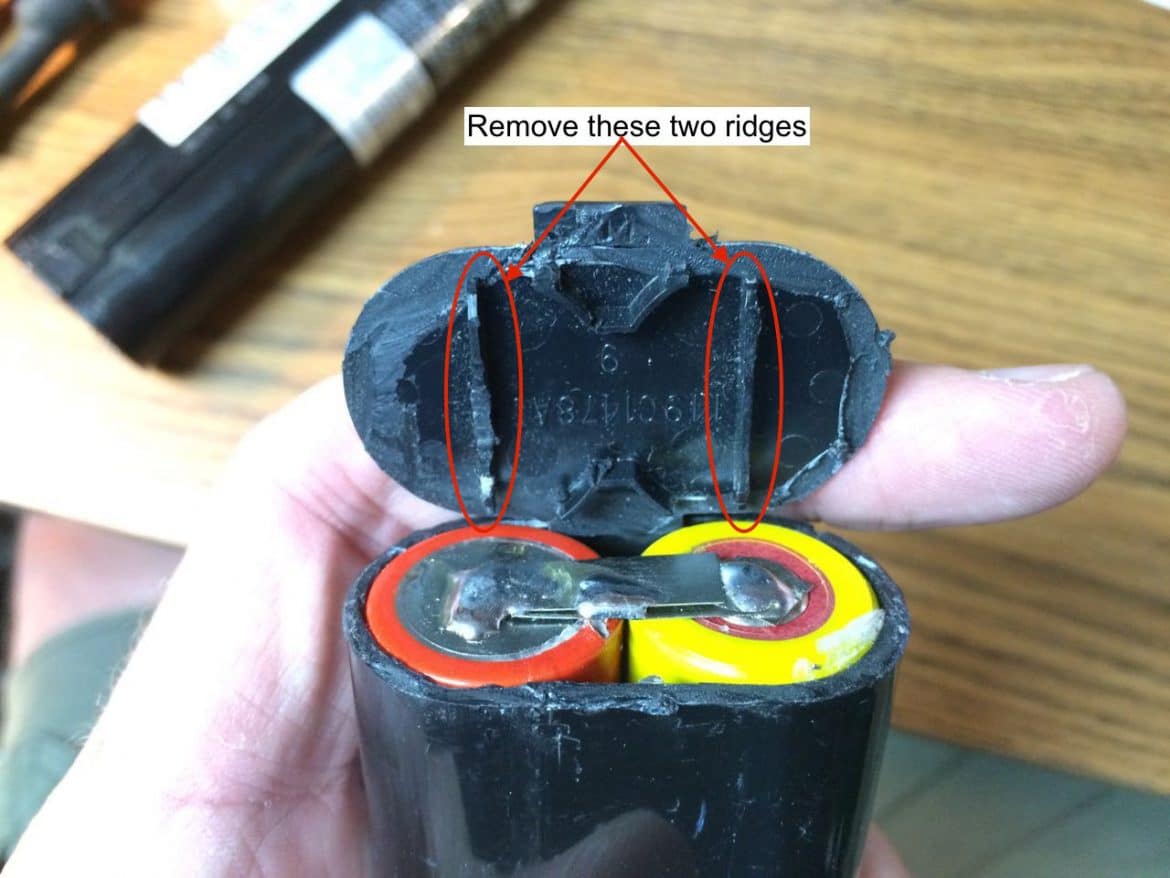
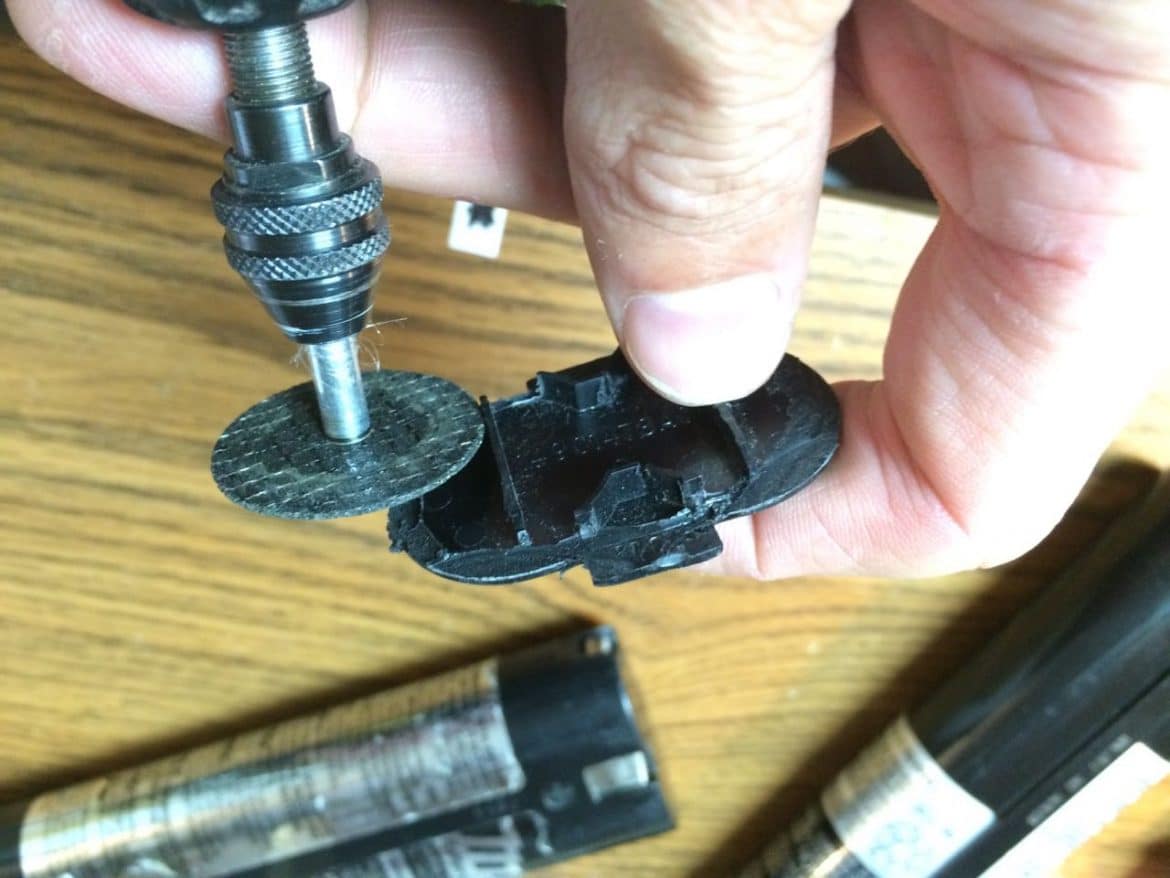
Step 26: Prepare the end cap for reassembly
If you follow the instructions I give above, you will need to still Dremel out these the fins on the inside end of the end cap:
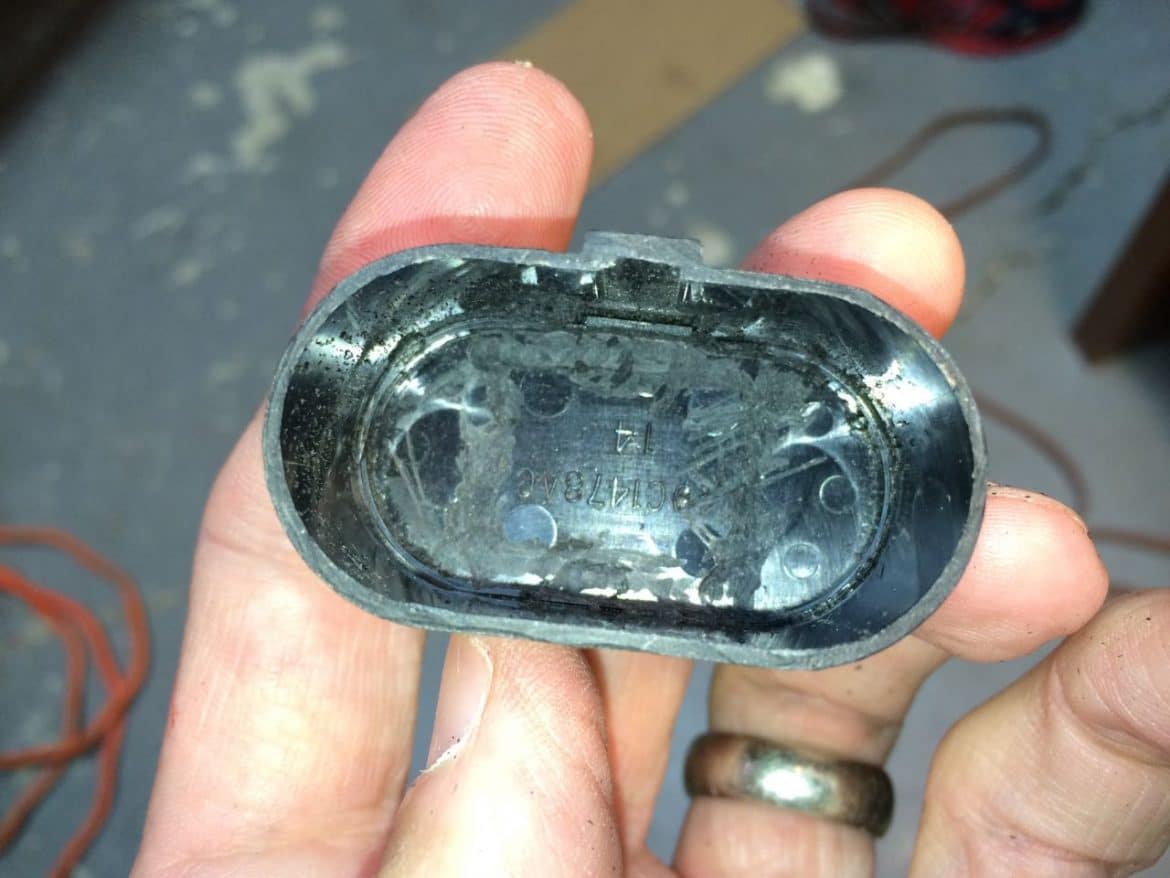
I learned a lot by doing this the first time and just had cut the end off. Because we are soldering our own cells together and the tabs add length to all the batteries, this makes them just a tad bit too long. This forced me to use a Dremel tool to cut out the structure inside the end:
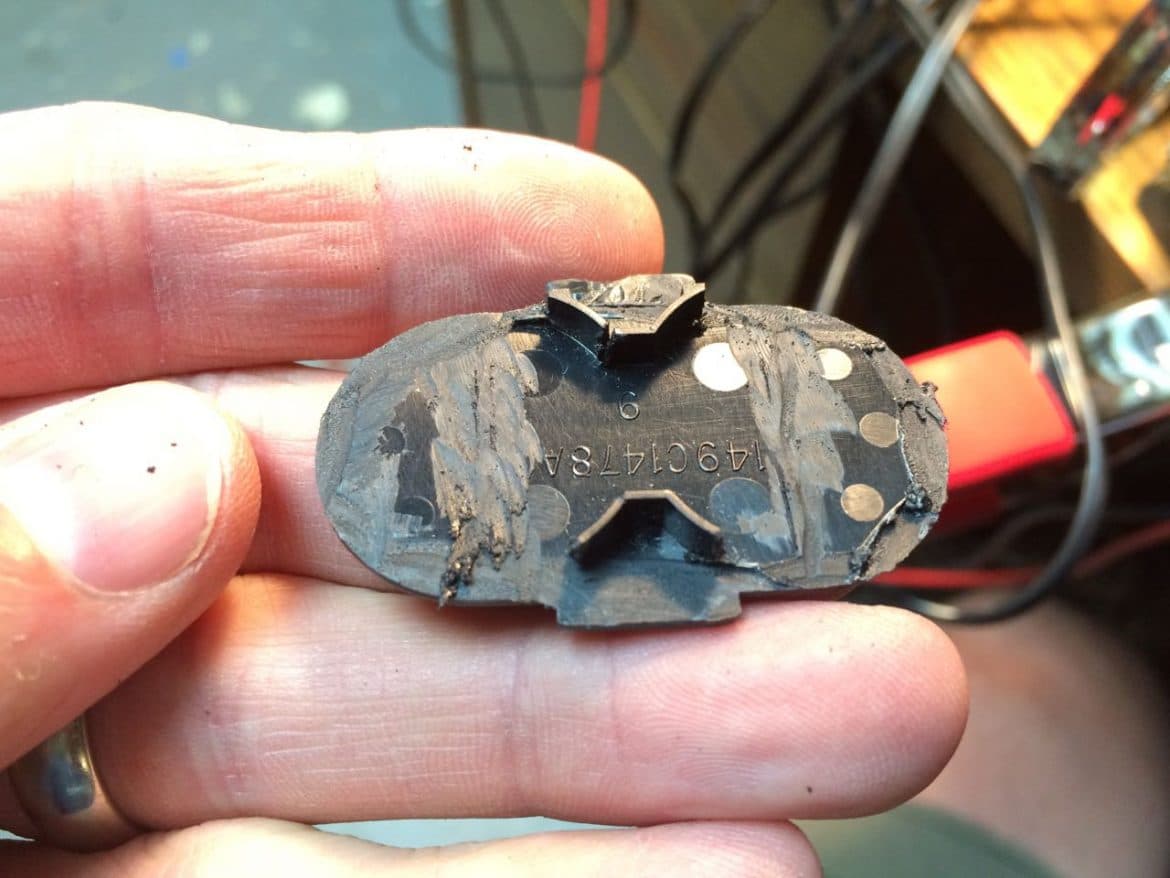
Now we have some more room:
I decided that before I do anything semi-permanent I ought to test the pack out and it worked perfectly:
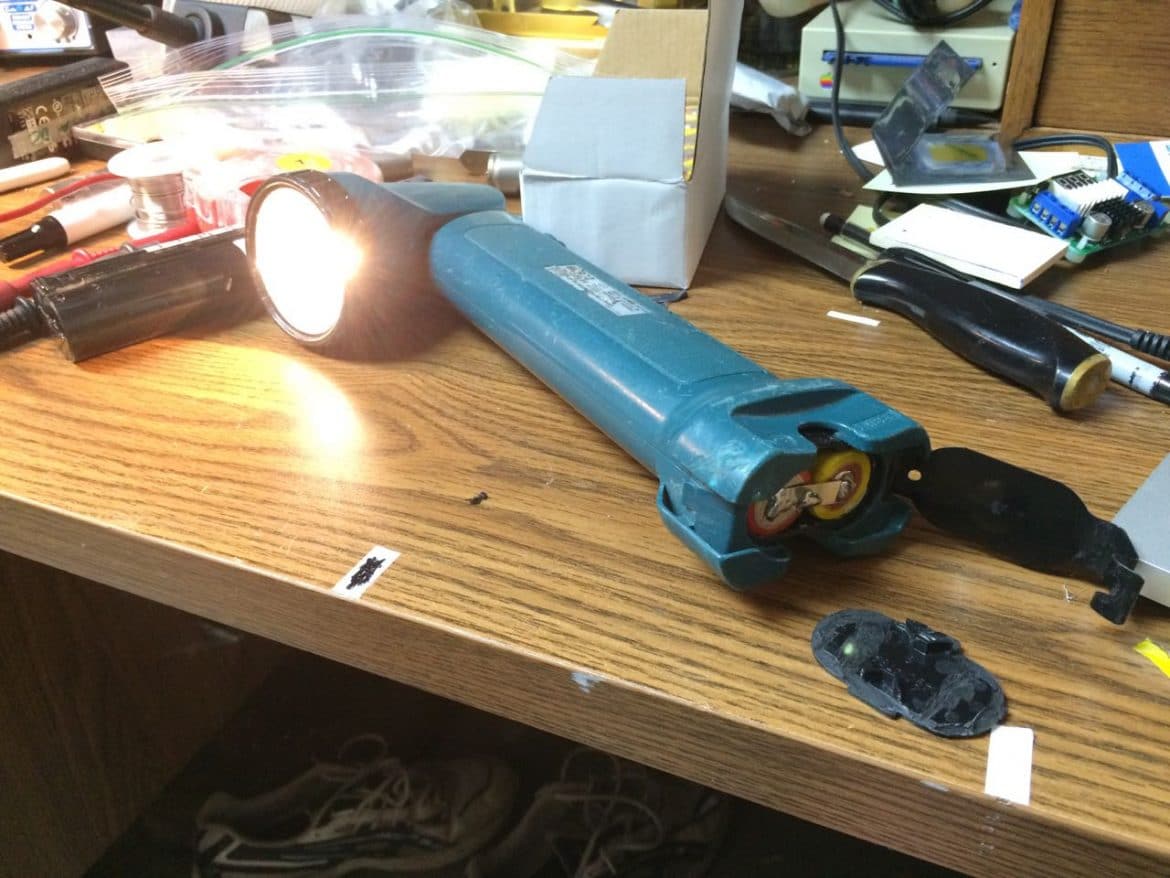
It was hard to get out and I had to tap it on the table to get the battery to come out (because the tabs on the end cap are important for removing the battery from the tool).
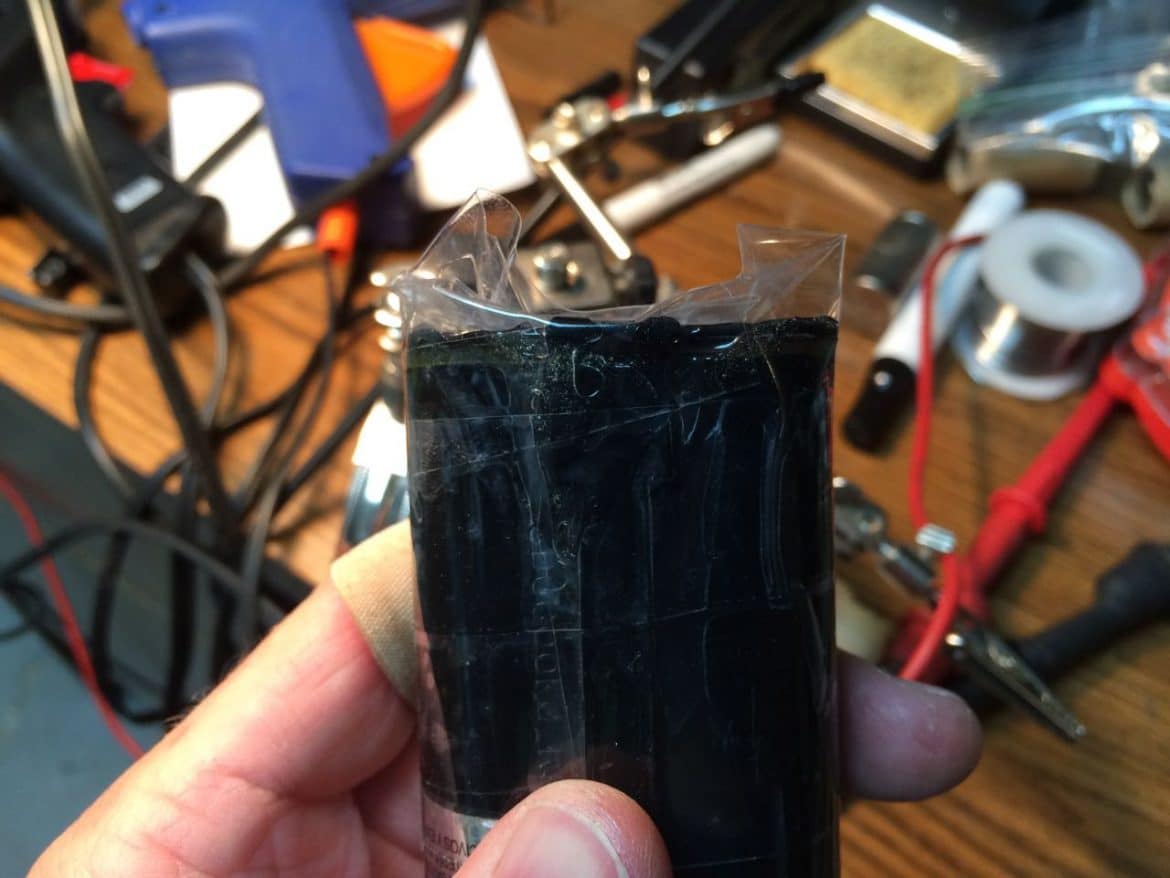
Step 27: Use tape or some kind of adhesive to re-affix the end
This step will differ for most of you if you follow my suggestions and learn from my mistakes. When I did this the second time and cut the case an inch from the end I was able to simply use packing tape to attach the end. I used my quick-grip to squeeze it all together and then put a round of clear packing tape on it:
Here’s what I had to do to put this thing back together the first time I did this repair (and it didn’t turn out bad though). Test how things are going to fit first:
I planned to use a clamp to smash it all together tightly so I figured it would work if I used epoxy. Mix some 5-minute epoxy.
I’ve found that a split shim works great for mixing and applying epoxy (much better than a popsicle stick because they are flat and thin on the end):
Make sure to mix it good:
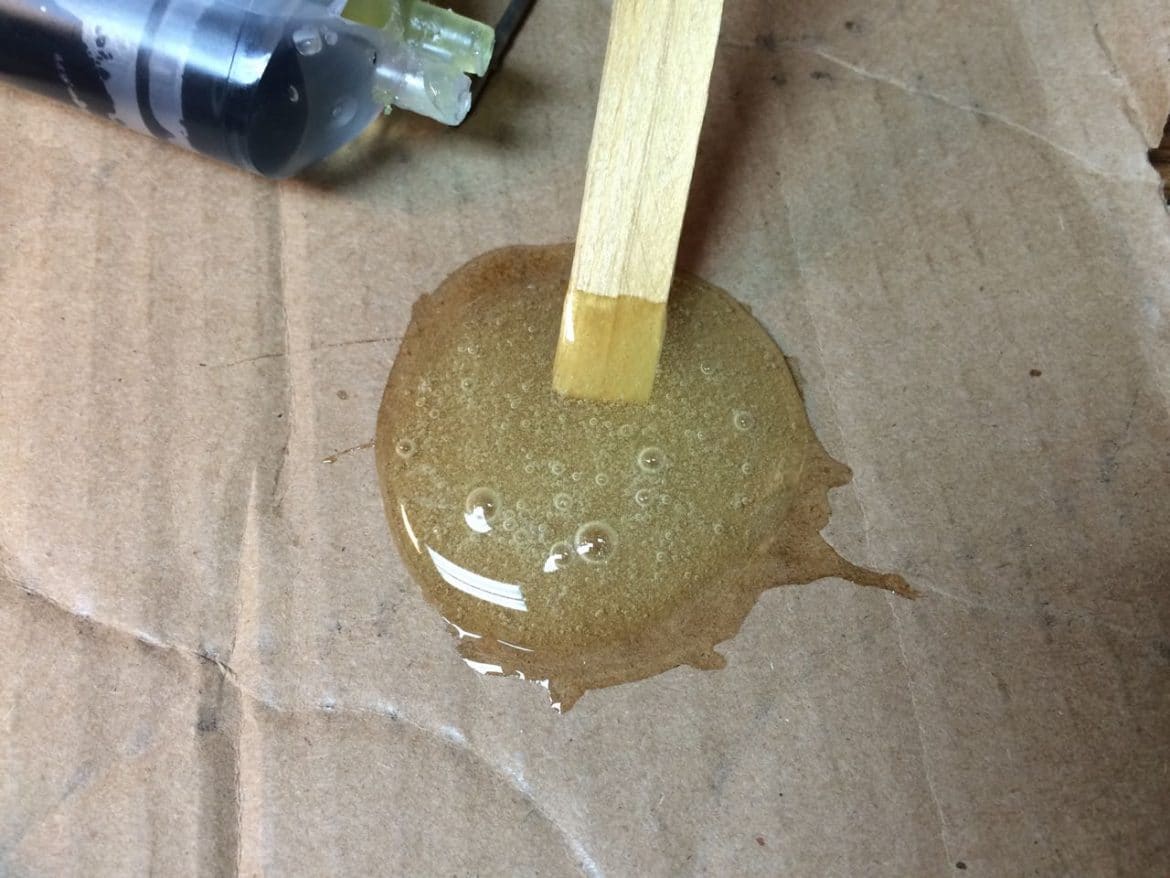
Apply a healthy amount to the end cap:
Put the cap on and watch out for it to go everywhere (I planned on that though):
Put a wrap of packing tape around it to control the flow:
Step 28: Clamp it all back together tight
Clamp it with the glue end down to hold it all together and to squeeze the cap onto the end tight:
I have a heavy duty bar magnet mounted above my desk that I use to store tools while I’m working (to get them out of the way and keep them accessible) and it worked great to hold the clamp while it dried:
Step 29: Wait for the epoxy to set
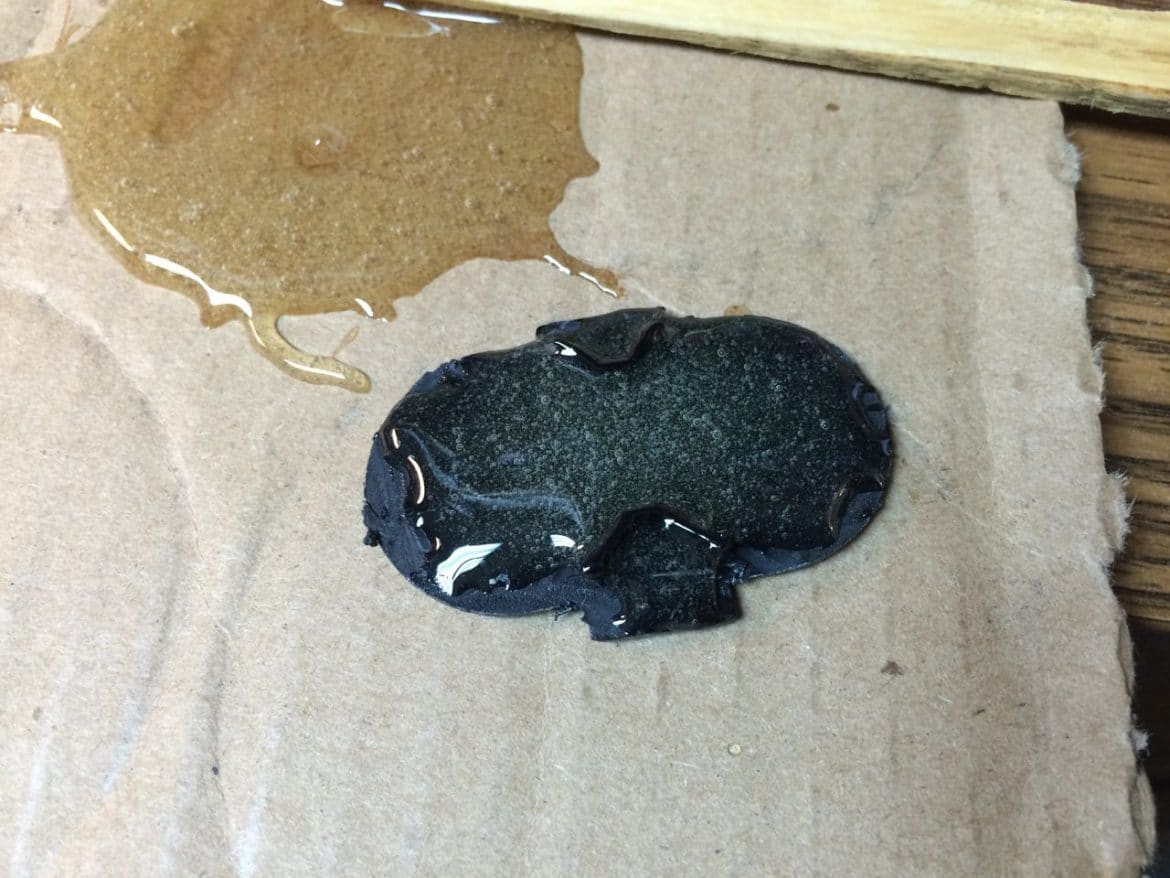
I let the epoxy set for 2 1/2 hours before I took the tape off and then this was what I was left with:
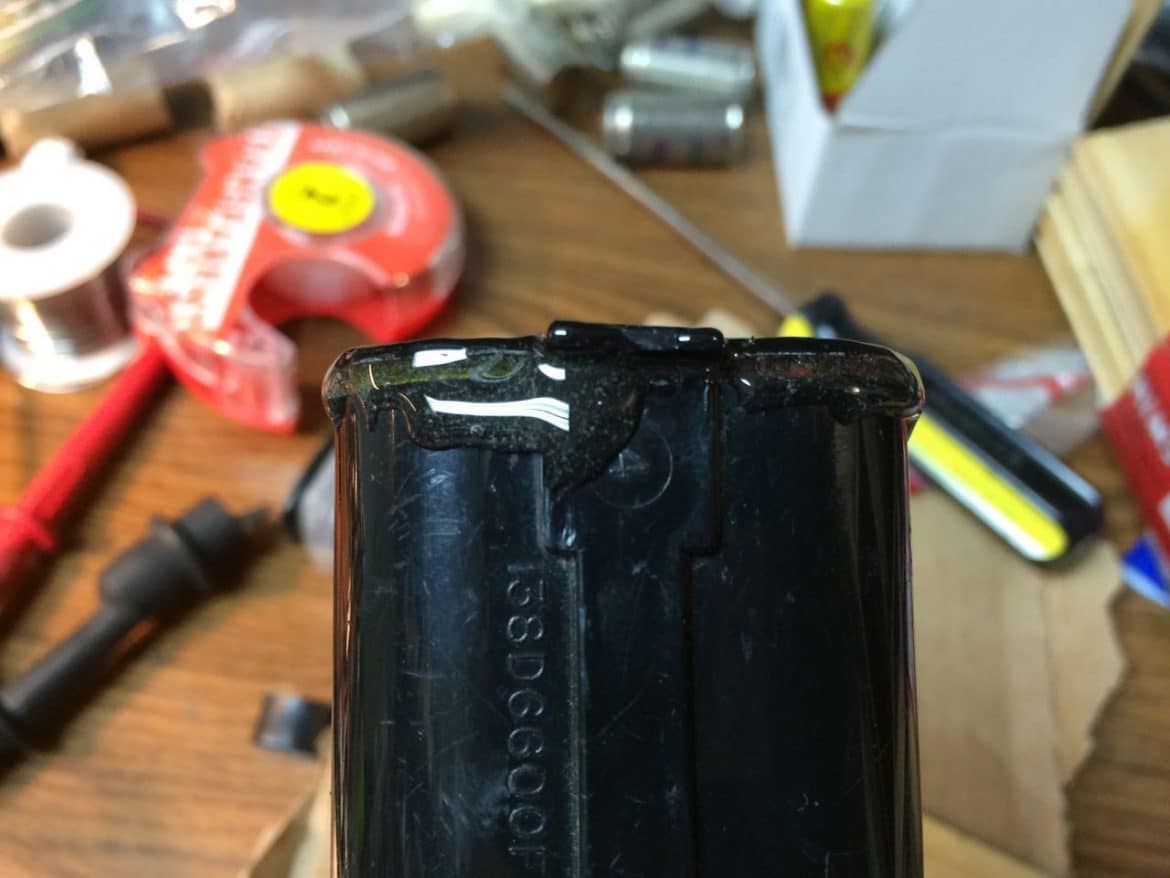
Step 30: Clean up the excess epoxy with a knife
Be careful because there is plenty of opportunity to drive a knife into your thumb while doing this but clean up the excess epoxy around the end. It turned out really nicely when I was done:
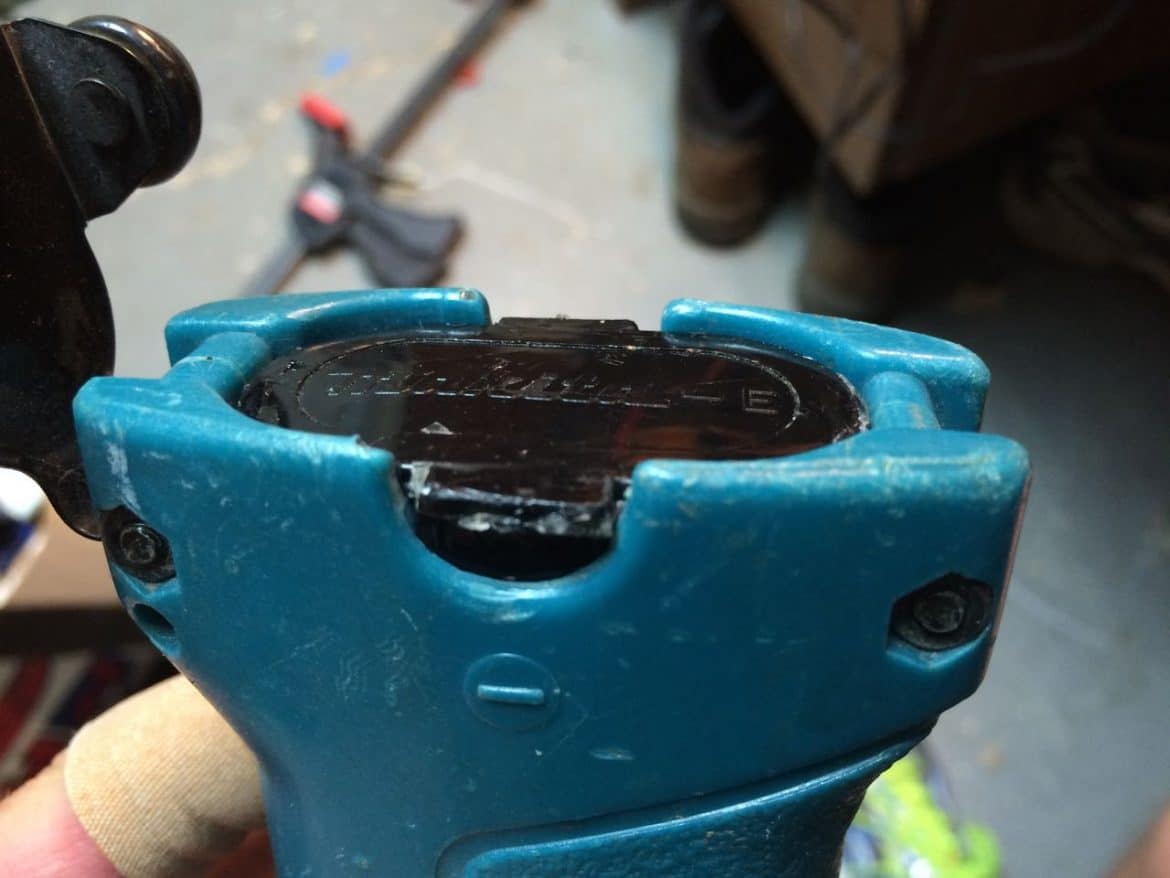
And the battery fits great into my drill:
This repair was a lot of fun! Let me know in the comments if you refurbish yours!
Amazon Associate Disclosure: As an Amazon Associate I earn from qualifying purchases. This means if you click on an affiliate link and purchase the item, I will receive an affiliate commission. The price of the item is the same whether it is an affiliate link or not. Regardless, I only recommend products or services I believe will add value to Share Your Repair readers. By using the affiliate links, you are helping support Share Your Repair, and I genuinely appreciate your support.

Great post but can’t you buy them on eBay for $10.00 already refurbished? What am I missing?
Yes, you are completely correct, that’s why I wrote the following in the introduction of the article: “I was about ready to throw out this battery pack, which came with the drill back in 199x when I purchased it but the love of repairing, learning, and fixing overtook me so I decided to tear it open and see if I could install new 1.2 volt NiCad C battery cells.“
What is the dimension of the battery?
Thanks for your question. The individual cells are exactly the same as the replacements I prescribe in the parts list at the top of this article, and as described in the listing:
 .
.
Product Link: Makita Battery Cells
Does this give you the information you need?
Superb illustrated tutorial !!
Many thanks,
Ken
Thanks for leaving a note. So, are you going to refurbish your Makita battery?