You can still install GoldMine 6.0 on modern PCs running Windows 7 and we are still using GoldMine 6.0 every day. In this article I teach you how to install GoldMine 6.0 in Windows 7.
Equipment:
- Dell Optiplex 320 PC running Windows 7
- Dell PowerEdge 2800 running Windows Server 2003
Software:
Pre-Installation Note: In this tutorial I’m going to assume you have your GoldMine data stored on a network server and that there is a network installation of GoldMine on that server drive.
How to Install GoldMine 6.0 in Windows 7
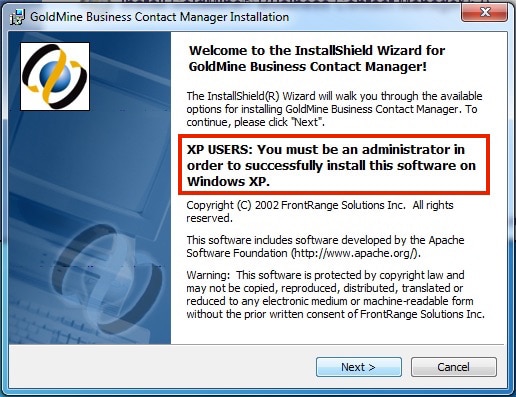
Step 1: Log into your Windows 7 machine with an administrator account.
If you aren’t in an administrator account you will not be able to install software. You will be later be warned about this but it’s better to just start out right:
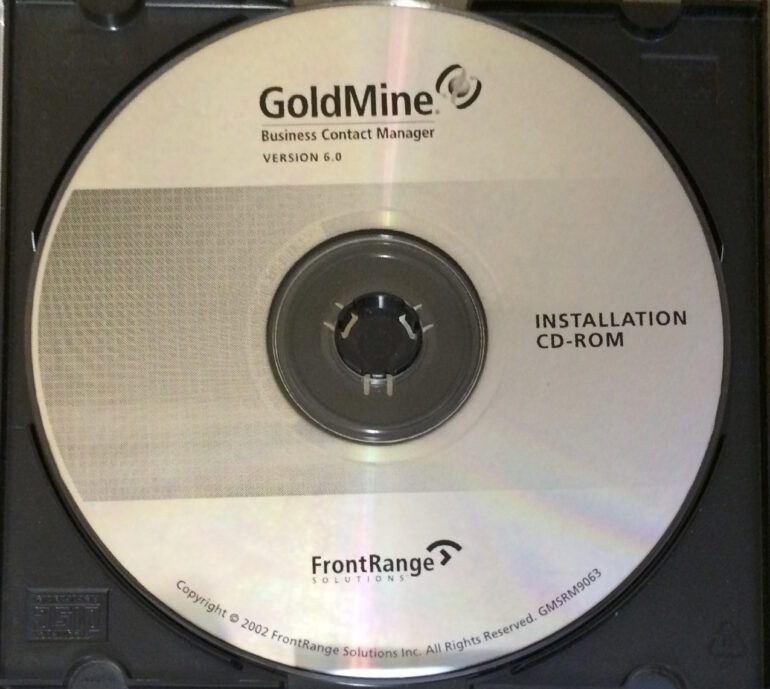
Step 2: Insert the installation CD into the machine you are installing.
Step 3: When the AutoPlay window pops up double-click on “Run Setup.exe” Publisher not specified
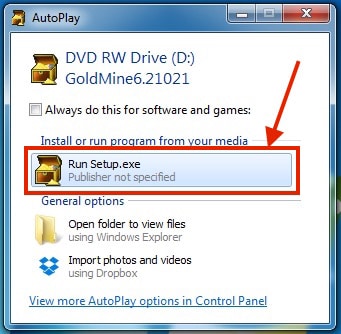
If the AutoPlay window does not pop up then you will need to browse in File Explorer to the CD and find the Setup.exe file in the root of the CD and double-click on it.
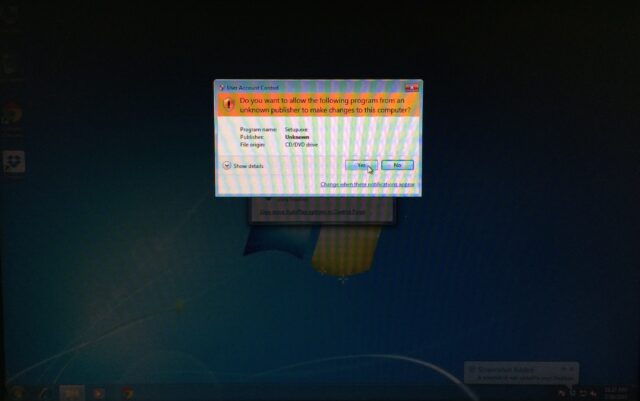
Step 4: When the User Account Control window pops up click the “Yes” button
The screen will turn dark and you’ll get a Windows User Account Control warning. This is just part of the security features for when programs try to make changes to the hard drive in Windows 7. Click “Yes.”
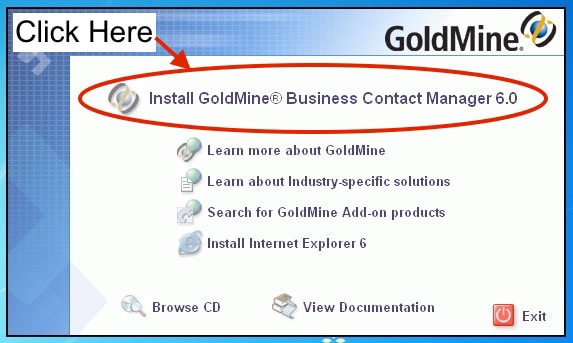
Step 5: Click on “Install GoldMine Business Contact Manager 6.0” when the install window pops up:
The “Install GoldMine(R) Business Contact Manager 6.0” text will brighten when you hover your cursor over it to show that it is a link. This has been a bit confusing to me in the past because it is not apparent that is what you are supposed to do.
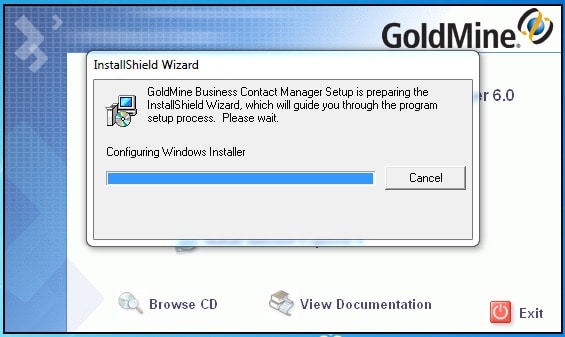
You’ll next see this for a brief period of time:
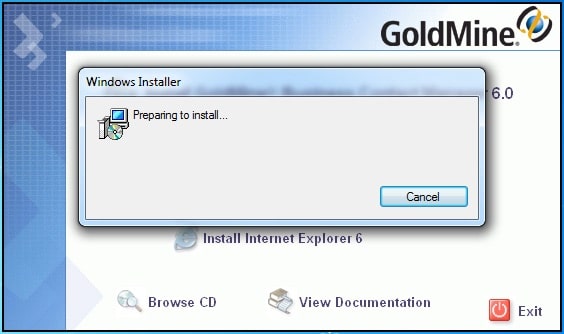
Then you’ll see the Windows Installer window:
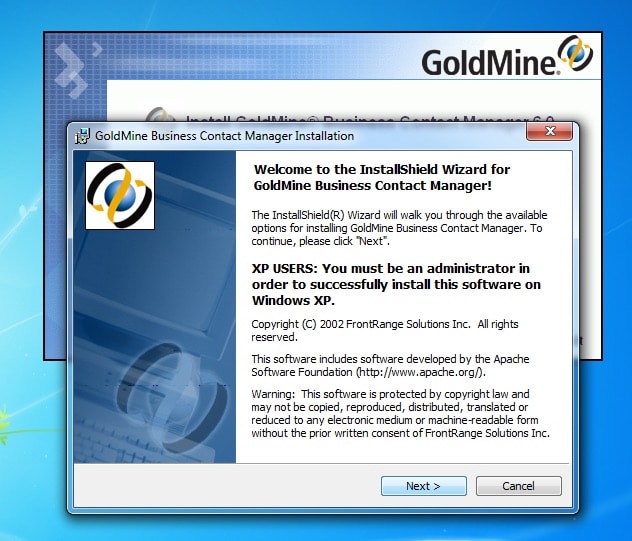
Step 6: When the “GoldMine Business Contact Manager Installation” window finally pops up click the “Next >” button:
Step 7: Agree to the terms and conditions and then click the “Next >” button
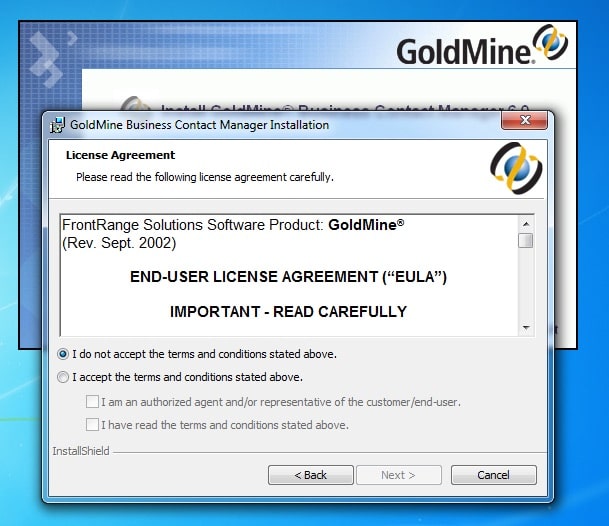
You will need to click on the radio button next to “I accept the terms and conditions stated above.” and click on the checkboxes to the left of “I am an authorized agent and/or representative of the customer/end-user.” and “I have read the terms and conditions stated above.” Once you have accepted and checked the boxes the “Next >” button will become active:
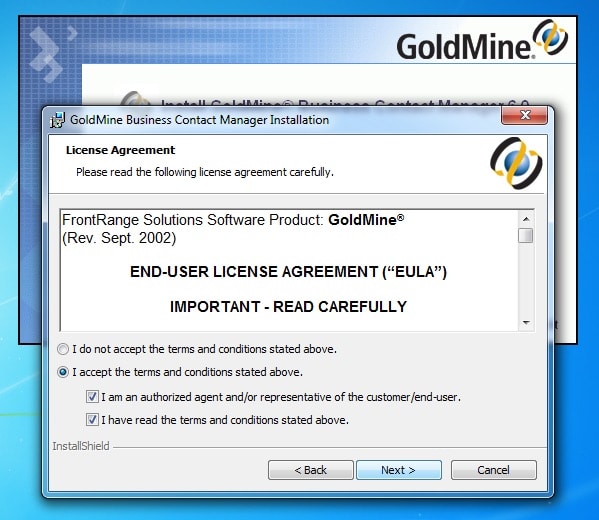
Click the “Next >” button.
Step 8: Choose Installation or Upgrade and click the “Next >” button.

For this illustration we will be installing GoldMine 6.0 for the first time on this machine since I just installed Windows 7. Your experience will deviate from what I describe going forward if you are upgrading. The option “This is a “New Installation” of GoldMine Business Contact Manager” should be selected by default. Click the “Next >” button.
Step 9: Select the Data Sharing Options
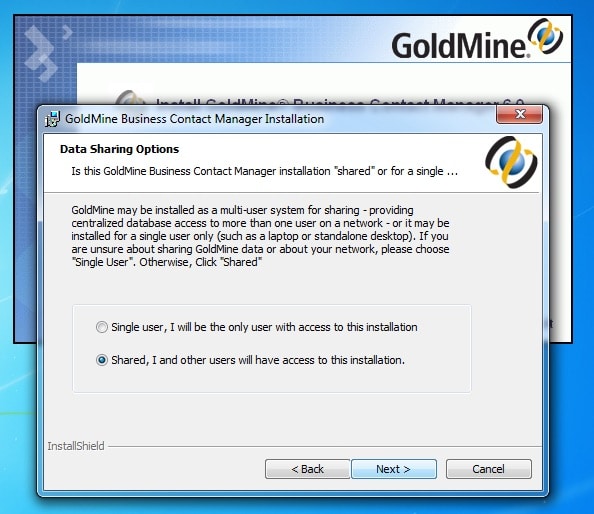
You will need to choose whether you you want to set up a Single user or Shared setup. In my case the data resides on a Windows 2003 server so I’ll be selecting “Shared, I and other users will have access to this installation”
Step 10: Select the Installation Type
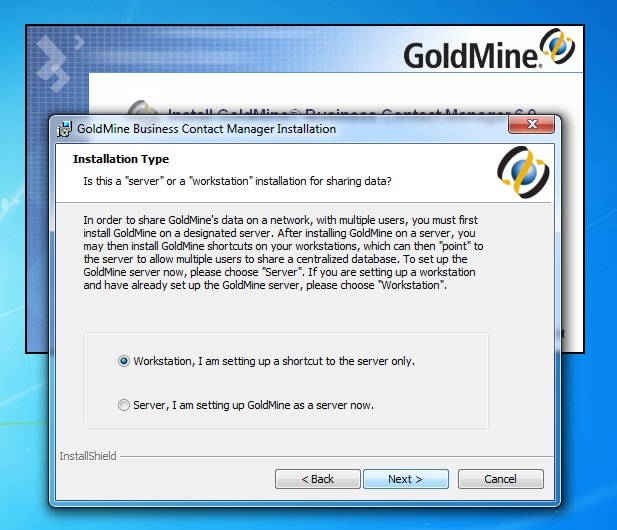
Now you must select whether that computer is a “server” or a “workstation.” In my case, since the data is on the Windows 2003 server, this will be a workstation setup. Select “Workstation, I am setting up a shortcut to the server only.”
Step 11: Select the Existing GoldMine installation on your network
This was a tricky step because the GoldMine 6.0 installation software is so old that it doesn’t even allow you to browse to your network location. The path you want is the network location where the gmw6.exe file is located on the server where the data is located.
It does have a Browse button but when you click it, it, it only gives you access to the local drive, most likely C, and the CD/DVD drive:
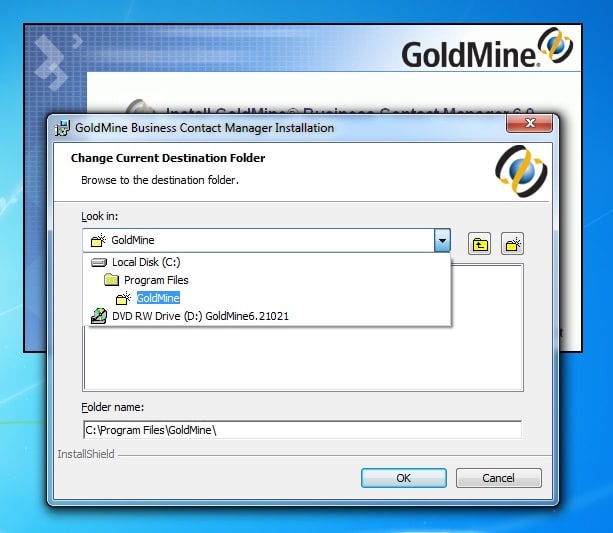
You can still do it by manually typing the network location in the “Folder name:” field:
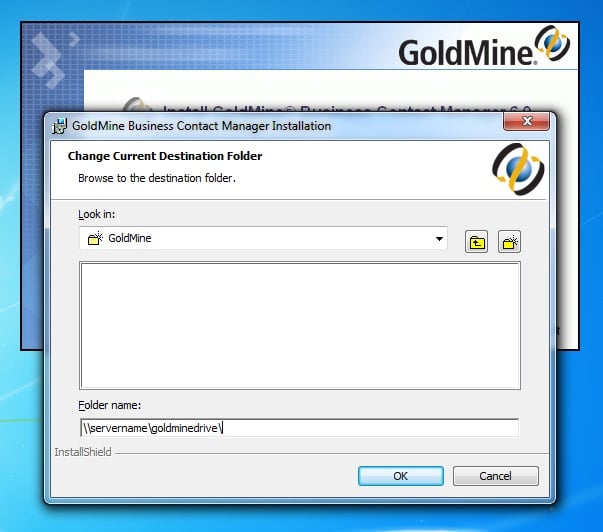
Type the windows network path in the following form: \\domain-name\network-drive-name\subfolder-if-necessary\ where the gmw6.exe file is located. Then click the “Ok” button.
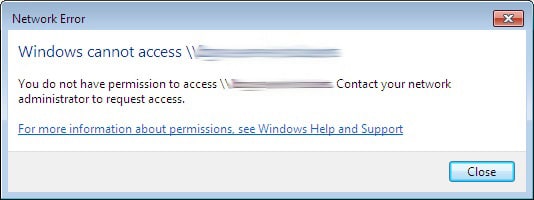
Important Note: You need to access the network drive where GoldMine is installed with an account that has permissions for your goldmine network drive in order to browse to that location and install GoldMine as a Workstation. I just ran this installation but I ran into issues because I had not given the user right to the Goldmine driver 🙂 This is the error you will get if you do not have permission to use the drive:
Step 12: Click the “Next >” Button on the “Select Existing GoldMine” window that pops up.
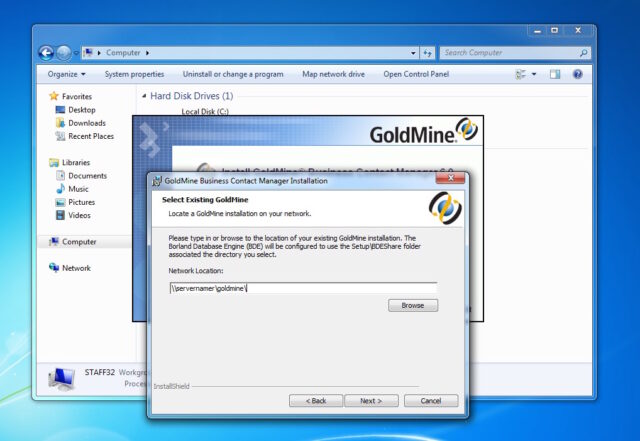
At this point you get another window asking about the Borland Database Engine (BD), with the network path you just typed in. Leave the path the same and click the “Next >” button.
Step 13: In the “ready to Install the Program” window click the “Install” button.
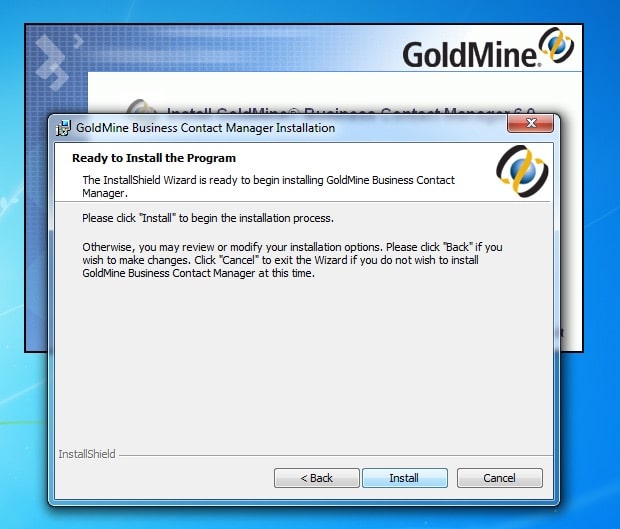
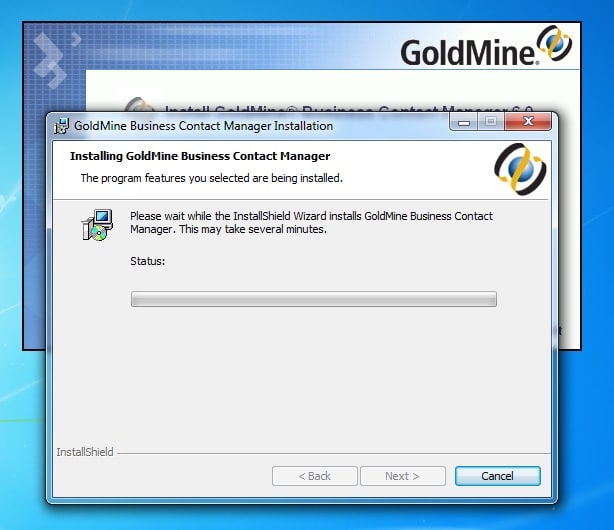
Step 14: Wait for the program to install.
You will get a Status bar showing you the progress as you wait:
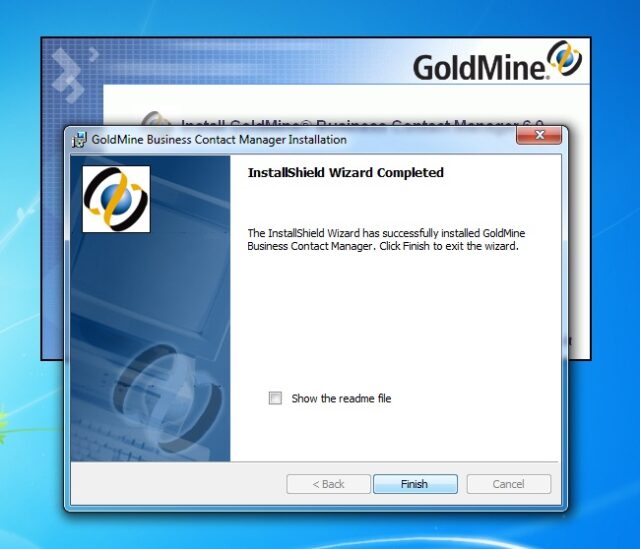
Step 14: When the “installShield Wizard Completed” window come up you are done.
Click the “Finish” button:
Step 15: Close the CD Installation menu window.
When you are done installing the CD Installation menu will be on top of the GoldMine login window:
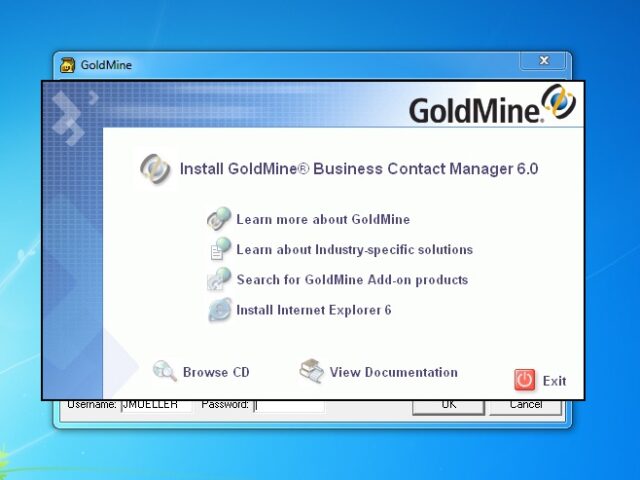
Click the “Exit” button on the bottom right and you can eject the CD and put it away.
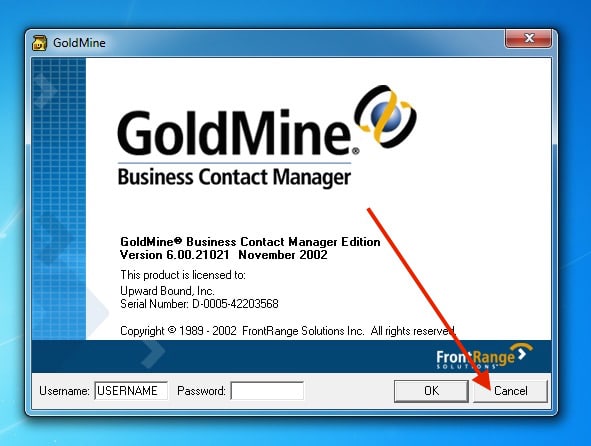
Step 16: Cancel the running of the program.
You want to cancel it because it is running locally, but you want to run the copy that is on the server.
Step 17: Browse to the network location and make a shortcut of the gmw6.exe file on your local machine.
Then you will run this shortcut from now on. You may need to type the server path in the “Search programs and files” field of the Start menu. Right click and drag the file to your desktop and create a shortcut.
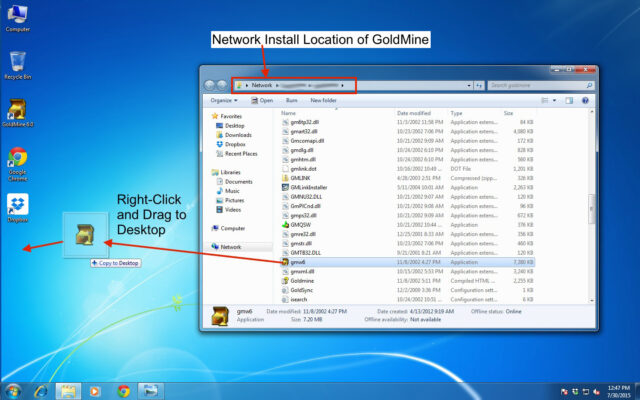
Delete the other GoldMine icon and rename the shortcut “GoldMine 6.0.” Now you can run GoldMine 6.0 and log in!
Amazon Associate Disclosure: As an Amazon Associate I earn from qualifying purchases. This means if you click on an affiliate link and purchase the item, I will receive an affiliate commission. The price of the item is the same whether it is an affiliate link or not. Regardless, I only recommend products or services I believe will add value to Share Your Repair readers. By using the affiliate links, you are helping support Share Your Repair, and I genuinely appreciate your support.


I tried your solution but after logging into the GM screen I get a window to select the database. When I select the database I get a message that says contact set files NOT found in g:\goldmine\company\
Thanks for the question Billy. I’m going to take a stab at your problem but I’m not even in the same job where I used to work with GoldMine so I don’t have access to the software anymore. Did you follow my instructions as to how to use the “network path” versus the local path of, say your mapped drive at e: or some other letter? It could be that GoldMine needs to be run via a shortcut that is formed with the network address. Does that help? I’m specifically referring to Step 11.