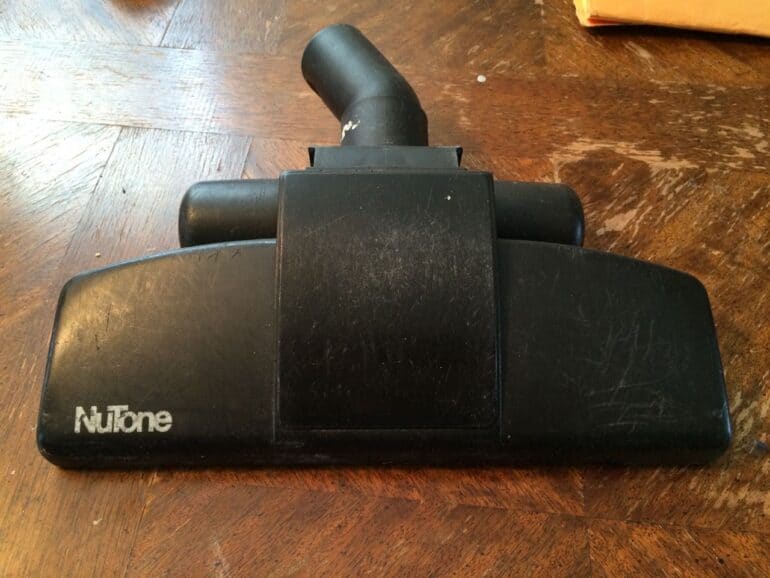
Our home contains a NuTone central vacuum system and we have a couple different attachments. The standard floor sweeper has two rollers on the bottom of it and one of them just disintegrated the other day:
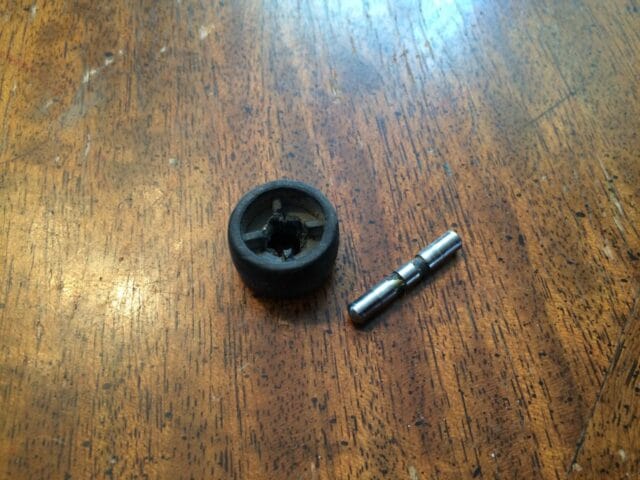 |
| Broken roller |
The rollers are important because they hold the vacuum off the floor and keep it from sucking down to the floor. Without the rollers it just pushes the larger particles around and the vacuum sticks to the floor and doesn’t do a good job. I wanted to fix this roller instead of buying an entire new sweeper attachment. My idea was to just use some epoxy and glue the shaft back into the center of the wheel but it is very important to have the shaft centered in the middle so the wheel isn’t lumpy and so that it is centered when you snap it into the sweeper. I decided to use my new-founded machining skills and make a mold to hold the shaft in place while I glue it back together.
I sketched out a “mold” that I planned to make out of a scrap block of steel that would hold the shaft precisely in the right place while guiding the wheel in a centered position on the shaft:
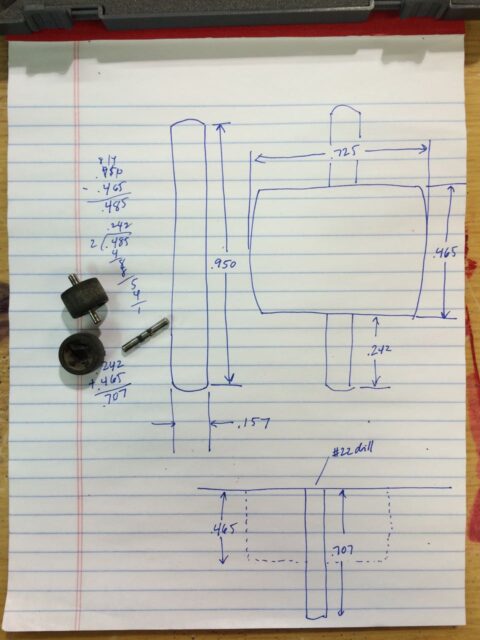 |
| My sketch and measurements |
This is how I did it:
How to Fix a Nutone Standard Floor-Rug Sweeper Roller Wheel That Fell Apart
Hardware:
Supplies Needed:
- J-B Weld 8265S Original Steel Reinforced Epoxy
- Scrap block of steel or aluminum
- Liquid Wrench M914 Heavy Duty Silicone Spray Lubricant
Tools Needed:
- Manual Milling Machine
- .750 High Speed Steel (HSS) Square Nose End Mill, 30 Degree Helix, 2 Flutes, 4″ Overall Length, 0.750″ Cutting Diameter, 0.75″ Shank Diameter
- #22 drill bit (.157″)
- Caliper (I personally use and recommend a Brown & Sharpe 75.116550 Dial Caliper, Stainless Steel, Black Face, 0-6″ Range)
- Dremel Tool
- Fiberglass Reinforced Cut Off Wheel
(for Dremel tool)
Step 1: Drill a .157″ hole, .707″ deep in the middle of the block of scrap steel.
Lock the x and y axis’s on the mill to make sure the table doesn’t move at all once you have centered the mill on your part. I first center drilled the hole so I knew that the drill bit would not “walk” from where the mill was located and then marked the depth with some white out on the drill bit:
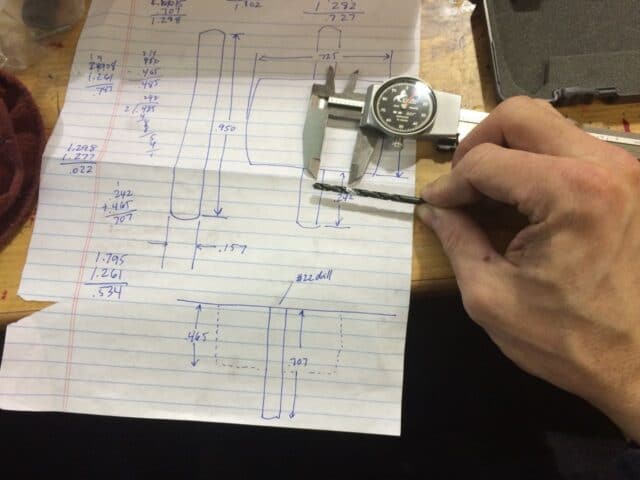 |
| Marking the depth on the #22 (.157″) drill bit with white out |
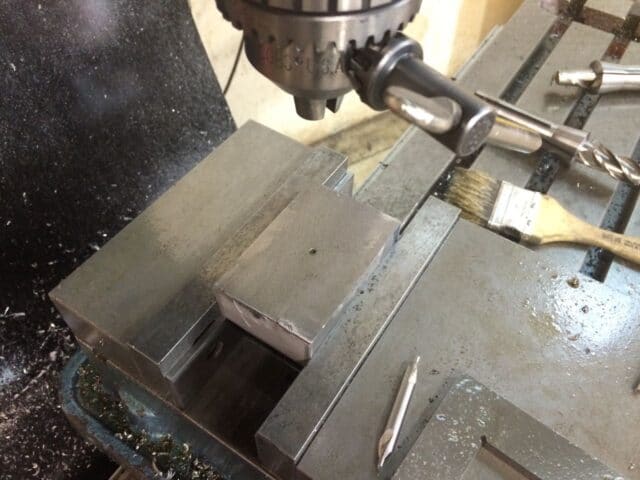 |
| Drilling the hole for the shaft with a #22 drill at .707 deep |
I checked the depth of the hole with a .155 pin gauge to make sure it was correct.
Step 2: Drill the “socket” for the wheel to sit.
The wheel is around .725″ in diameter but I didn’t have any .725″ mills but a .750 mill is almost just right so that is what I went with. You must have a “center cutting” mill to plunge a hole like this:
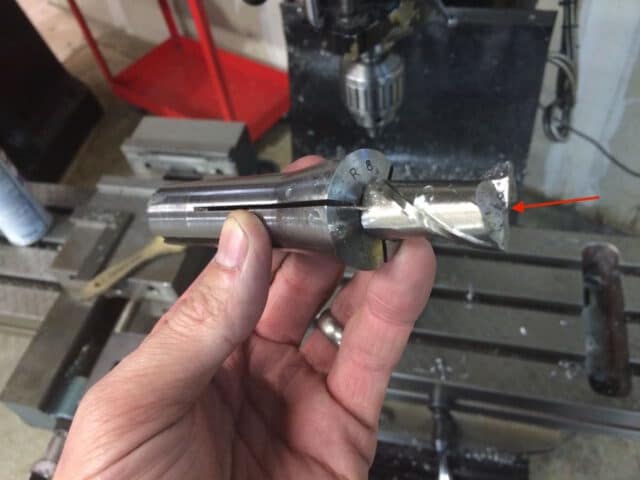 |
| A center cutting mill can plunge cut |
This is what it looked like once I plunged the wheel socket:
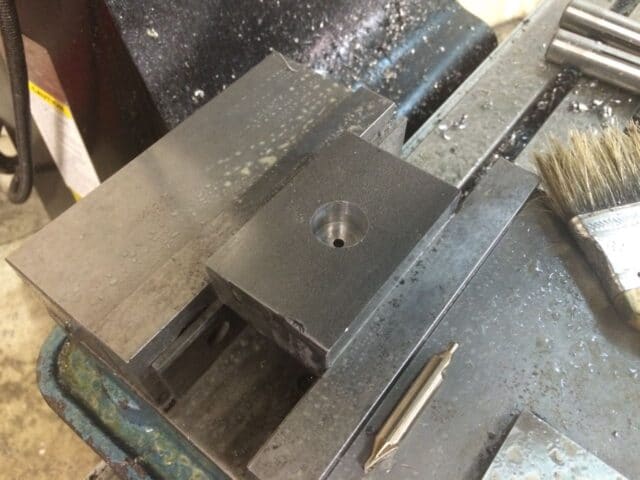 |
| Wheel socket cut |
Plunging the .750 hole messes up the .157 hole so you’ll need to put the #22 drill back in and clean out the hole. Be careful not to go any deeper though. Once I got this far I cleaned the steel very carefully to remove any oil because I didn’t want it to get on the wheel so that the epoxy would adhere well to it. I then tested out the system:
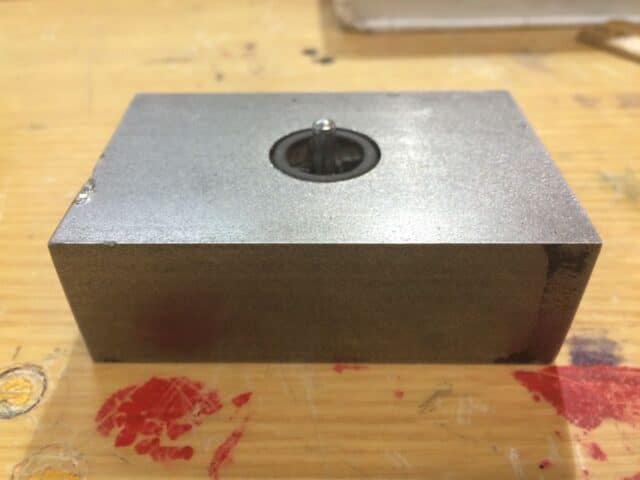 |
| Nutone Sweeper Wheel Mold |
Step 3: Put something down on the bottom of the mold to keep the JB Weld from sticking to the mold.
I opted to try spraying the mold with silicone spray. If you read my whole post you’ll learn that it stuck anyway. I would suggest now cutting a piece of wax paper to sit in the bottom (with a hold for the shaft to stick through) to keep it from sticking. But this is what I did on my first try:
| Liquid Wrench Silicone Spray |
| Spray the mold with silicone spray |
I wiped off all the spray that was on the top surface of the block of steel.
Step 4: Insert the wheel shaft into place.
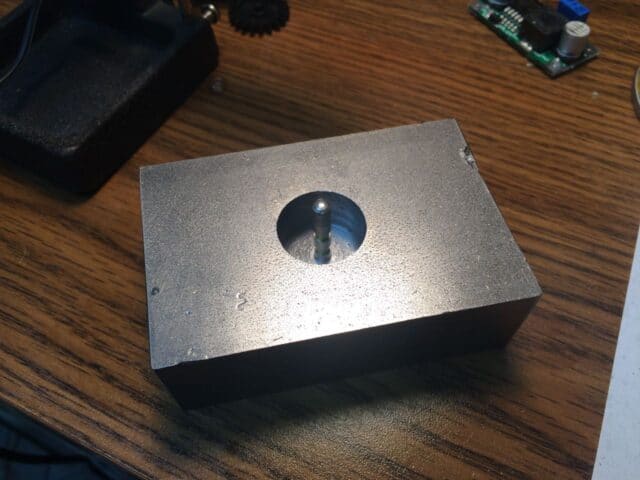 |
| Shaft in place |
I then measured to make sure it was sticking out the right amount.
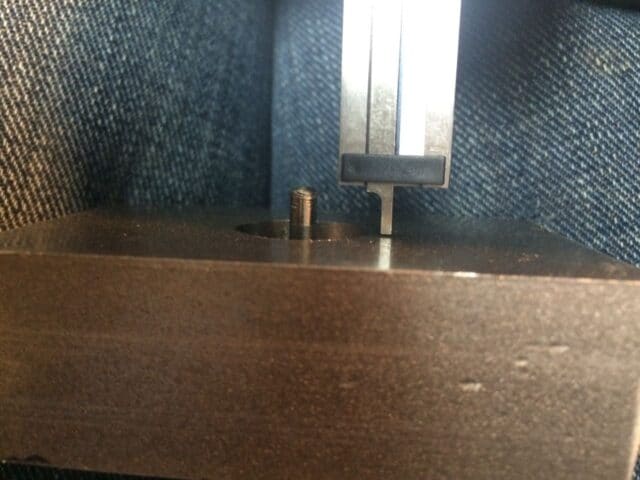 |
| Checking the shaft height |
The shaft fit nice and tightly and I was able to pull it up out of the hole with a pliers and tap it in to set the hight very precisely with a hammer.
Step 5: Tape the exposed end of the shaft.
This way we can keep the JB Weld from getting all over it. I tried using masking tape but it did not want to stick very well:
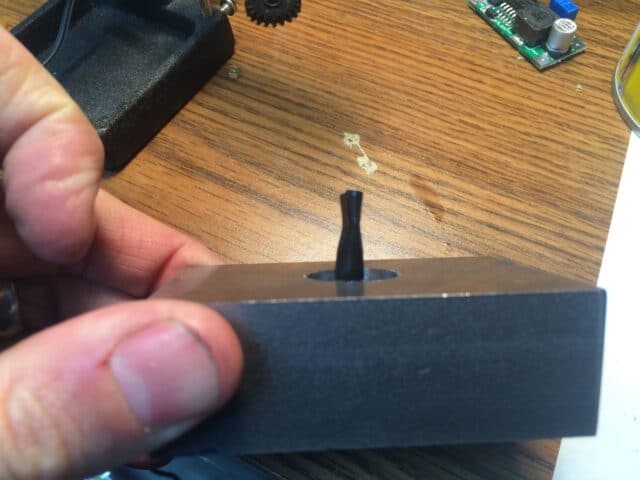 |
| I taped the exposed portion of the wheel’s shaft with electrical tape |
Step 6: Fill the bottom side of the wheel with JB Weld.
I opted to do this because I figured the epoxy wouldn’t fill in very well on the bottom side and there would be air bubbles trapped on the bottom side of the wheel. To mix JB Weld squeeze equal amounts of each of the two tubes (hardener and steel) onto a piece of cardboard and then mix them. The hardener is “thinner” so it comes out easier, and I got a bit more of it than I wanted–it’s not an exact science though. I use a a piece of shim to mix it. Simply break the edge off a shim and it works great as a stir tool.
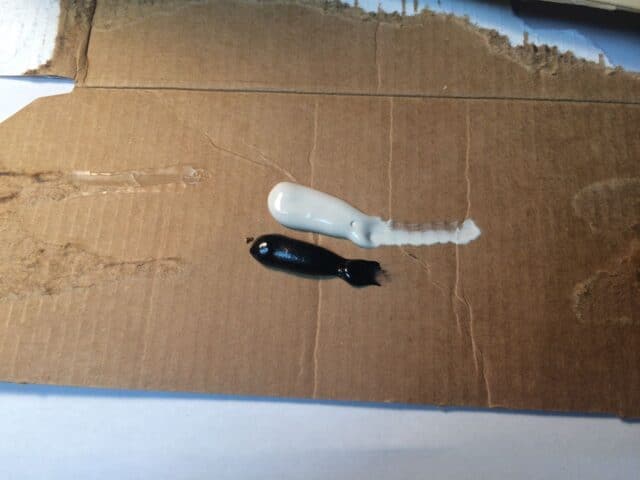 |
| Almost equal parts 🙂 |
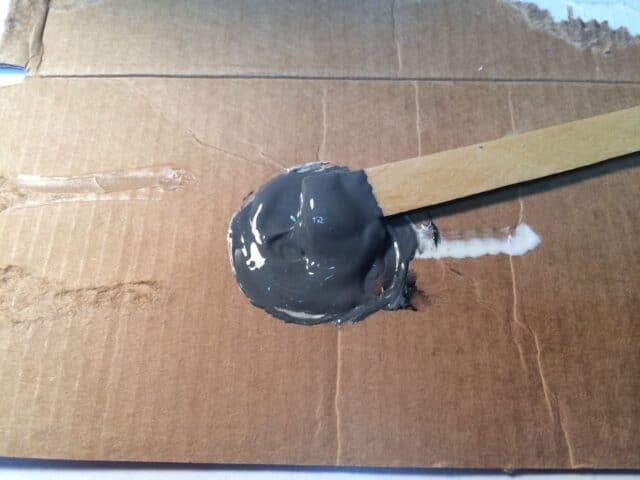 |
| When mixed it will be an even colored gray |
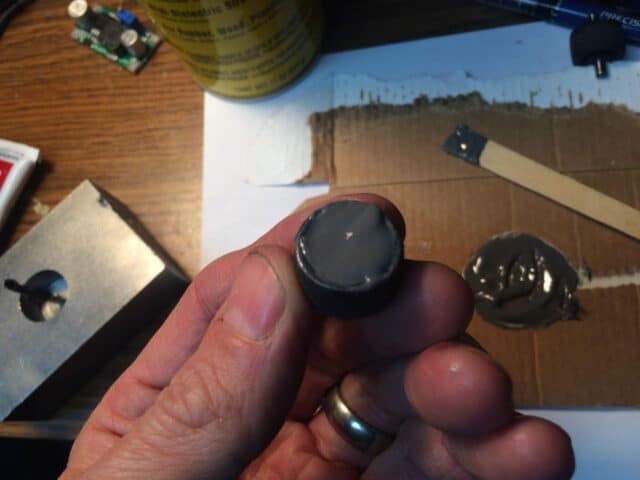 |
| Bottom side of the wheel filled with JB Weld |
Step 7: Place the wheel down over the shaft with the epoxy side down.
You’ll loose some of the epoxy because it will stick to the shaft but it’s better than drying to fill it from on top.
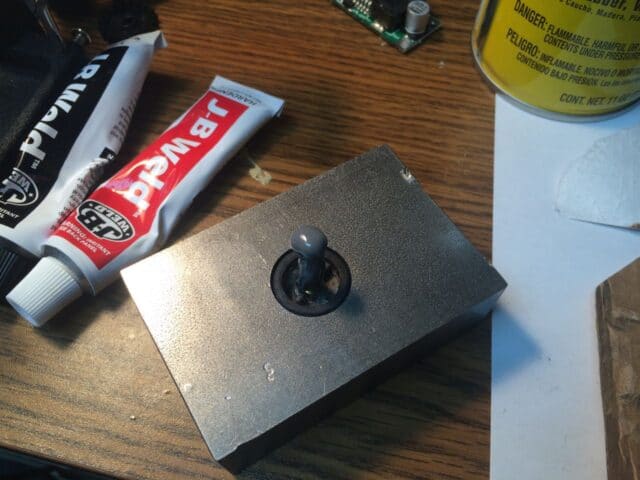 |
| The wheel placed down onto the shaft |
Step 8: Fill in the top side with JB Weld.
I had to mix up some more JB Weld. You can always make more!
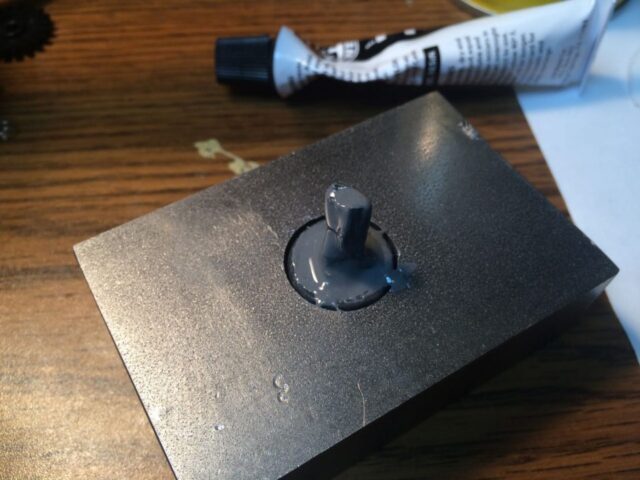 |
| The top side filled with JB Weld |
Step 9: Remove the tape from the shaft.
I took a carpet knife and cut it and then peeled it off.
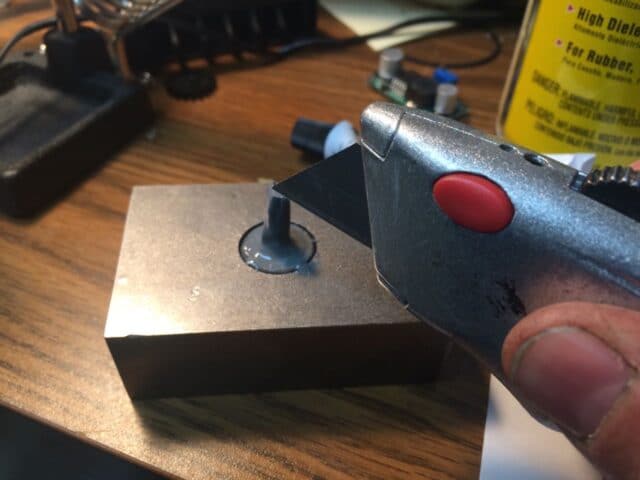 |
| Cutting the tape off the shaft with a carpet knife |
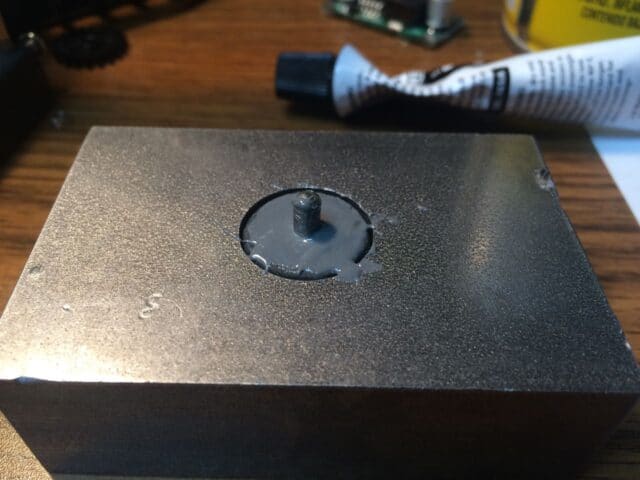 |
| With the tape removed |
I cleaned up the epoxy that got on the part of the shaft that was under the tape. It should chip off easily later even if you don’t get it off and I would probably just skip the tape step if I did this again.
Step 10: Let it cure for at least 24 hours.
I’d place it in a warm place to aid in the curing. Below is what it looked like the next day. A bubble had made its way just to the surface:
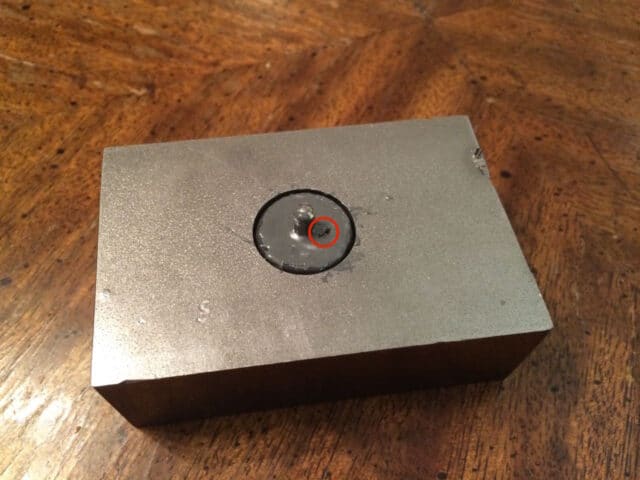 |
| A bubble had made its way to the surface and popped |
That’s not a big deal though. You can take a knife and open up the hole and re-fill with epoxy and it will be fine (and it will be fine even if you don’t).
Step 11: Remove the wheel from the mold.
I first tried just pulling it out with a pliers:
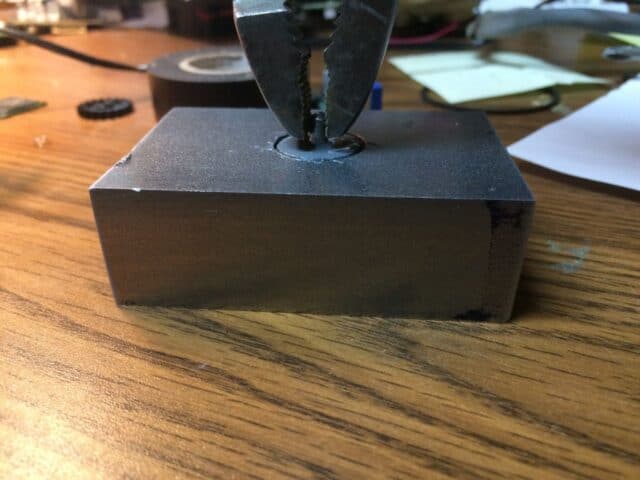 |
| Trying to remove it with a pliers |
It wouldn’t budge so I put it in my vice:
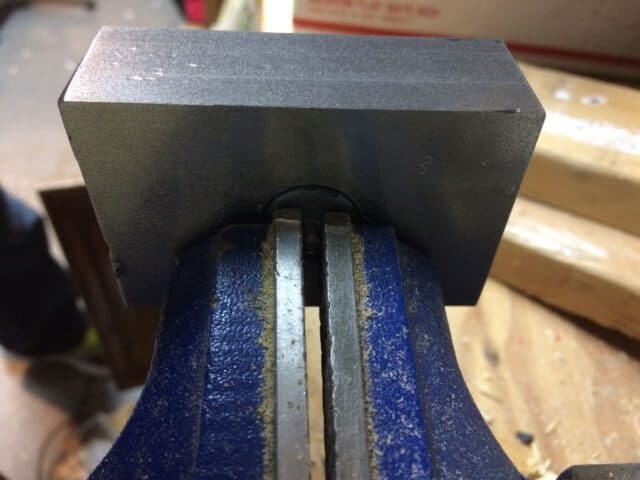 |
| Trying to remove the wheel by putting the shaft in a vice |
It still wouldn’t come out easily. I tried twisting it (I didn’t want to do that though because I wanted it affixed to the shaft) and I used a large flat-head screwdriver to pry between the vice and the block of steel and finally got it to pop out, but it had stuck to the bottom:
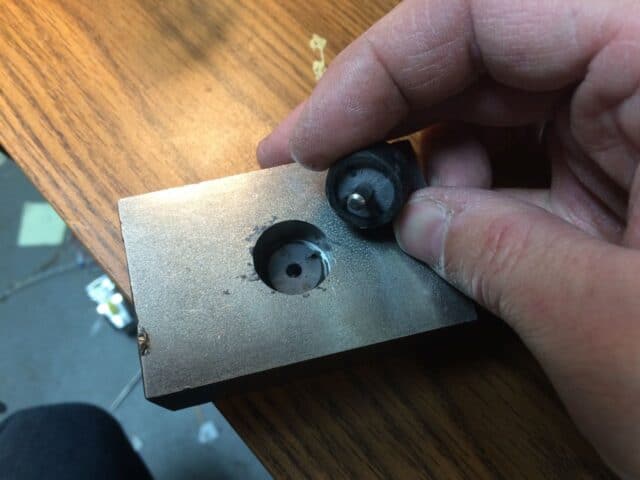 |
| It stuck! |
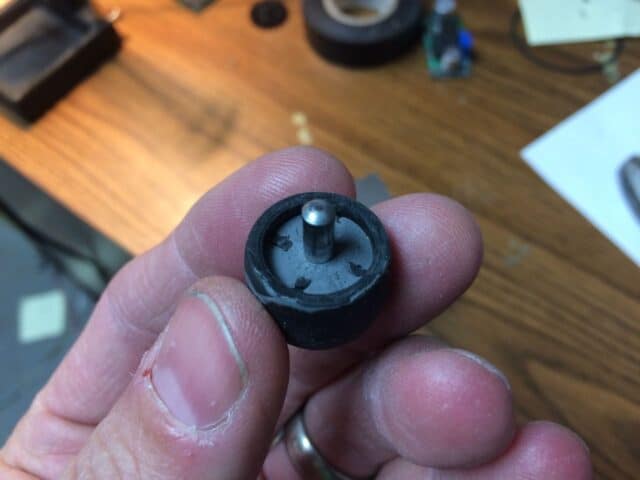 |
| Part of the JB Weld stuck to the bottom of the mold |
This is not a big deal and this is totally recoverable. The top side is fine so we can just gently sit the wheel in the mold to hold it upright and re-fill the side that stuck in the mold:
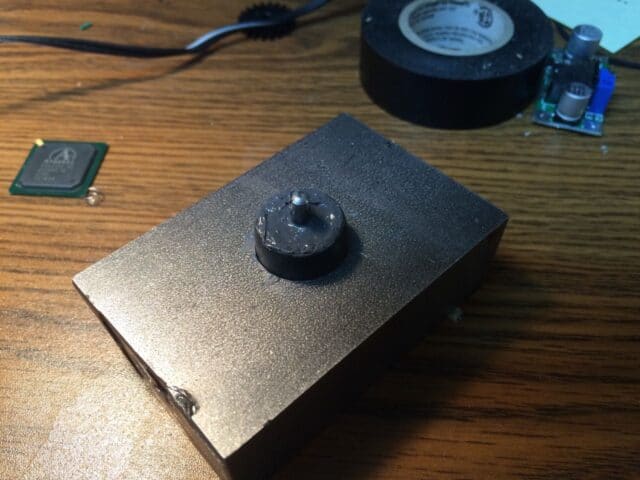 |
| Re-Filling the bottom side that stuck |
I filled both sides of the good wheel too so it won’t fall apart as well. I filled the top and the bottom both at the same time and then poked a small hole in a piece of aluminum foil and laid it down on the aluminum foil. The aluminum foil peeled away easily when it was dried:
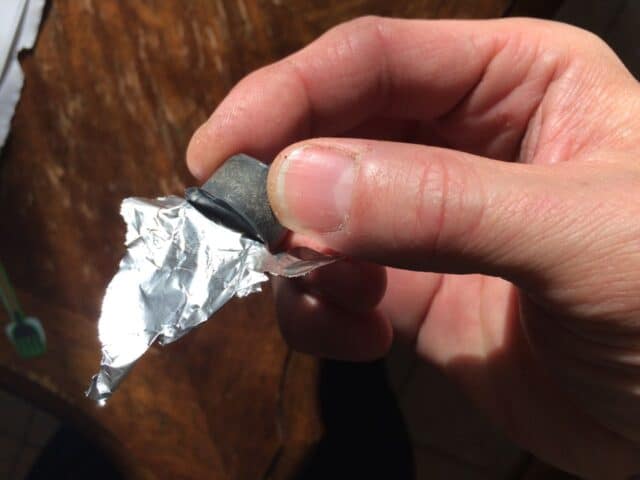 |
| Peeling off the aluminum foil |
Step 12: Use a Dremel Tool to trim away the excess JB Weld.
I used a reinforced cutting disk and trimmed the JB Weld even with the edge of the wheels.
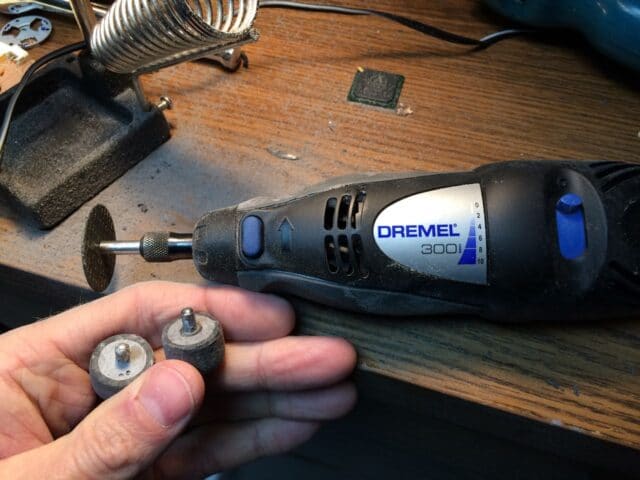 |
| Use a Dremel tool to grind away the excess expoxy |
Step 13: Install it back into your sweeper.
You’ve now saved yourself some money and it is fun coming up with different ways of fixing things!
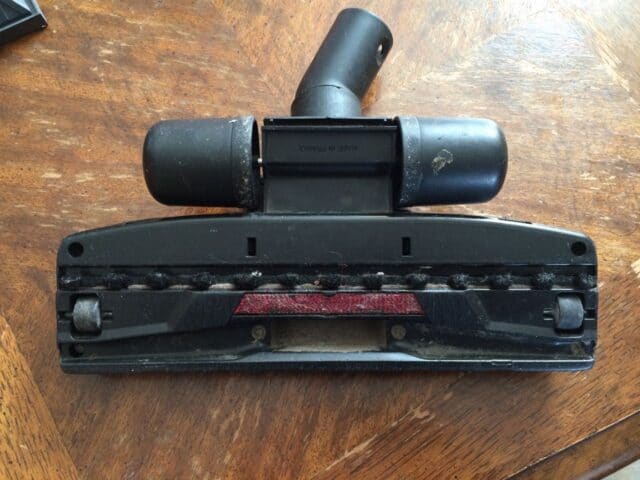 |
| Repair is complete! |
Amazon Associate Disclosure: As an Amazon Associate I earn from qualifying purchases. This means if you click on an affiliate link and purchase the item, I will receive an affiliate commission. The price of the item is the same whether it is an affiliate link or not. Regardless, I only recommend products or services I believe will add value to Share Your Repair readers. By using the affiliate links, you are helping support Share Your Repair, and I genuinely appreciate your support.

