I discovered that I had a broken wheel on my Honda Harmony HS520 while replacing the paddles, scraper bar, and changed the oil on my Honda HS520, which I wrote about here:
Honda Harmony HS 520 Won’t Blow Snow-How to Replace the Paddles and Scraper Bar
I didn’t want to put more money into it but it’s a good snow blower so I opted to go ahead and finish fixing it. I ordered a replacement and here is how you replace it…
How to Replace Wheels on Honda Harmony HS520
Equipment:
- Honda Harmony Honda Harmony HS 520 Snow Blower, Model HS520A
Parts Needed:
- Honda Harmony HS 520 Replacement Wheel
(ebay search)
Tools Needed:
- Large Heavy Duty Flat Head Screwdriver
- Hammer
- Pliers
(to bend the hubcap back into shape after you remove it)
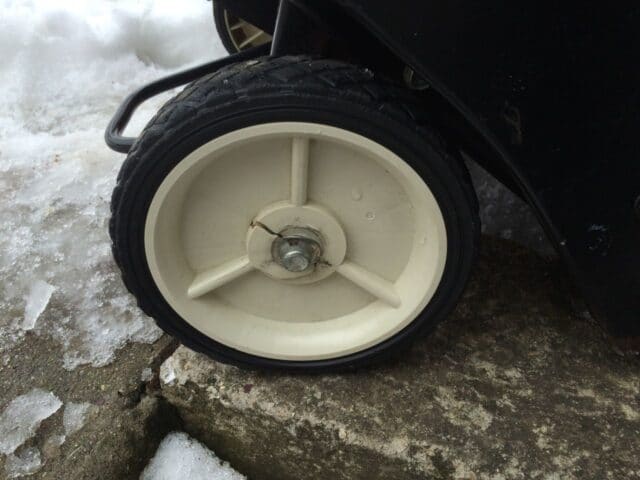 |
| Broken wheel on Honda Harmony HS-520 Snow Blower |
Step 1: Use a large flat head screwdriver to pry the hub cap off the wheel.
The cap that is on the end of the hub is what holds the wheel on.
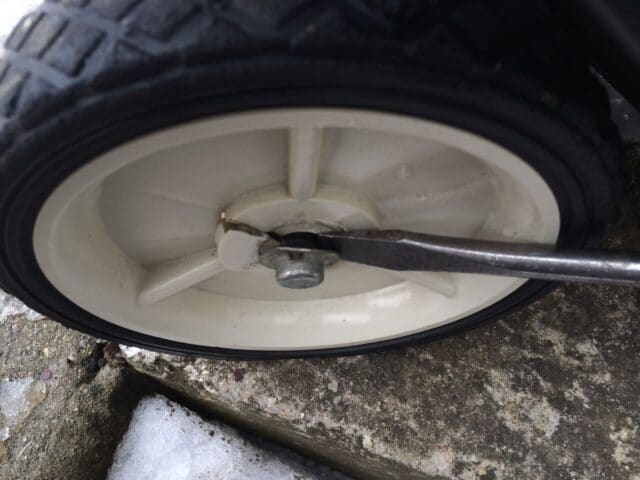 |
| Pry the cap off with a large flat-head screwdriver |
These caps really are not made to be removed so be careful not to totally destroy it when you are prying it off. You’ll need to pry in different places around the outside of the cap, prying against the wheel to work the cap off:
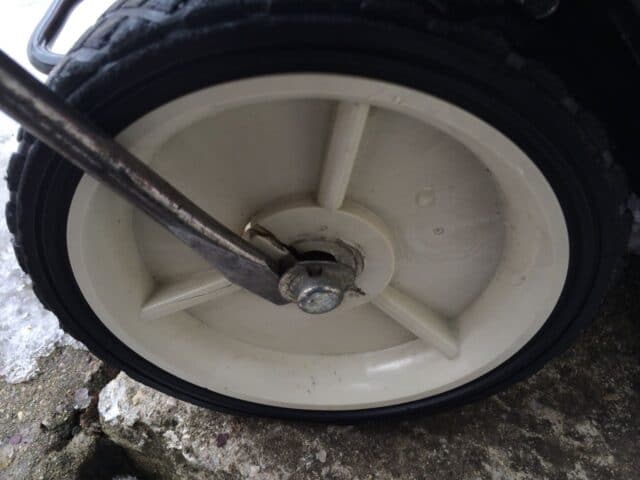 |
| Work your way around the cap |
My cap actually cracked a bit when I pried it off:
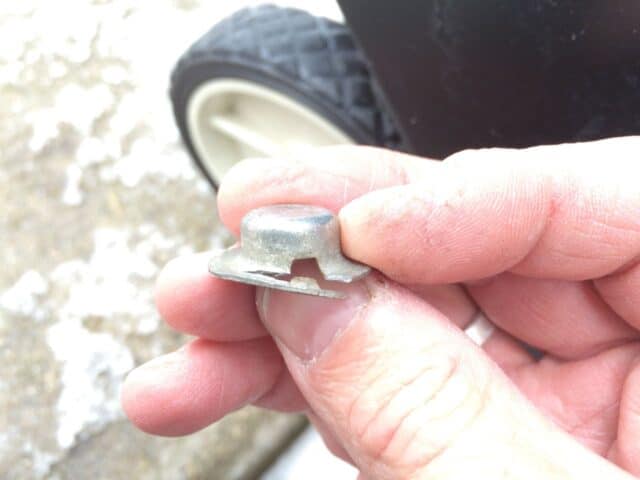 |
| Cracked Hub Cap |
Step 2: Remove the old broken wheel.
I had to twist and pull to get the wheel to come off the shaft.
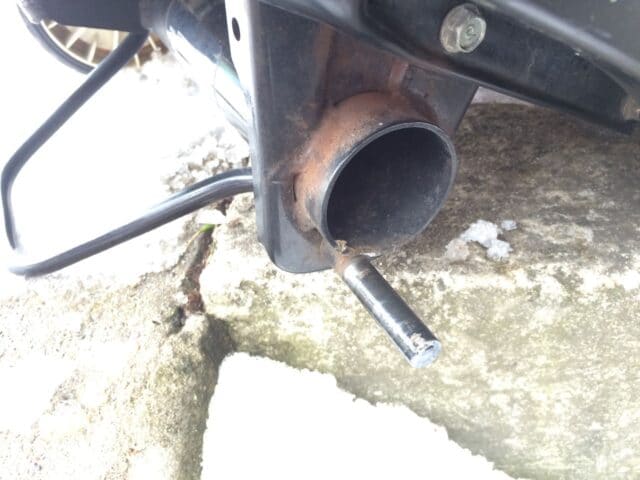 |
| Wheel removed from Honda Harmony HS520 Snow Blower |
Step 3: Slide the new wheel back on the shaft.
It fits tight but should slide on easily.
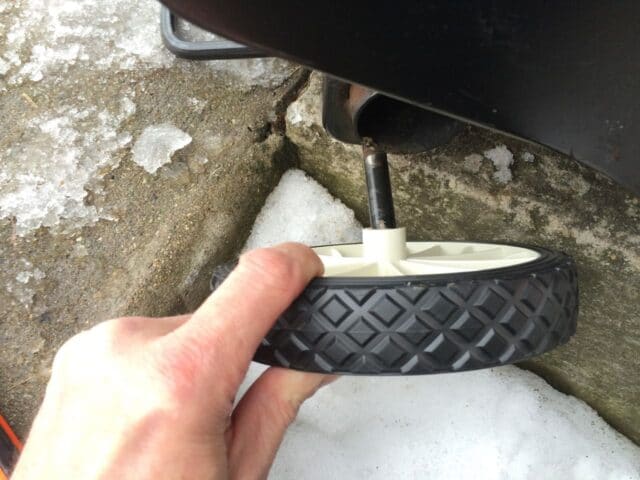 |
| Reinstalling new wheel on the shaft |
Step 4: Tap the hub cap back on the end of the shaft.
I needed to bend the cap a bit with a pliers to get it back in shape. I don’t know how long it will hold but if it comes off I am going to drill a small hole in the shaft and slide a 1/2″ washer on after the wheel and then insert a cotter pin to hold the wheel on. If I need to do that I’ll update this post with the details.
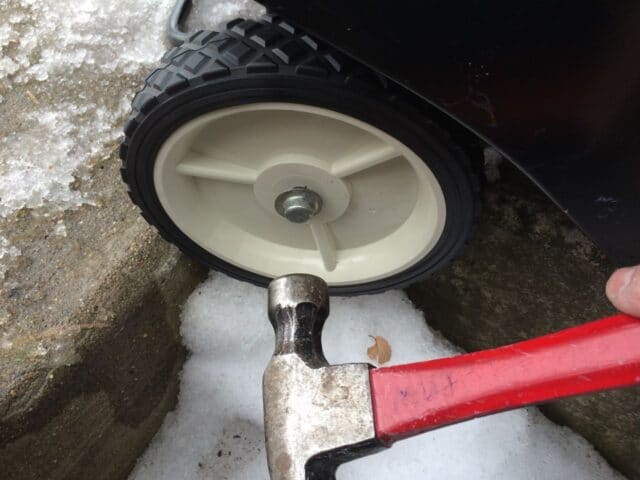 |
| Tapping the hub cap back in place |
Now I’m really ready for the snow to fall having replaced the paddles and scraper bar, changed the oil, and now changed the wheel.
Other helpful links:
Amazon Associate Disclosure: As an Amazon Associate I earn from qualifying purchases. This means if you click on an affiliate link and purchase the item, I will receive an affiliate commission. The price of the item is the same whether it is an affiliate link or not. Regardless, I only recommend products or services I believe will add value to Share Your Repair readers. By using the affiliate links, you are helping support Share Your Repair, and I genuinely appreciate your support.

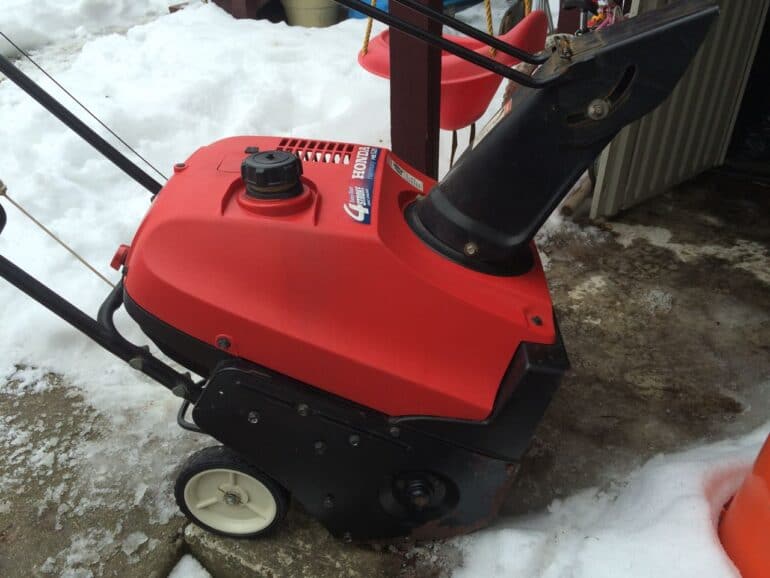
Do they make a better treaded wheel for the hp520 honda snowblower?
Not that I know of, just those plastic ones.