We are finally rolling out Windows 7 to upgrade all our XP machines. We have 25 lab computers that do not have DVD drives and Windows 7 comes on a DVD. You can install it off of a USB drive and this is the steps you need to take to create one.
How to Create a Bootable Windows 7 USB Installer Drive
Hardware:
Step 1: Locate a Windows 7 installation iso file.
We got our software through Techsoup since we are a not-for-profit so I just simply downloaded it. The iso filename we are using is SW_DVD5_SA_Win_Ent_7_32BIT_English_Full_MLF_X15-70745.ISO
Step 2: Download the Microsoft Windows 7 USB/DVD download tool.
You can download it here for free: Windows 7 USB/DVD download tool.
Step 3: Install the download tool.
You will need to be at least running Windows 7 to run it. Luckily we already have some machines running it.
Step 4: Launch the installed download tool from the Start menu.
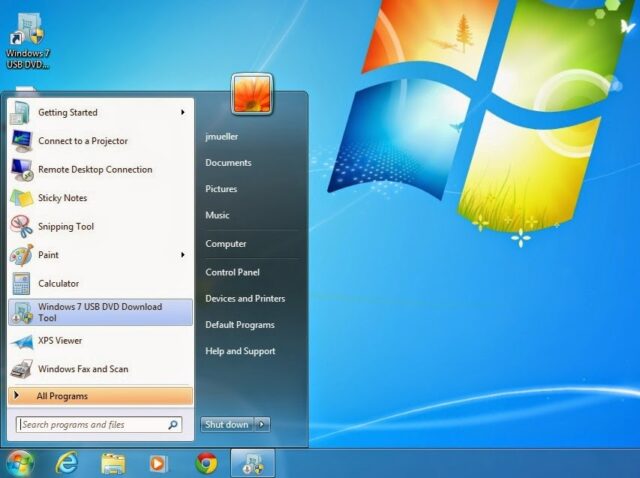 |
| After you install it you can find the Windows 7 USB DVD Download Tool in the start menu |
When you launch the tool this is the window you will see:
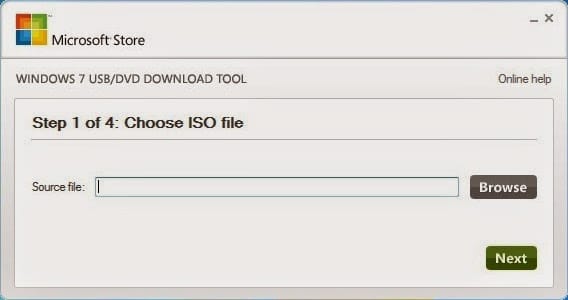 |
| Choose the Windows 7 Install disk ISO file |
Step 5: Select the iso file.
I had saved ours on the desktop.
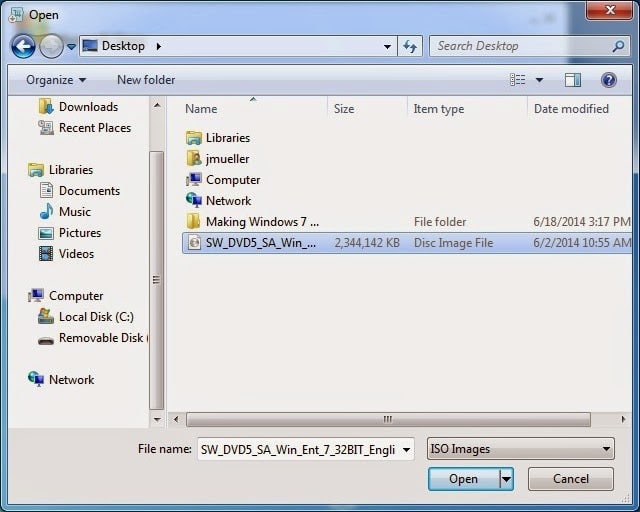
Once you have selected the iso file click the “Open” button or double click on the iso file. This is what you’ll see.
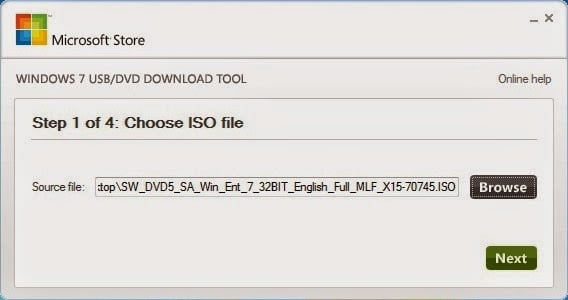 |
| The iso file has now been selected, click “Next” |
Click on the green “Next” button.
Step 6: Choose the media type.
In our case you will click on the blue “USB device” button. But you could make a DVD as well if you have a DVD burner and a blank DVD disk.
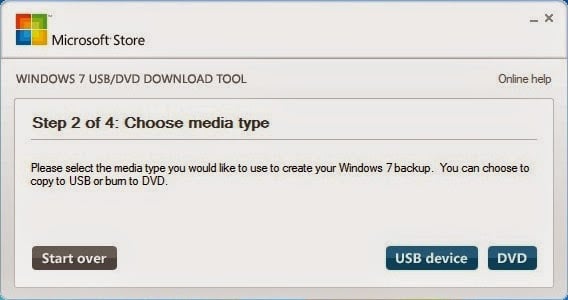 |
| Do you want to make a bootable DVD or USB device? Click on “USB Device” |
Step 7: Insert and select your USB drive.
If you have already inserted your USB drive it will be listed in the drop-down. If not, insert it now.
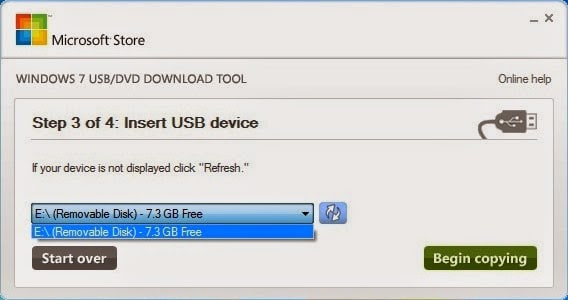 |
| Select your USB Drive that you wish to make into a bootable Windows 7 Installer |
Step 8: Click the green “Begin copying” button.
You will get a warning about deleting the USB drive like this:
 |
| Warning that you are about to erase the USB Drive |
You do know that you are about to erase your USB drive so make a backup if you need anything that you have on it.
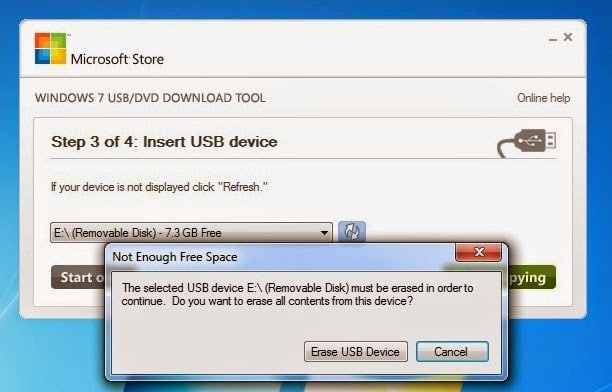
Step 9: Click on the “Erase USB Device” button.
You’ll then get this second cryptic warning entitled “Not Enough Free Space”…
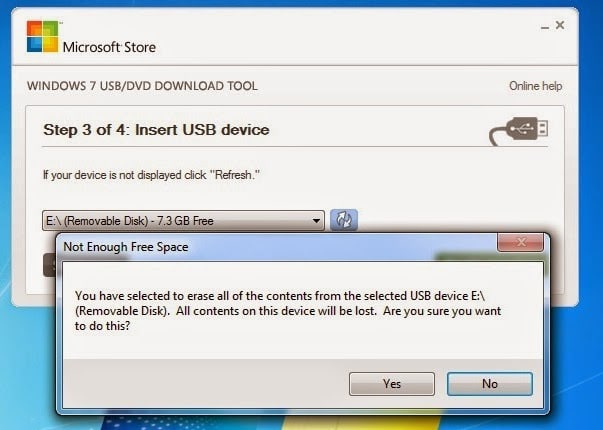 |
| Double-warning for erasing the USB Drive |
Click on the “Yes” button.
Step 10: Wait for the tool to do its thing.
First it will format the USB Drive:
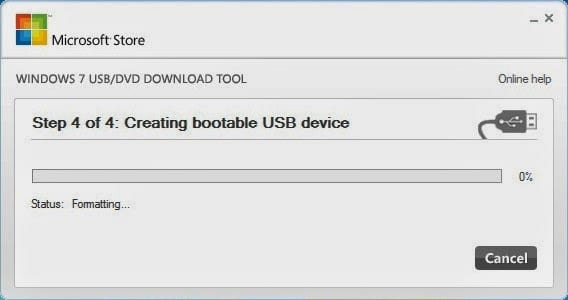 |
| Formatting the USB Drive |
And then copy the files to the USB Drive:
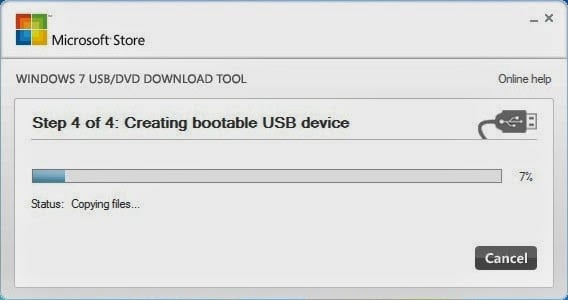 |
| Copying files onto the bootable USB device |
Step 11: Bootable USB device completed.
It took around 7 minutes, which included formatting the drive to begin with. I was using 8 GB drives so if you have a larger drive it may take longer. You must have at least a 4 GB drive to do this.
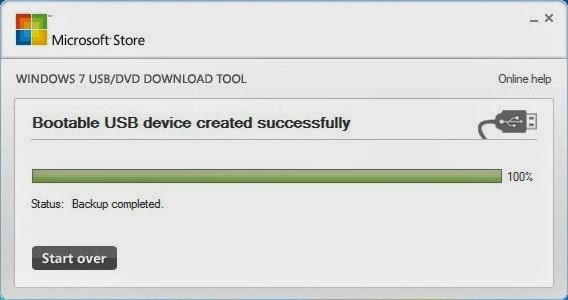 |
| Bootable Windows 7 Install USB device created successfully |
Amazon Associate Disclosure: As an Amazon Associate I earn from qualifying purchases. This means if you click on an affiliate link and purchase the item, I will receive an affiliate commission. The price of the item is the same whether it is an affiliate link or not. Regardless, I only recommend products or services I believe will add value to Share Your Repair readers. By using the affiliate links, you are helping support Share Your Repair, and I genuinely appreciate your support.