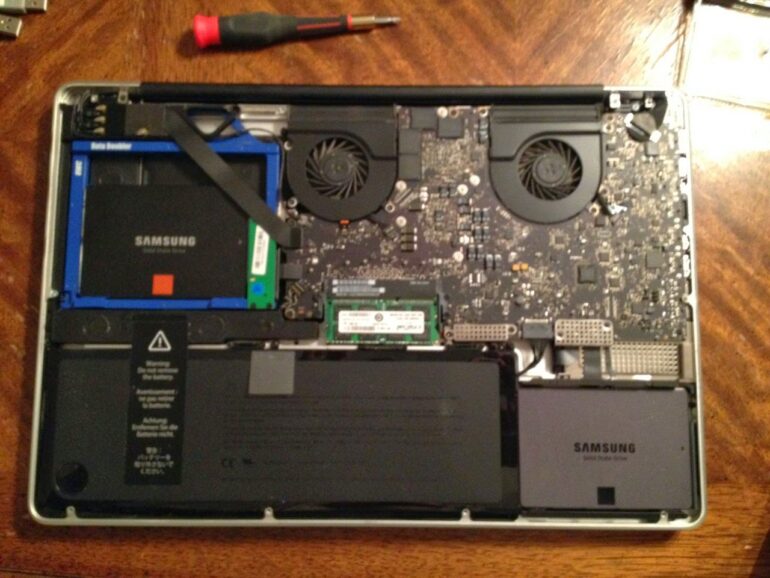
This post isn’t about how to physically upgrade the Hard Drive on your Mac (ifixit.com gives a great tutorial here) I wanted to give an overview of how to perform a HD upgrade.
How to Upgrade the Hard Drive on Your Mac, Install Mavericks, and Copy Your Data Over
I just purchased a larger SSD and had to make a decision on whether I was going to mirror my current boot drive, a 256 Gig SSD drive, onto my new 750 Gig SSD or start from scratch, reinstall the OS, and move over my data only. Choices, choices. I decided it was time to start from scratch and do a fresh install because I haven’t done so since I installed my first SSD. Here’s my roadmap:
- Backup all data — I have multiple external drives that I use to clone my HD’s using Carbon Copy Cloner. This gives me an exact, bootable, and easily recoverable version of my data.
- Install Mavericks on my new drive. I just purchased a Samsung Electronics 840 EVO-Series 750GB 2.5-Inch (not made anymore, get a 1T SSD here)
. It has (had) a 5-Star rating with over 1,800 reviews (not too shabby). The Samsung 1T SSD is even cheaper now.
- Check for Updates on the Mac App Store. Since your data is coming from an updated version of Mavericks (and software like iPhoto, iTunes, etc) you’ll want to update Mavericks until there are no more updates before copying your data over (since your data goes with the latest versions of the software).
- Copy over my data. I kept my data on the 750 gig HD that came factory in the MacBook. All I needed to do was copy the various folders and files over to the new installation.
- Install all the programs from scratch. I want a clean install so there’s no baggage laying around.
- Tweak it back to the way I like it. I was amazed at how many of my own blog posts I needed to revisit in order to remember how to get things back the way they were–it sure is handy!
Step 1: Backup all data.
I am a big fan of Carbon Copy Cloner. It takes advantage of the unix framework underlying Mac OS X and makes a perfect bootable copy of your HD that could be cloned right back. Carbon Copy Cloner used to be freeware but a couple years ago they switched it to commercial software. It is worth EVERY PENNY in my opinion. They don’t sponsor me or anything but you can buy it here for $39.95 (as of April 9, 2014). To back up your HD run Carbon copy cloner and pick the hard drive you want to back up in the left side drop-down menu and the location you want it copied to in the right drop-down menu:
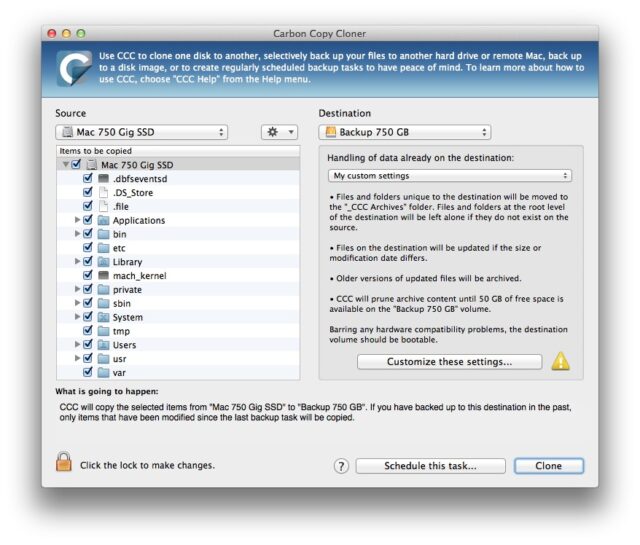 |
| Creating a bootable backup of your HD is easy with Carbon Copy Cloner |
The drive you are copying to needs to be at least big enough to hold all your data but it can be a larger drive (and can be a different brand too). Click the “Clone” button when you are ready. If you’ve never cloned to that drive it will pop up asking you if you want to create a recovery partition. You ought to go ahead and do this.
Step 2: Install Mavericks on the new drive.
In my case I connected the new drive on the outside of my computer to do this:
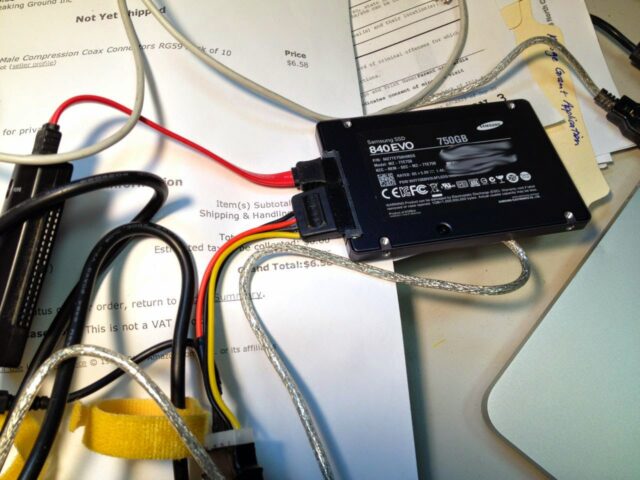 |
| My jig for externally connecting an internal HD |
You must have a drive to boot from to get the deal started so this works great. If you don’t have a tool for connecting a raw drive to your Mac you can install the blank drive into your Mac and then start it up and take the time to download Mavericks but I still had it downloaded from before. You can also run your mac off the backup drive you created in step 1. To boot off an external drive first shut off your Mac. Then press the power button and immediately press and hold the option key. Eventually the OS will give you the option to boot from any of the connected bootable drives. Once you’re up and running you can download Mavericks from the Mac App Store for free:
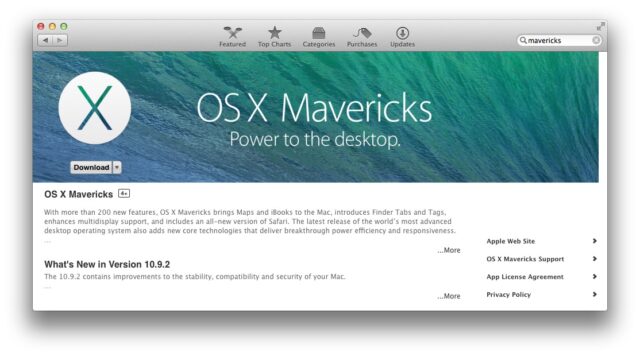 |
| OS X Mavericks is a free download in the Mac App Store |
When you have it downloaded you can find it by typing “Mavericks Installer” in the spotlight window or open up Launchpad and you will be able to find it there. It should be located in your Downloads folder but it will automatically delete itself after you install it and I can’t find my copy of what I used to install it from the other day.
 |
| The Animated Mavericks Install Icon in Launchpad |
Once you launch the Mavericks Installer it will ask you where you want to install the OS. Pick your new hard drive. The rest will be easy.
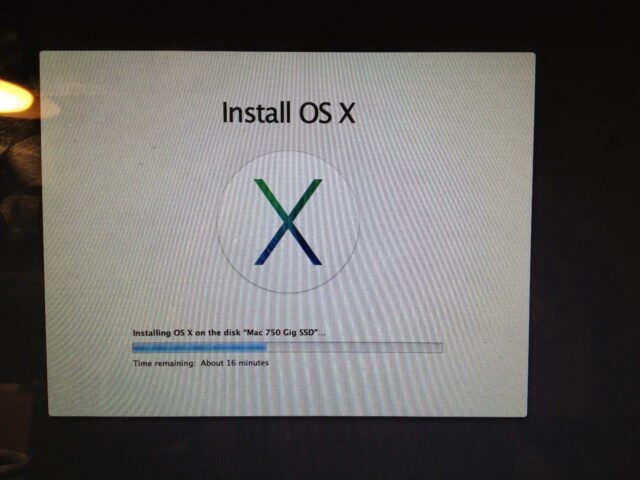 |
| Fresh install of OS X Mavericks |
Step 3: Copy your data.
Typically this will consist of copying your documents, pictures, video, and music.
Documents
For me, I keep almost all my personal data in the Documents folder in my user account. When I move to a different machine, or upgrade in this case, I just copy the entire contents of my Documents folder into the new HD’s Documents folder after I’ve logged in. If you are looking at the backup of your hard drive from step 1 then you’ll want to look for a folder in the following path:
Macintosh Backup Drive Name > Users > your-username > Documents
Desktop
I tend to always have some important stuff that I dropped on the desktop. The files on your desktop are located in the following path:
Macintosh Backup Drive Name > Users > your-username > Desktop
Pictures
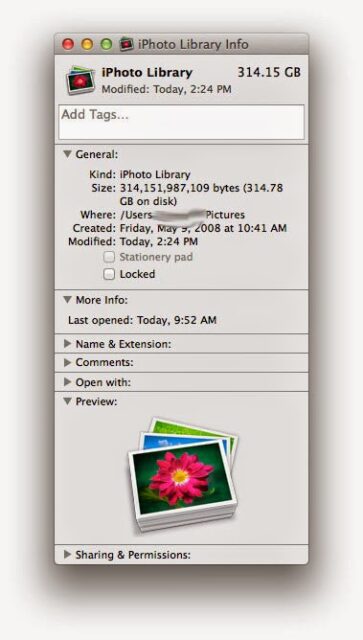
If you use iPhoto (which I do) then you will want to copy your iPhoto library to your new HD. Your iPhoto library is located here:
Macintosh Backup Drive Name > Users > your-username > Pictures > iPhoto Library
“iPhoto Library” is a “package” and actually contains tons of folders with all the pictures, videos, slideshows, and everything else you see when you open up iPhoto. You only need to copy the one file. If you’re like me it’s a doozy–mine is 314 GB and getting bigger!
Video
If you’ve created any iMovies they are by default stored in the following folder:
Macintosh Backup Drive Name > Users > your-username > Movies
You can copy the contents of that entire folder into your new Movies folder.
Music
I use iTunes. If you use something else then you’ll need to look for instructions elsewhere as to where your files are stored. Your iTunes music library is located in the following folder:
Macintosh Backup Drive Name > Users > your-username > Music > iTunes
Copy everything from inside the iTunes folder into your new iTunes folder in the same path.
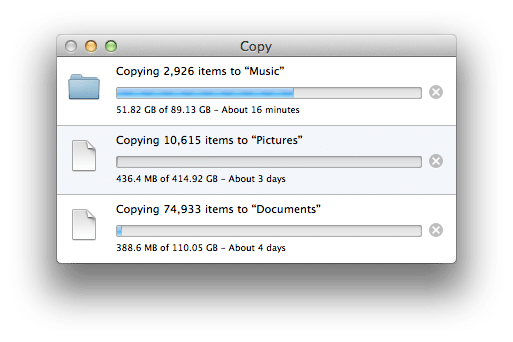 |
| Copying my data–no, it didn’t take 4 days |
Those are the basic types of files you’ll have on your Mac. If you save files in different locations then you’ll need to copy those the files from those locations. Also, if you have multiple users then you’ll want to create those new user accounts on the new install of OS X and then repeat the steps above for each account.
Step 4: Install your software from scratch.
You’ll need to round up the software install CD’s or DVD’s if your software uses them or download new copies of the latest versions of the software you want to install. I made a screenshot of my dock on my old hard drive so I could remember which programs I used the most (yes I keep my dock loaded, but I have a 17″ screen so it’s not so bad):

Step 5: Tweak your settings to get things back to normal.
For me this involves these things and more:
- Speeding up the trackpad. System Preferences > Trackpad > Tracking Speed
- Setting the desktop image. System Preferences > Desktop & Screen Saver
- Setting a “hot corner” in the top left for the screen saver. System Preferences > Desktop & Screen Saver
- Setting the Mac to require a password when it wakes up and when the screen saver is activated. System Preferences > Desktop & Screen Saver > Hot Corners…
- Installing all my Printers. This is SO EASY on a mac compared to a PC–whew, I’m glad I’m a mac user. I didn’t need to do anything but select the printer and it went out and automatically downloaded all the drivers for me.
- Set up Time Machine
As I think of more things I’ll add them but that should get you going pretty well.
Amazon Associate Disclosure: As an Amazon Associate I earn from qualifying purchases. This means if you click on an affiliate link and purchase the item, I will receive an affiliate commission. The price of the item is the same whether it is an affiliate link or not. Regardless, I only recommend products or services I believe will add value to Share Your Repair readers. By using the affiliate links, you are helping support Share Your Repair, and I genuinely appreciate your support.

