If your MacBook Pro’s screen flickers when you adjust the angle of the screen then you likely have a short in the inverter cable, the cable that powers the backlighting of the display. If the actual picture on the screen is fritzing out then you have a different issue.
How to Fix a Flickering Screen on a 15″ MacBook Pro Core 2 Duo
Hardware:
- 2.33 GHz MacBook Pro2,2 Intel Core 2 Duo, Model: A1211
- 15″ MacBook Pro A1211 Webcam Inverter Cable 619-26
Tools Needed:
- Precision Phillips Screwdriver
- T6 Torx Screwdriver (Get both the precision phillips and the T6 here: Precision Screwdriver Set
)
Duration of Repair: 1 Hour, 35 minutes
Step 1: Order the replacement part.
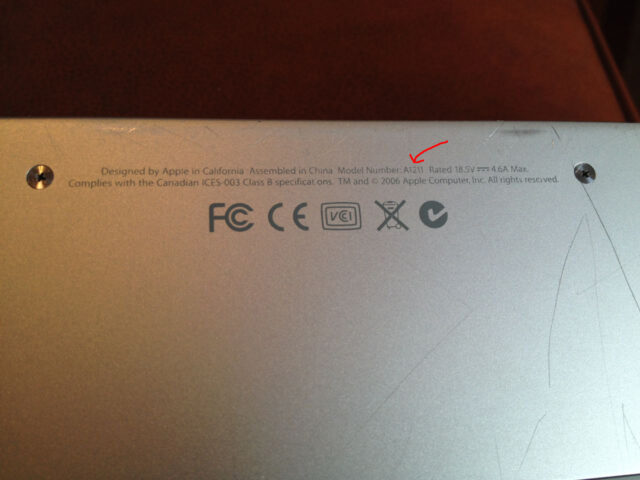
You need to know the model of your MacBook and you can find it printed on the underneath side of the body on the hinge edge:
I wanted to order a new part but I wasn’t able to find one anywhere. I found mine used on ebay.com via this search and the part cost me under $13, which included shipping. This is what the part looks like:
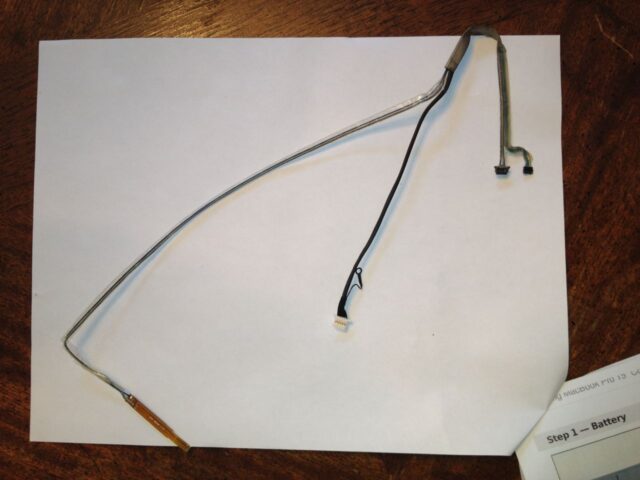
15″ MacBook Pro A1211 Webcam / Inverter Cable #619-26
Step 2: Find the correct repair manual on iFixit.com’s website.
Here are the two links you need:
- MacBook Pro 15″ Core 2 Duo Model A1211 Inverter/Camera Cable Replacement (web page)
- MacBook Pro 15″ Core 2 Duo Model A1211 Inverter/Camera Cable Replacement (pdf)
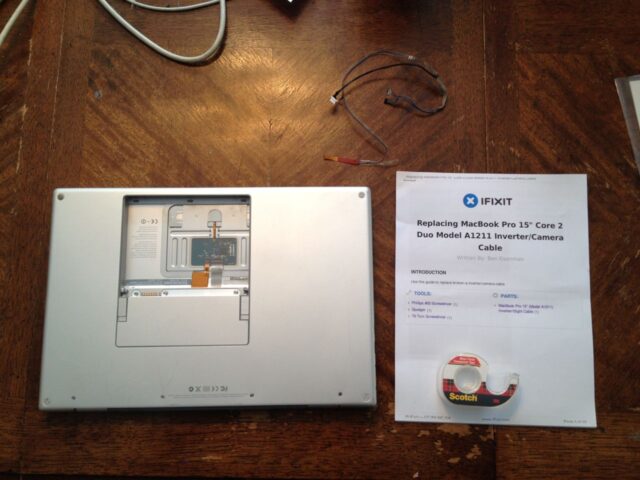
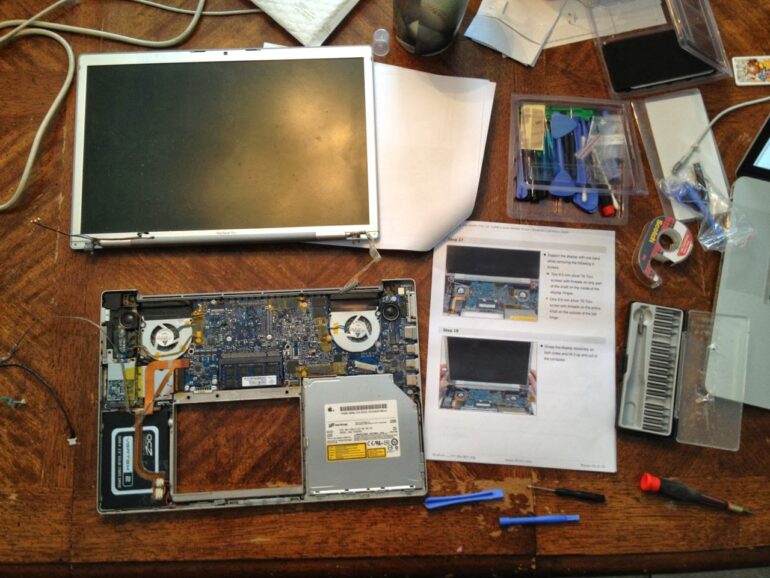
What I do is print the pdf version (very important for keeping track of screws) and then have the web page version on my (working) computer so I can look at some of the high resolution images when necessary. Here’s me about ready to tear into it:
Step 3: Follow the iFixit.com steps.
I can’t write a better step-by step tutorial than they. Follow the steps, tape the screws on the pictures as you remove them, and follow the steps in reverse to put it back together. I do have a few tips I’ll offer about this particular repair:
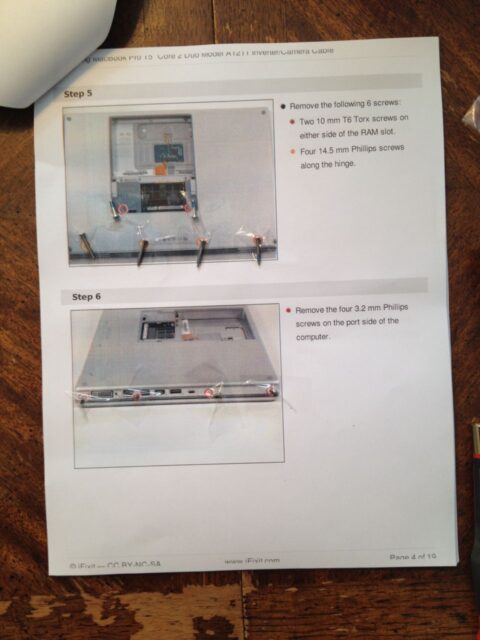
Tip 1: Tape the screws on the image as you remove the screws.
Tape the screws exactly where the screw came from to allow for easy re-assembly:
I had both the guitar pick pry tools and some handled tools. I broke off one of the guitar picks. Below I have circled the stubs that stick out and hook onto the back cover:Tip 2: The trick to removing the back of the screen is prying the case out so that the case can slip over the stubs of the aluminum bezel.
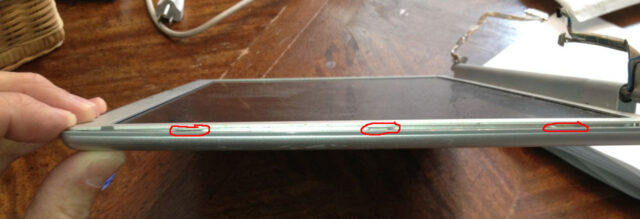
It would be really sad to go through all this work and then lose track of which is the new part and which was the old. You don’t want to have to reassemble the display to test it out just to find out. As soon as I removed the bad one I labeled it with a piece of tape.Tip 3: Label your new (or old) part so you don’t get them mixed up.
Tip 2: Don’t sweat if something breaks.
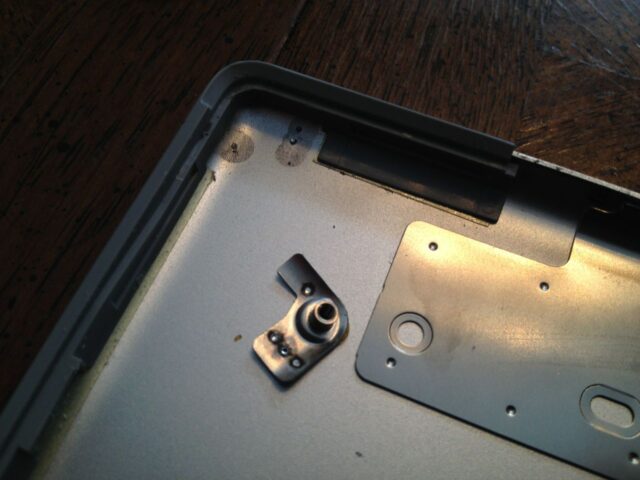
This doesn’t count with circuit boards–they’re ruined if you break them though. I had the nut side of the bezel frame come loose from the back of the display:
Tip 3: Test the computer out before you put the bottom of the case back on and install the screws that hold the keyboard in place.
I first considered trying to glue it in place (JB Weld) but I was afraid I may not be able to get it exactly in the correct place and then I was going to leave it out but then I decided I wanted the external screw in place, since it is visible, so I taped it in place so that I could replace the screw when I was reassembling the display. The case snaps together so it doesn’t really matter that much.
Be careful you don’t lay the MacBook on something that could short out the RAM but before you put it all back together make sure to boot it up first. If you didn’t get a connector back together now is the time to find out. Make sure to test the wifi, the iSight camera (just launch Photo Booth), and the display of course 🙂
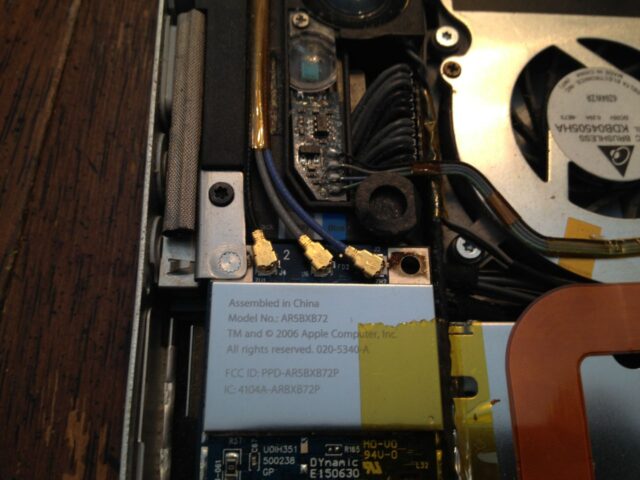
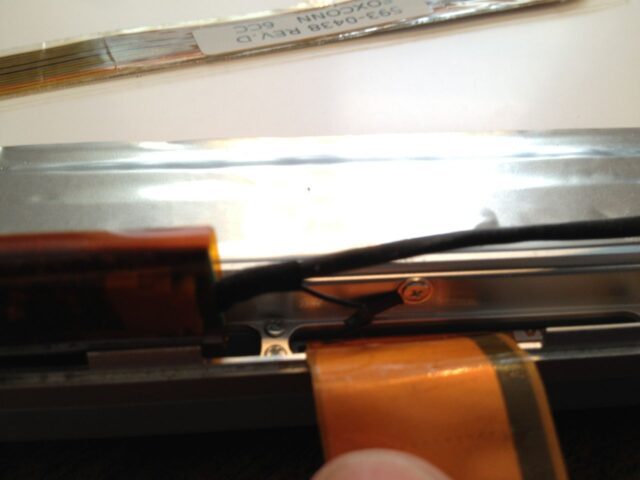
Various pictures from my repair:
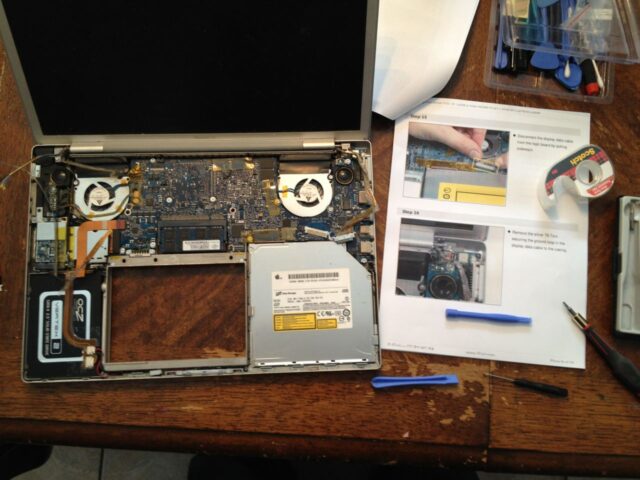

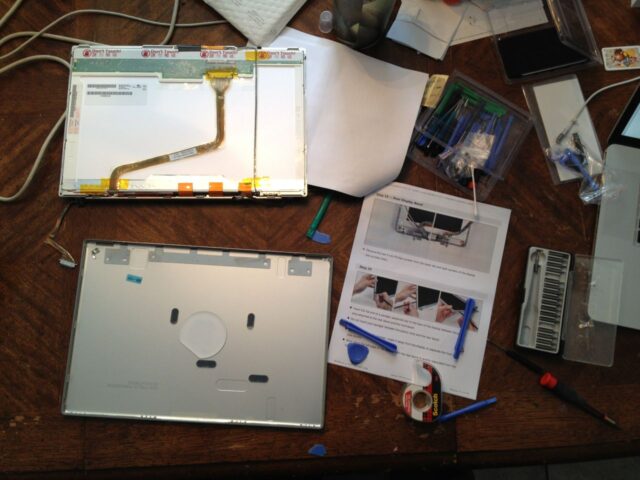
Once I put it back together everything worked perfectly–whew. It doesn’t always work that way though!
Amazon Associate Disclosure: As an Amazon Associate I earn from qualifying purchases. This means if you click on an affiliate link and purchase the item, I will receive an affiliate commission. The price of the item is the same whether it is an affiliate link or not. Regardless, I only recommend products or services I believe will add value to Share Your Repair readers. By using the affiliate links, you are helping support Share Your Repair, and I genuinely appreciate your support.


Thanks for posting this. My A1211 has a similar issue. maybe it's not the same thing. A 2-inch band on the right side started strobing, like a cascade of colors (that mirror whatever's on the desktop. Now it's a solid black stripe. When I plug it into an external display, the external display is just fine. So it's either the cable or the laptop screen. Any ideas? Thanks, John! Susan
Susan, thanks for your question. I'm not sure that this is the same issue I had–the cable I replaced doesn't supply the video for the display, but only the backlighting and isight camera. My issue was purely that the backlighting was flickering. I did a google search for "black sripe on macbook pro screen" and discovered this discussion that might be of help to you: https://www.ifixit.com/Answers/View/17589/MacBook+suddenly+has+inverted-flickering+vertical+strip+on+the+screen
Let me know if that helps!