Hardware:
- Kenmore Coldspot Side-By-Side Refrigerator, Model: 106.59282990
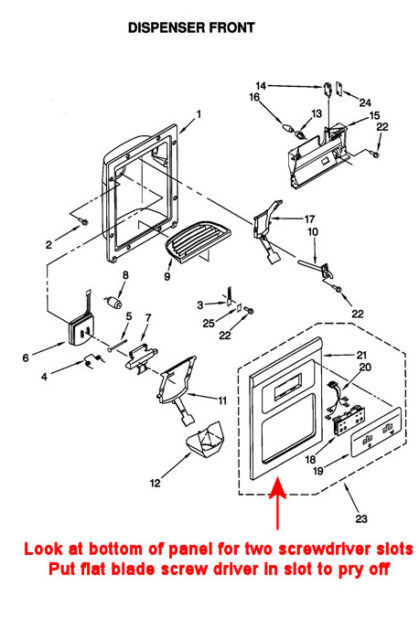
- Control Panel, Part Number 2200137
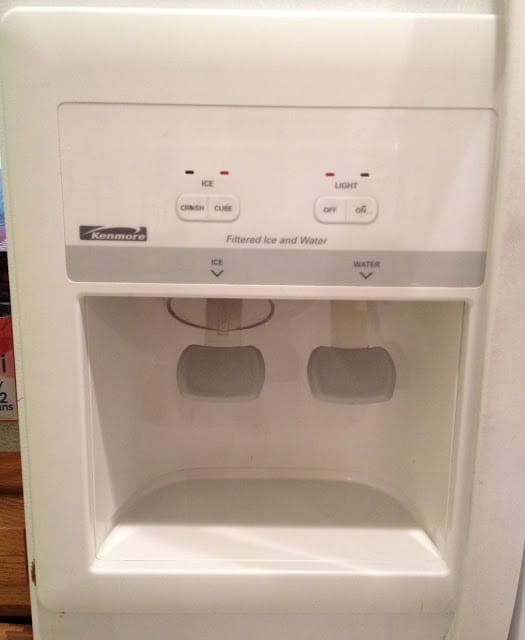
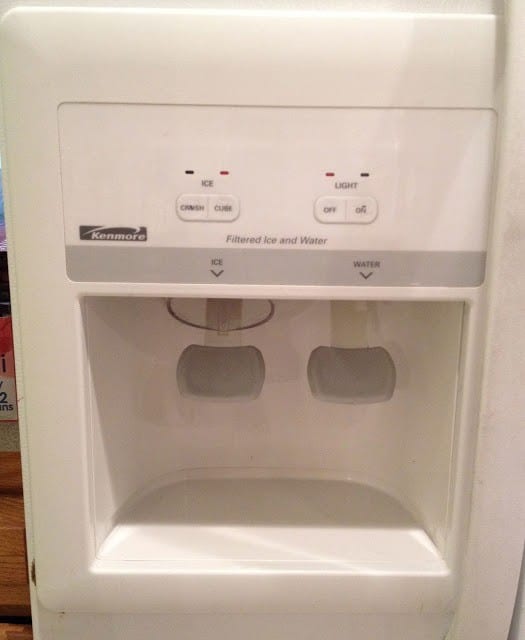
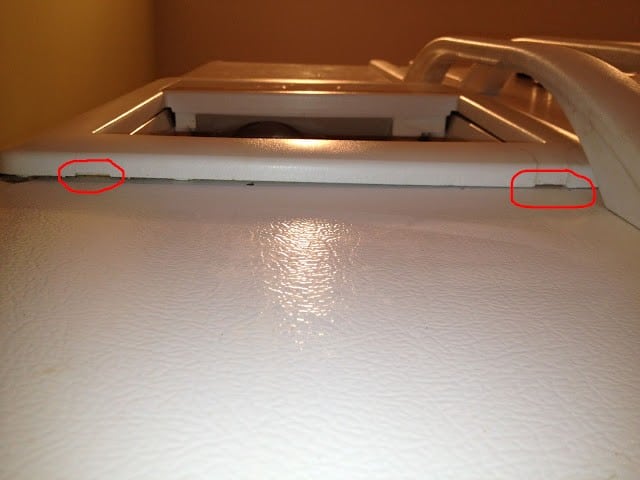
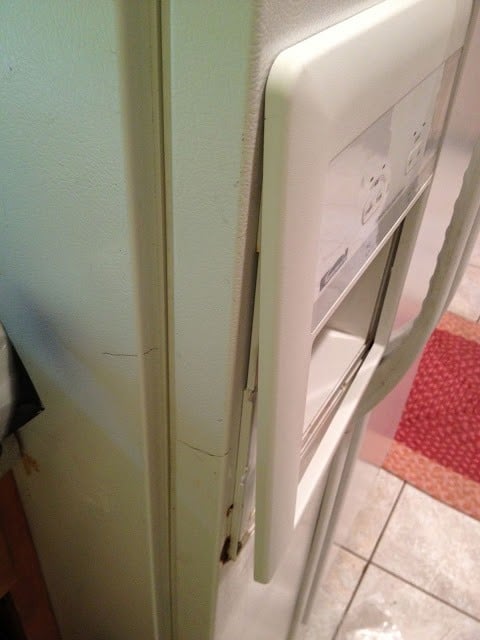
I was getting a lot of frost around the outlet of our ice dispenser on our Kenmore Coldspot Side-by-Side and I believed it was because the foam padding on the back of the ice dispenser door was worn out and didn’t make a good seal. I wanted to get a good look at it but in order to do that you have to take off the bezel of the ice maker control panel (that wraps around the entire opening of the ice and water in the door dispenser). Here’s how to get the control panel off…
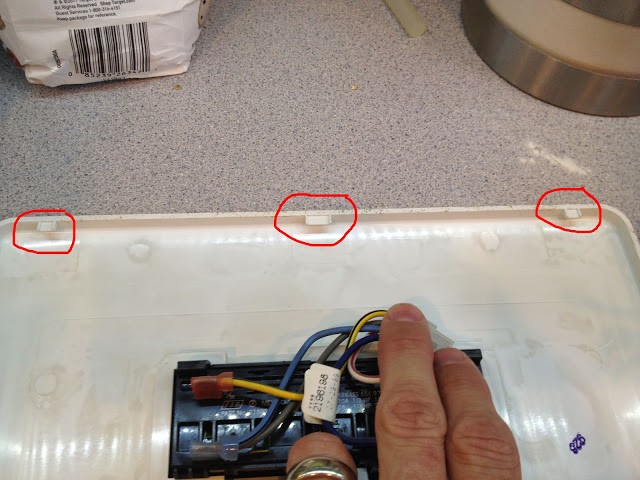 |
| The 3 catches at the top of the bezel that it “hangs” from. |
And the notches they sit down into:
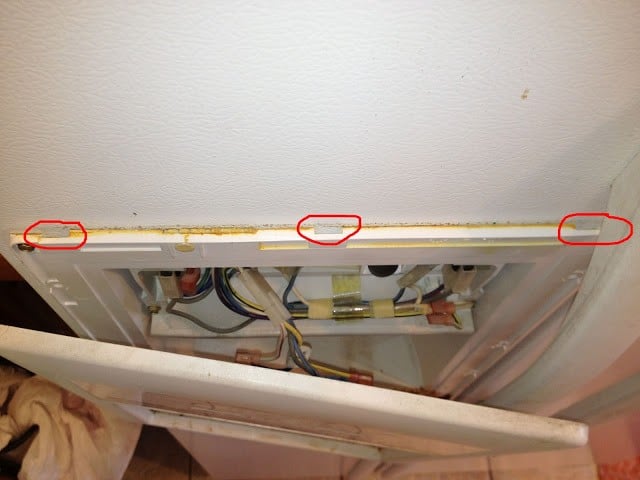 |
| The notches where the “catches” sit down into. |
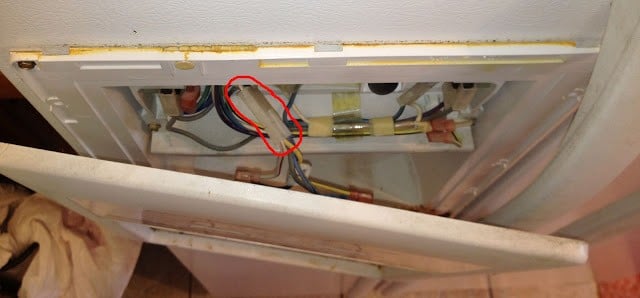
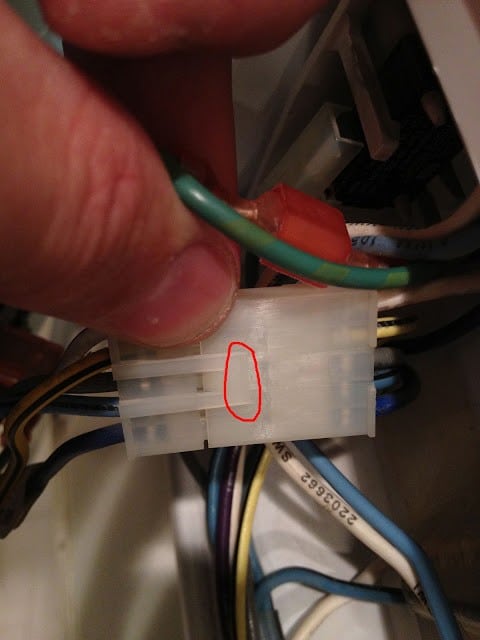 |
| Lift the end of the catch and pull the two ends apart. |
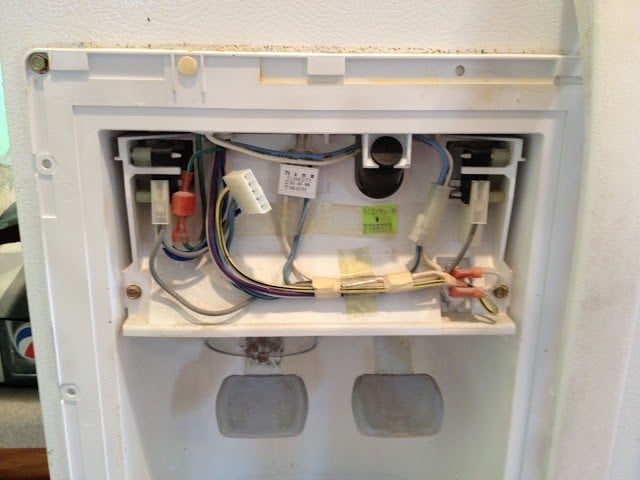 |
| Control Panel Removed |
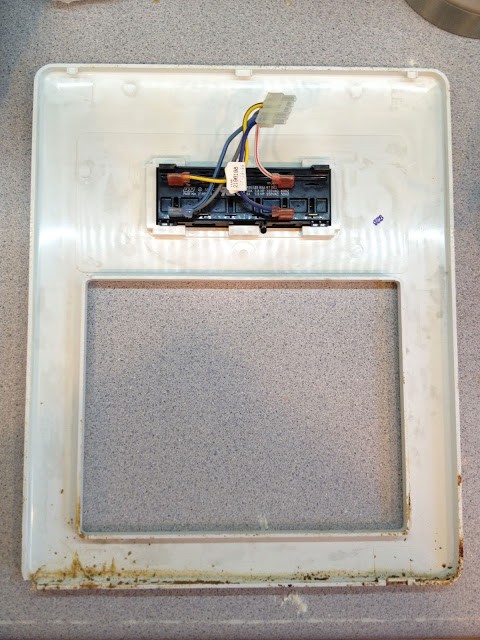
Here’s what the back of the control panel looks like:
Make sure to clean that thing while you have it off!
BTW: Make sure to plug back in your refrigerator after the job is complete!!!
Amazon Associate Disclosure: As an Amazon Associate I earn from qualifying purchases. This means if you click on an affiliate link and purchase the item, I will receive an affiliate commission. The price of the item is the same whether it is an affiliate link or not. Regardless, I only recommend products or services I believe will add value to Share Your Repair readers. By using the affiliate links, you are helping support Share Your Repair, and I genuinely appreciate your support.

The first thing he should have done is “Unplug the refrigerator “!
I believe you are correct. I’m unsure if there is any high voltage in those connectors but since I don’t know that would be the safe thing to do. Thanks for pointing that out. The article has been updated!