Hardware:
- Doorbell chime (example here on amazon.com)
- Simple pull switch (example shown here on amazon.com)
- wire nut
 |
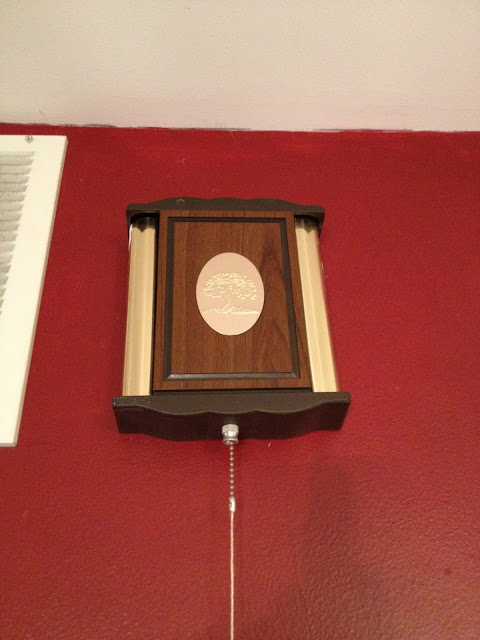
| Our doorbell chime with an on/off pull-switch–but we never know whether it’s on or off |
In our neighborhood we have a locked iron gate at the public sidewalk with a doorbell. For some of the neighborhood kids (or adults for that matter) it is sometimes more than they can resist to prank push our doorbell and then either walk or run on by. We have kids that nap and if you are a parent you know how precious nap time is for the parent and the kid, so having your kid awaken by someone prank ringing your doorbell is a big deal. So we have an on/off switch on our doorbell. Here’s how you can have one too. It doesn’t require any soldering and is a simple thing to do.
Step 1: Take off the cover of your doorbell chime. Different doorbells open differently but for ours you just swing out the base of it (away from the wall) and then lift straight up and it will come off.
Step 2: Drill a hole in the doorbell chime housing. I put this step early in the list because it’s easiest to do when the switch is not connected to any wiring. Figure out what size bit you’ll need to use for your particular switch. You can always drill a bigger hole so you may want to start a little small and then re-drill it bigger. Make sure you give yourself enough room inside the case for when you put the cover back on–you don’t want to run the switch into something inside. You’ll also have to consider the length of the wiring because the wires inside will need to reach the leads of the switch (but you can always add a small piece). I would suggest putting it straight on the bottom so that when you pull you are pulling directly down on the chime housing (versus on the side, which may want to swing the doorbell around). It depends on how well yours is mounted on the wall and how sturdy the cover snaps on. Ours isn’t that sturdy. The switch will mount and pull fine if you put it on the side. The switches are made to operate sticking out the side and pulling the string straight down.
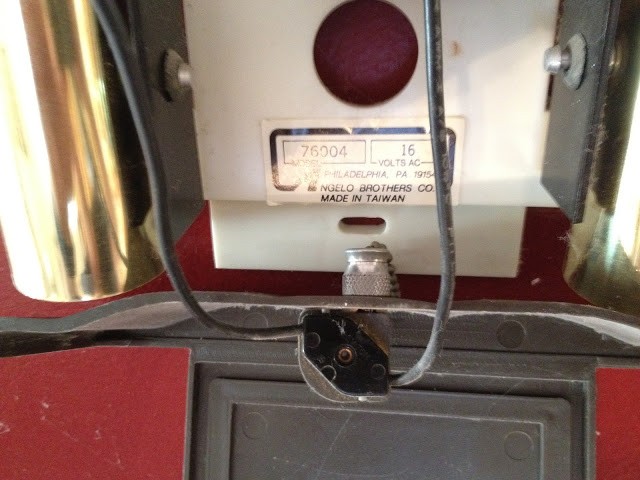 |
| Here you can see where I drilled my hole in the bottom of the case (in this situation it’s upside down) |
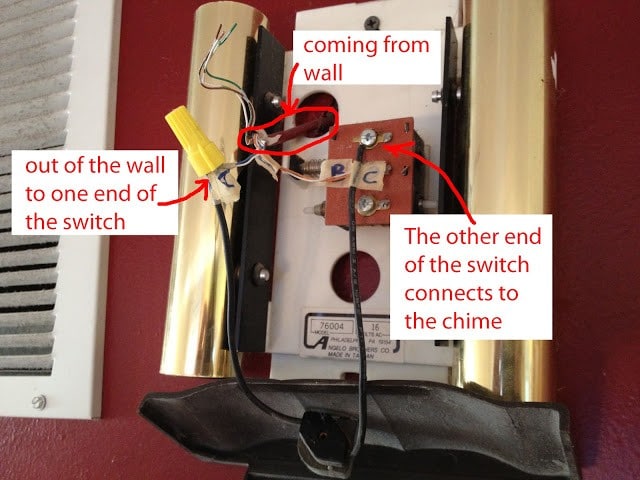
Step 3: Locate the 2 wires leading to the chime. These are low voltage AC wires that are powered when your doorbell is pushed. The kind of wiring will vary but may just be some CAT-5 cabling or something else based on the mood of the electrician that installed it. The wiring will probably be connected to the chime by a couple screws.
Step 4: Disconnect a wire and insert the switch. You are going to disconnect one of the wires and connect it to one end of the switch and the other end of the switch you’ll connect to the doorbell by the screw you just disconnected the wire from. BTW: it doesn’t matter which side connects to which wire on the switch. The easiest way is to simply use a wire nut to connect the wire. If you really wanted to be cute you could solder them and use shrink tubing.
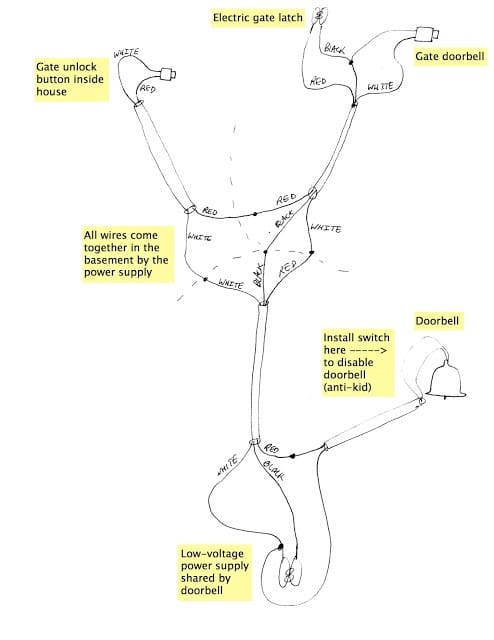
| Above is the complete schematic for our doorbell / gate buzzer system. See the note that says “Install switch here ——–> to disable doorbell (anti-kid)” for the location of the doorbell on/off switch. |
If you want to see the complete instructions that go along with the schematic above, click here.
Put your cover back on and now you have uninterrupted nap time. You just have to remember to turn it back on when you are expecting that UPS package!
 |
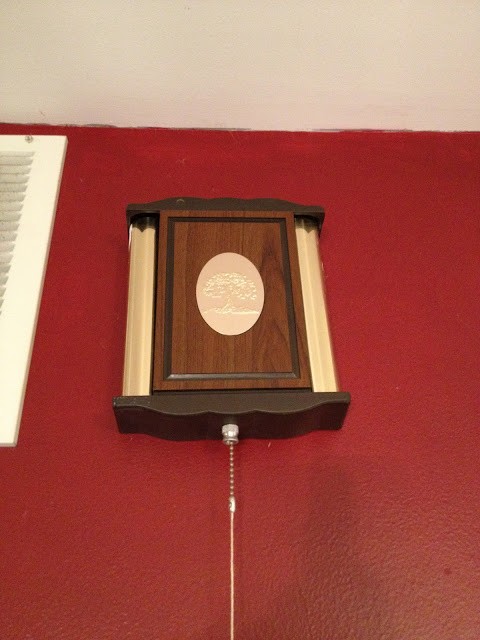
| Doorbell Chime with on/off switch |
Amazon Associate Disclosure: As an Amazon Associate I earn from qualifying purchases. This means if you click on an affiliate link and purchase the item, I will receive an affiliate commission. The price of the item is the same whether it is an affiliate link or not. Regardless, I only recommend products or services I believe will add value to Share Your Repair readers. By using the affiliate links, you are helping support Share Your Repair, and I genuinely appreciate your support.

