If the wheel on your luggage wheel just fell apart you do not need to throw the entire bag away and you don’t need to buy a special wheel and get out a drill either–you can fix a broken luggage wheel with duct tape!
Hardware:
- Rolling Luggage
- Duct Tape
- Electrical Tape
Fun Update: This tutorial (my mirrored instructables.com version) was featured on lifehacker! You can see it here.The wheel on my favorite carry-on bag first got lopsided when a chunk of it came off. Gradually it came apart and there was nothing left but the inner metal wheel that housed the ball bearings. The bag now glides loudly across hard floors (crooked of course) tearing up whatever surface it’s on–not good. There’s nothing wrong with the rest of the bag so it would be such a waste to throw it away, so I came up with a way to fix it.
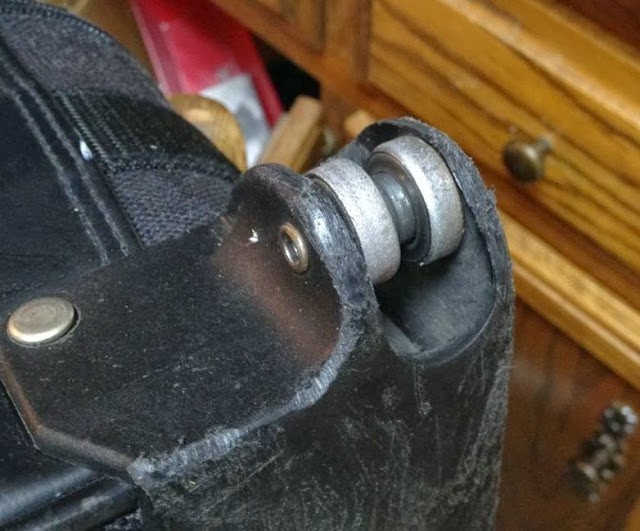 |
| Broken Luggage Wheel–there used to be a plastic wheel on top of those metal rollers |
This is what it should look like:
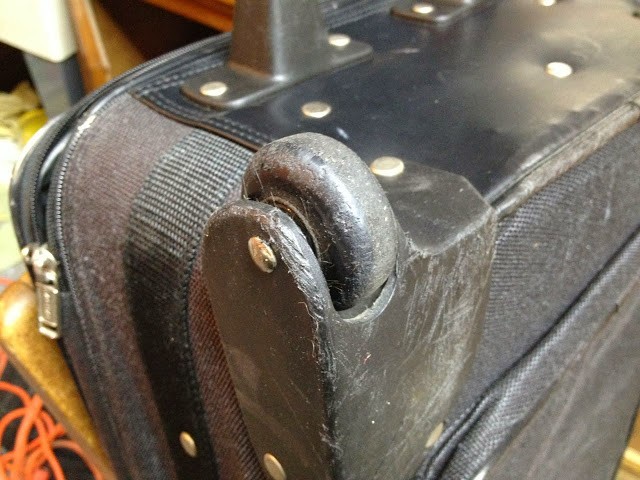 |
| The remaining good wheel |
Step 1: Start a tear on your roll of duct tape that is the perfect width for the wheel.
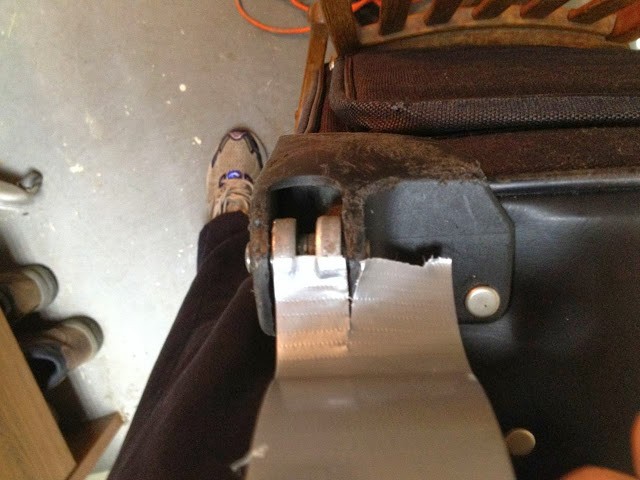 |
| Tearing the duct tape to be the correct width for the wheel |
Step 2: Wrap a bunch of duct tape tightly on the wheel.
Be careful to center it. I also wrapped mine in the direction that the wheel turns so it isn’t trying to unravel the tap but hold it down. After the second time around the duct tape got more narrow for me so I tore off the piece and switched to the center piece. It worked out that I was able to get three strips out of the width of duct tape.
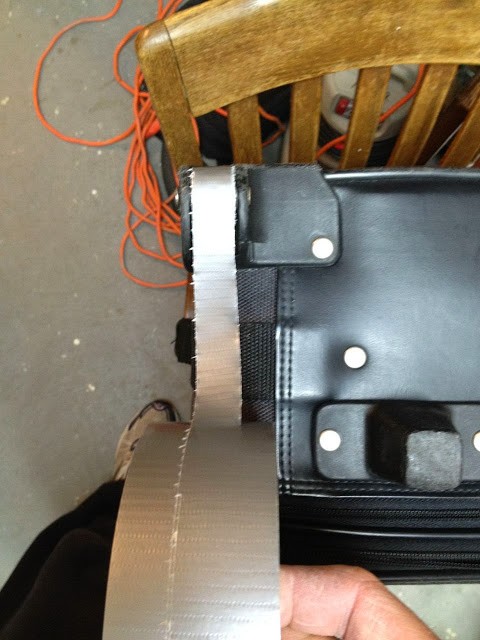 |
| The Middle strip from the duct tape |
Keep wrapping until the wheel is built up to be the same diameter as the other wheel:
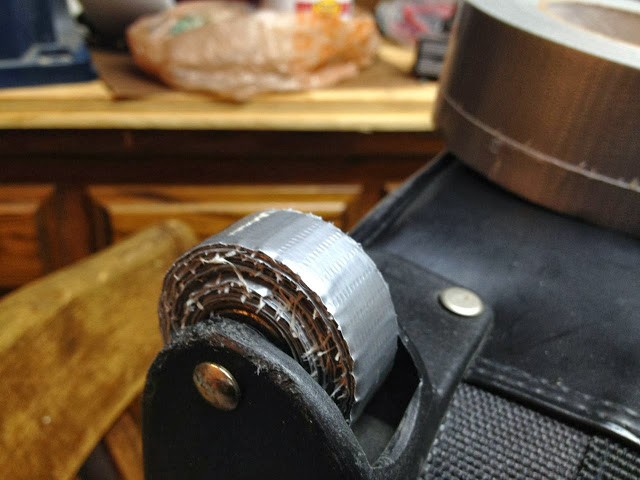 |
| The wheel is now the same diameter as the other wheel |
Step 3: Trim if necessary.
Since my wheel was kind of square it rubbed on the frame of the suitcase so I beveled each edge with a carpet knife:
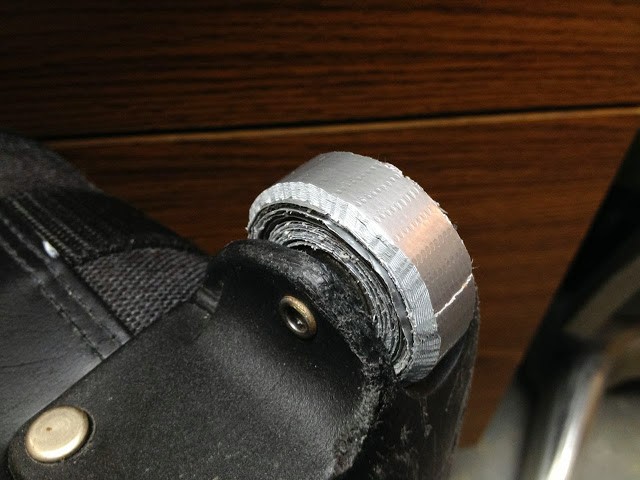 |
| Beveled edge angle 1 |
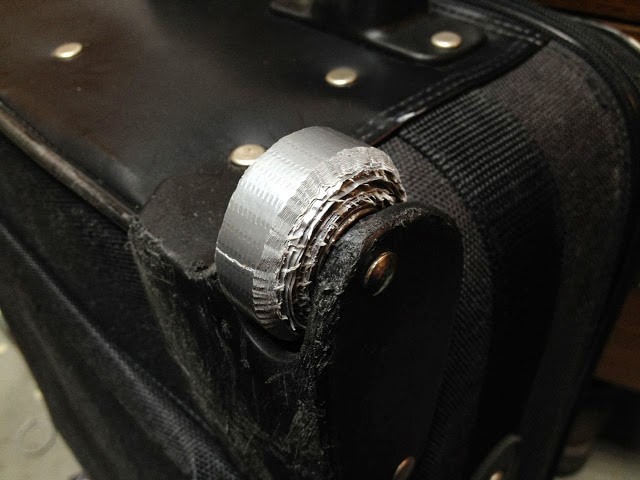 |
| Beveled edge angle 1 |
Step 4: Cover with a layer of electrical tape.
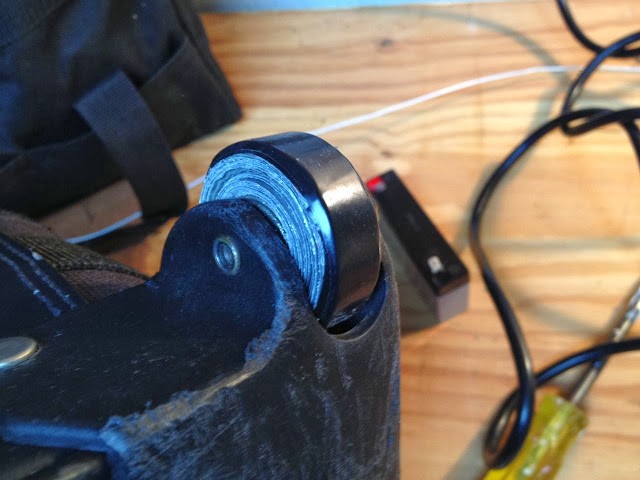
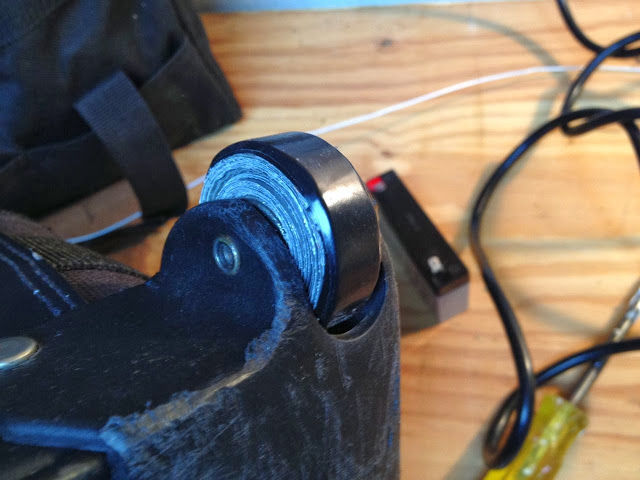
Because the beveled edge is bound to be sticky I opted to put a layer of electrical tape on it to cover it up and to change the color to black as well. I don’t know how long it will last but we will see (and I have a lot more tape, if I need to re-tape it).
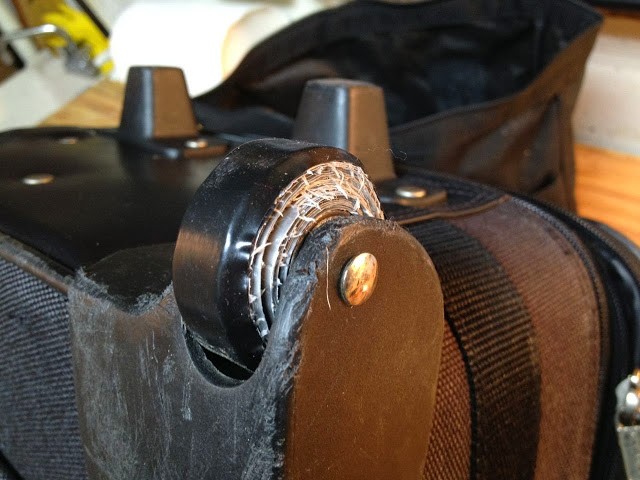 |
| Final Product angle 1 |
 |
| Final Product angle 2 |
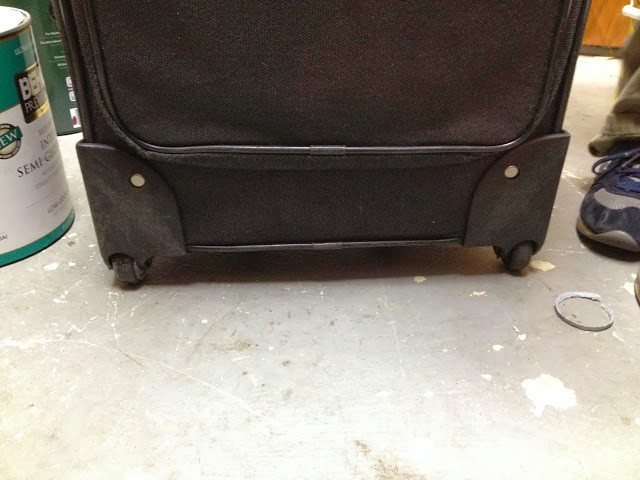 |
| Wheels down |
It’s fun to extend the life of something useful and save money too. I’ll report back with how the thing handles on its first trip.
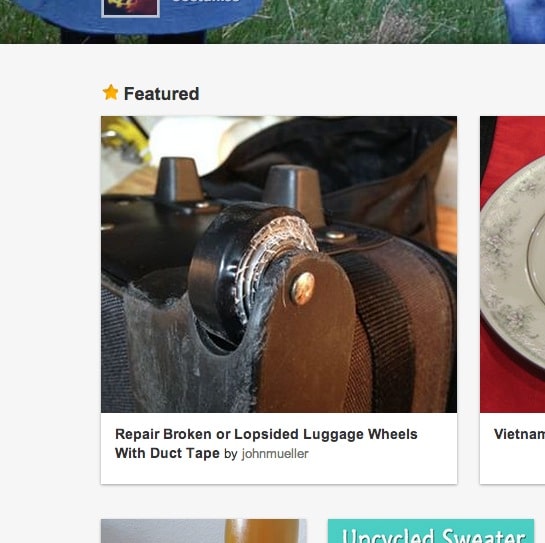
Fun fact: I mirrored this post on instructables.com and was featured on their homepage:
Amazon Associate Disclosure: As an Amazon Associate I earn from qualifying purchases. This means if you click on an affiliate link and purchase the item, I will receive an affiliate commission. The price of the item is the same whether it is an affiliate link or not. Regardless, I only recommend products or services I believe will add value to Share Your Repair readers. By using the affiliate links, you are helping support Share Your Repair, and I genuinely appreciate your support.
Related



So how did it work when you pulled the case across a blacktop parking lot as opposed to a nice smooth floor in an airport?
It worked just fine. Over time the tape smashed or spread out so the wheels wouldn’t turn anymore. But the repair lasted for years.