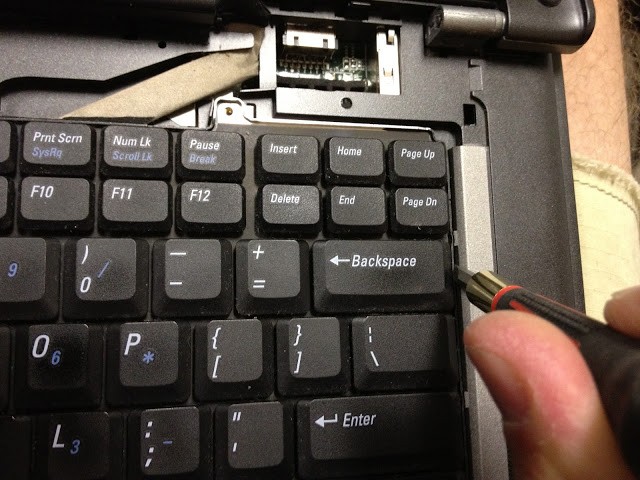
Equipment
- Dell Latitude D830 Notebook Computer
- Crucial 4GB kit (2GBx2), 200pin SODIMM Upgrade for a Dell Latitude D830 System
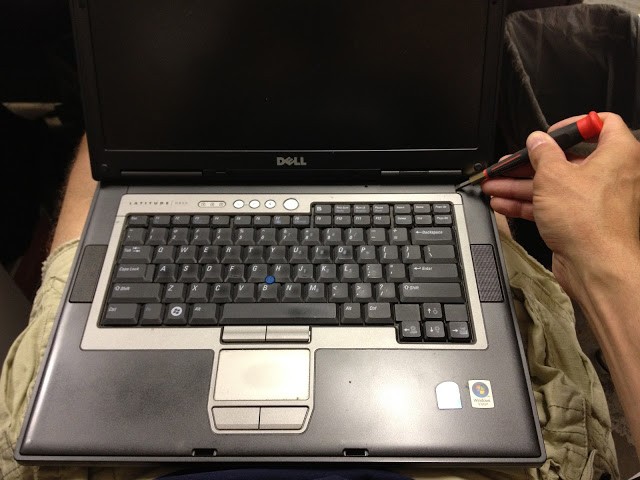 |
| Removing the bezel |
There is a little notch where you can insert the flat screwdriver:
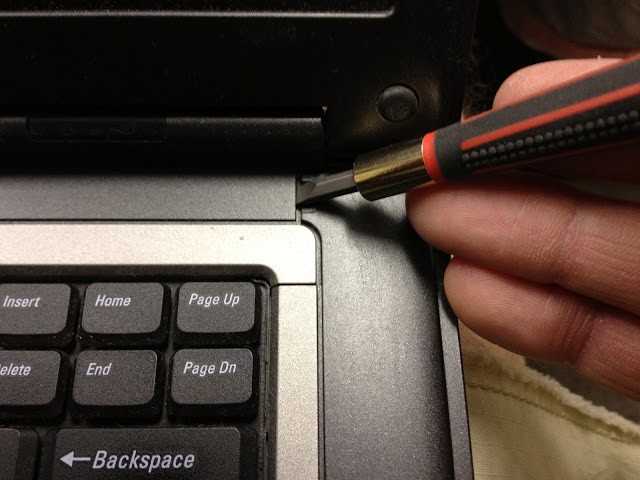 |
| Look for the notch on the right side and pry with the screwdriver |
Now remove the three phillips-head screws at the top of the keyboard:
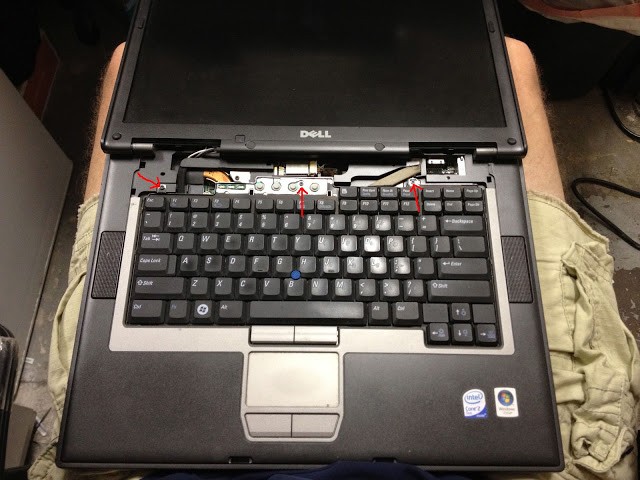 |
| Look for the three keyboard screws marked by the red arrows |
Now you must pop out (who builds them this way??) the keyboard by slipping a flat screwdriver under the edge of the keyboard and gently prying up:
Tilt the keyboard back (as if there were a hinge on the bottom) being careful because the keyboard is connected via a ribbon at the bottom. Pull up on the light blue tab to release the ribbon connector and free the keyboard:
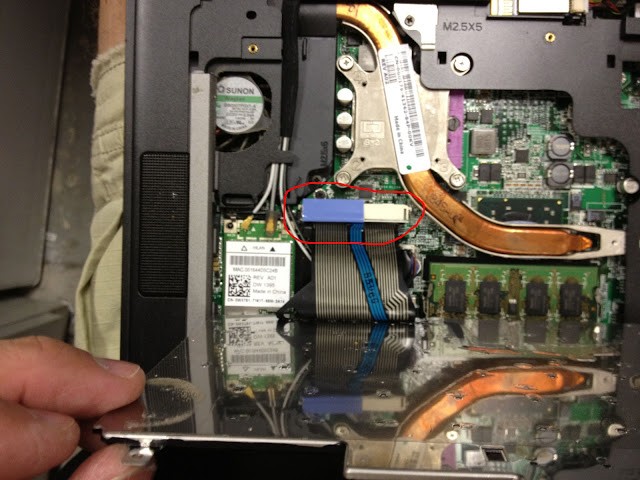 |
| The keyboard ribbon connector circled in red |
Insert the RAM in the slot which is right above the track pad:
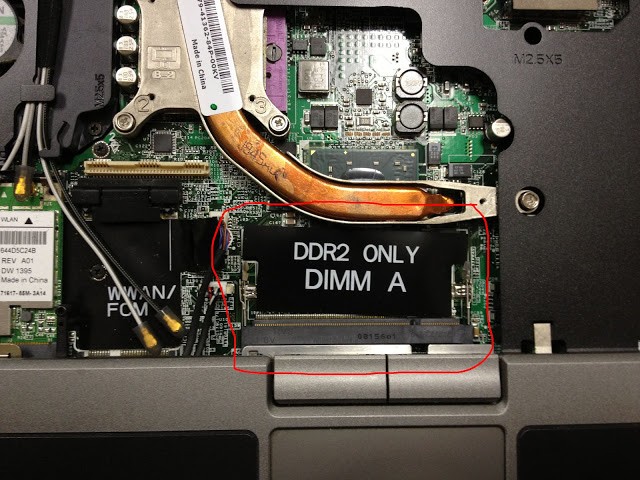 |
| RAM slot #2 |
Follow the steps in reverse to put it back together!
Here are all my other Dell Computer Repair Postings:
- Computer Randomly Shuts Off Power Supply Issues on a Dell Optiplex GX520 (Small Form Factor)
- How to Replace the Power Supply Fan in a Dell Optiplex GX520
- Dell Optiplex 320 Will Not Boot or Go to Bios
- How to Replace the Memory in a Dell Latitude D830 (this post)
- Dell Optiplex GX520 Randomly Shuts Off
- How to Replace the Power Supply in a Dell Optiplex GX520
- How to Fix a Striped Display on a Dell Optiplex 320
- How to Troubleshoot Dell Optiplex GX520 Power Supply Issues
Amazon Associate Disclosure: As an Amazon Associate I earn from qualifying purchases. This means if you click on an affiliate link and purchase the item, I will receive an affiliate commission. The price of the item is the same whether it is an affiliate link or not. Regardless, I only recommend products or services I believe will add value to Share Your Repair readers. By using the affiliate links, you are helping support Share Your Repair, and I genuinely appreciate your support.

